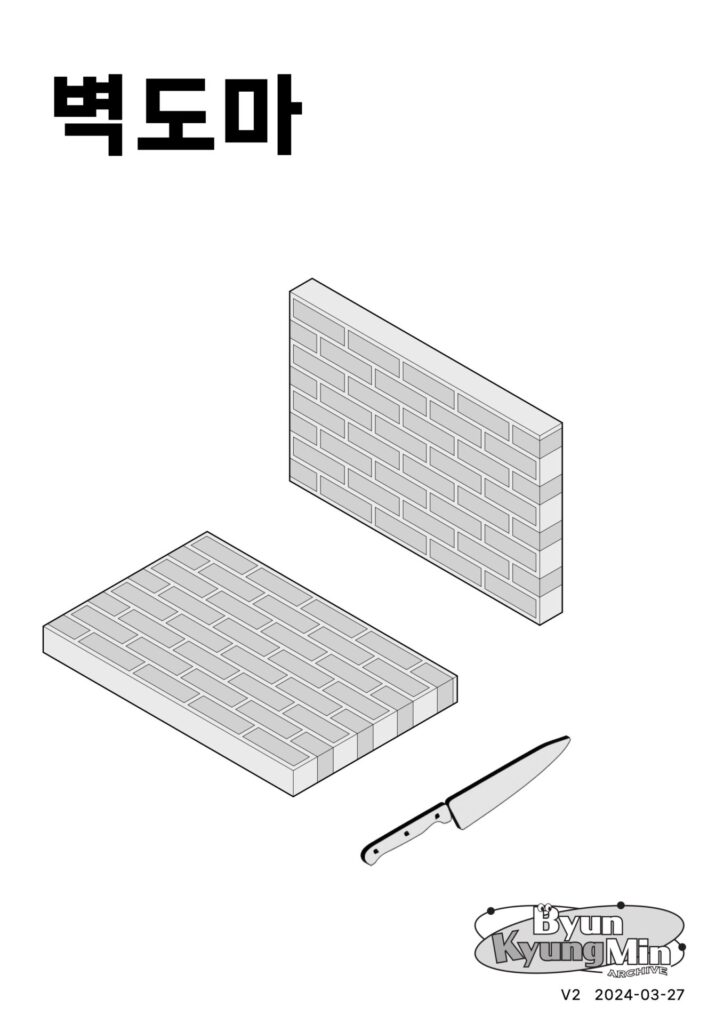
Wall Cutting Board
2024, Personal Work
Objet
>Woodwork
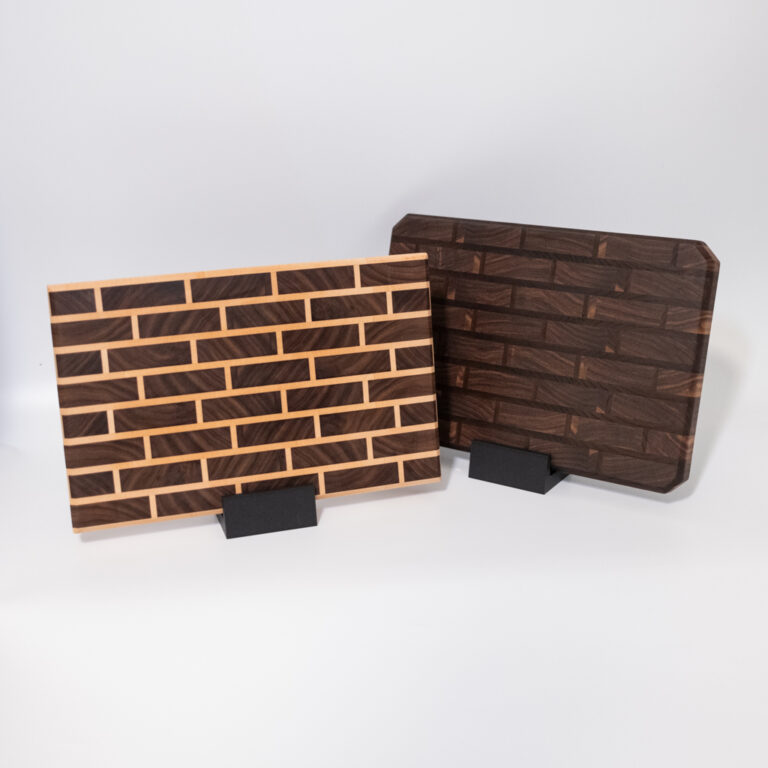
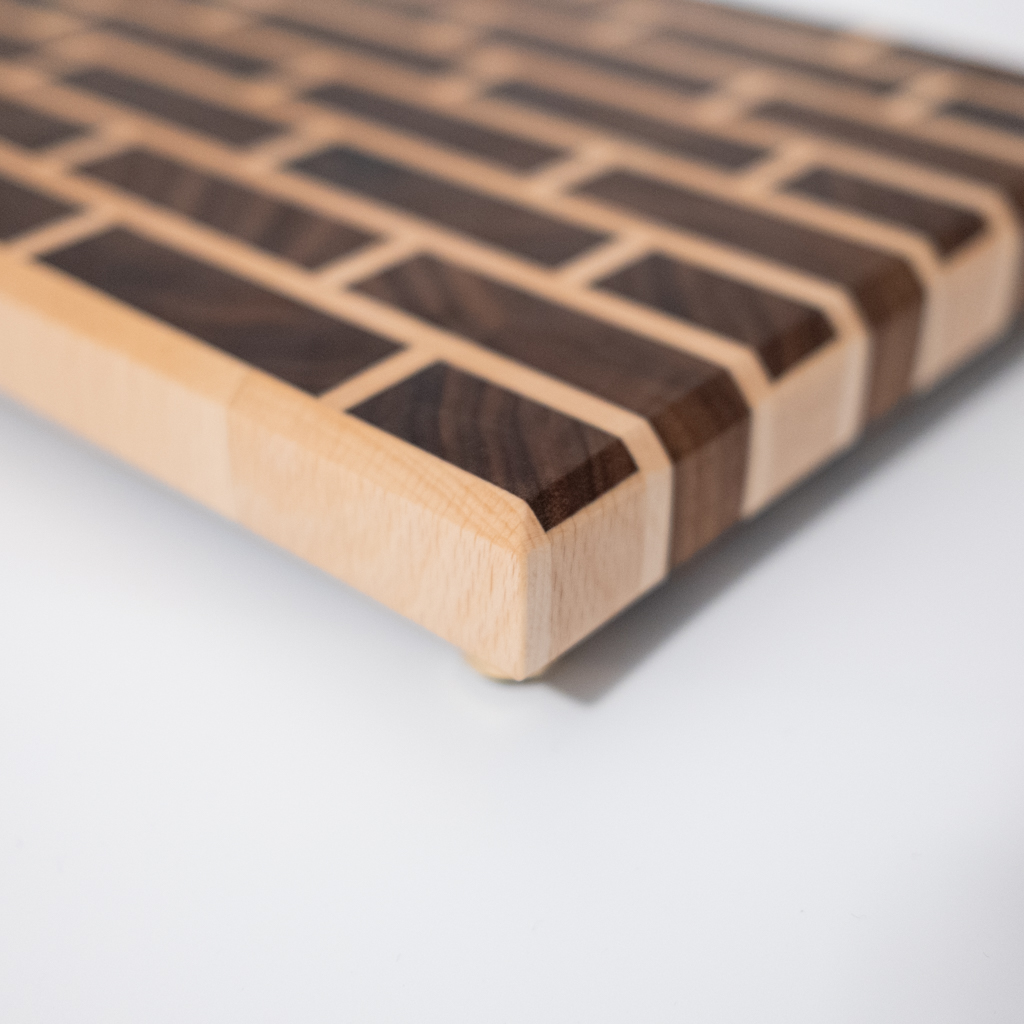
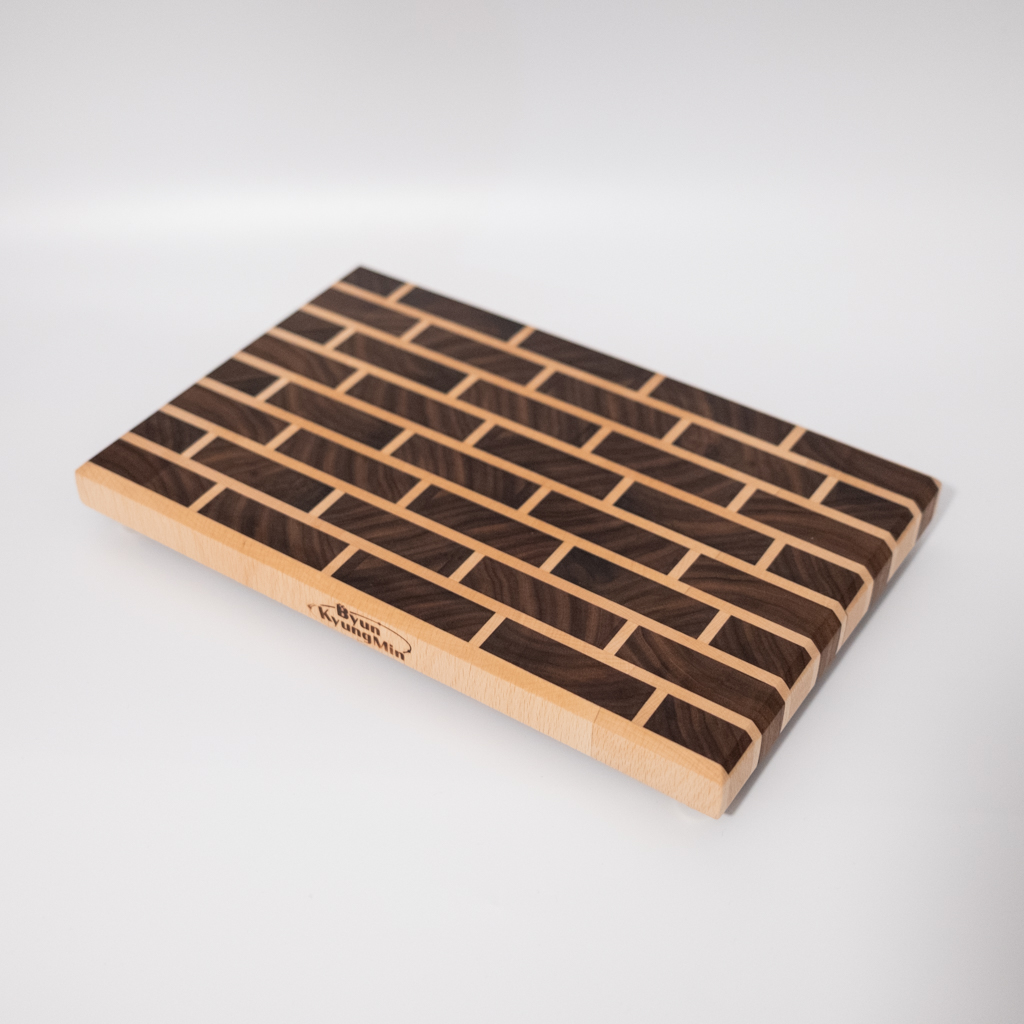
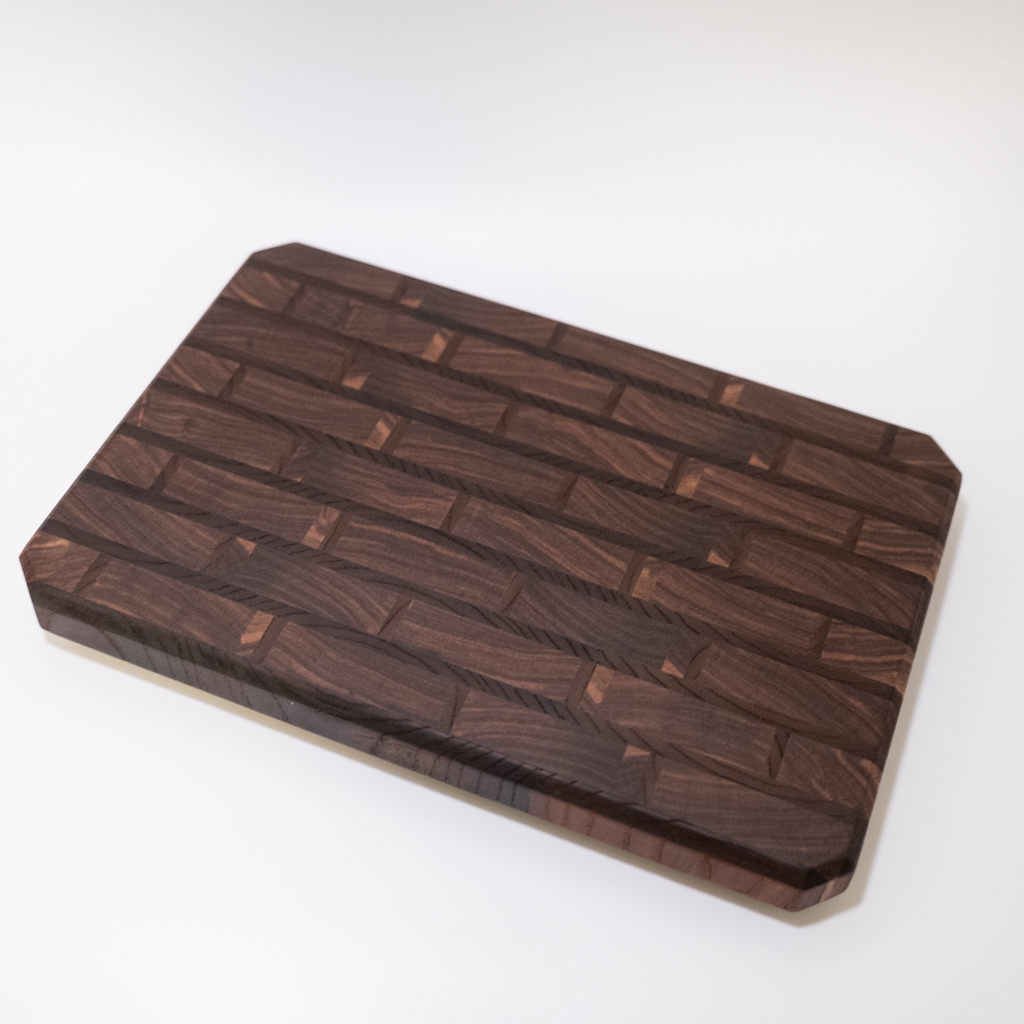
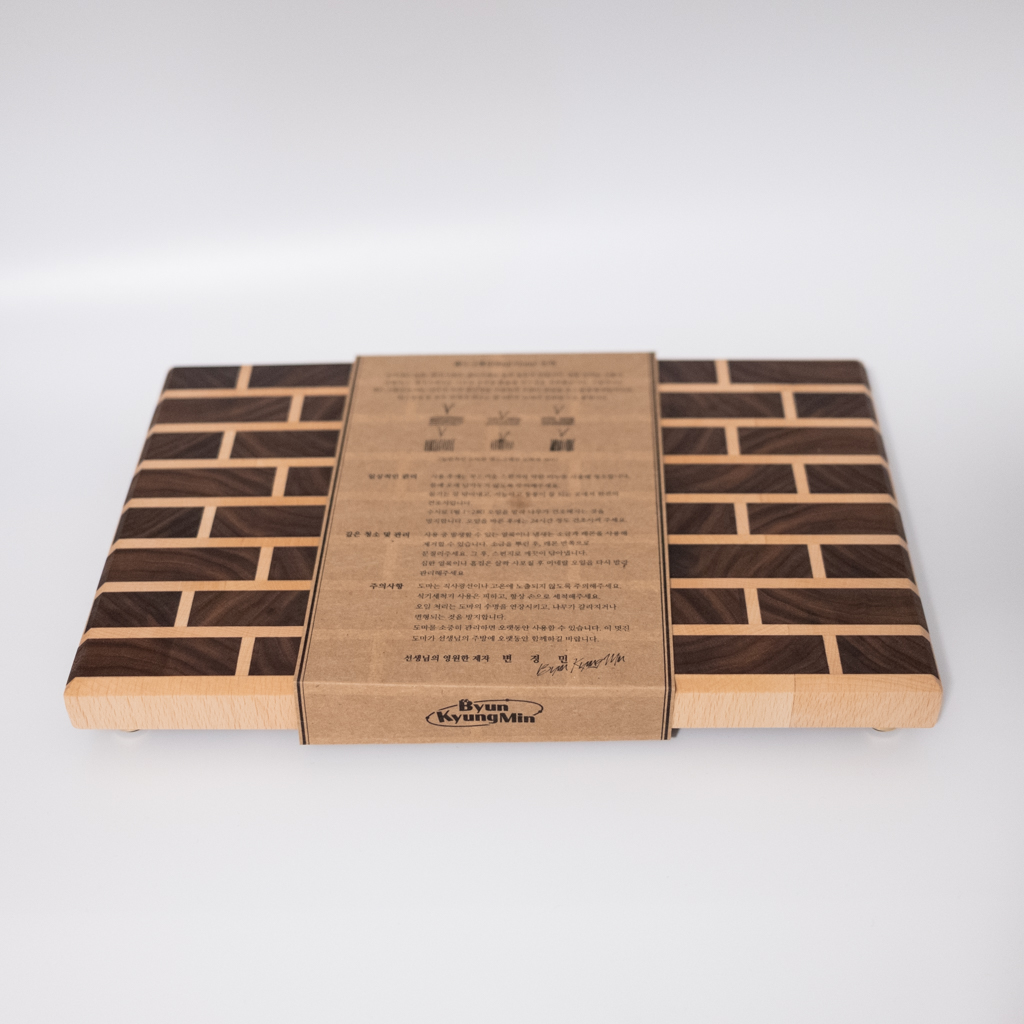
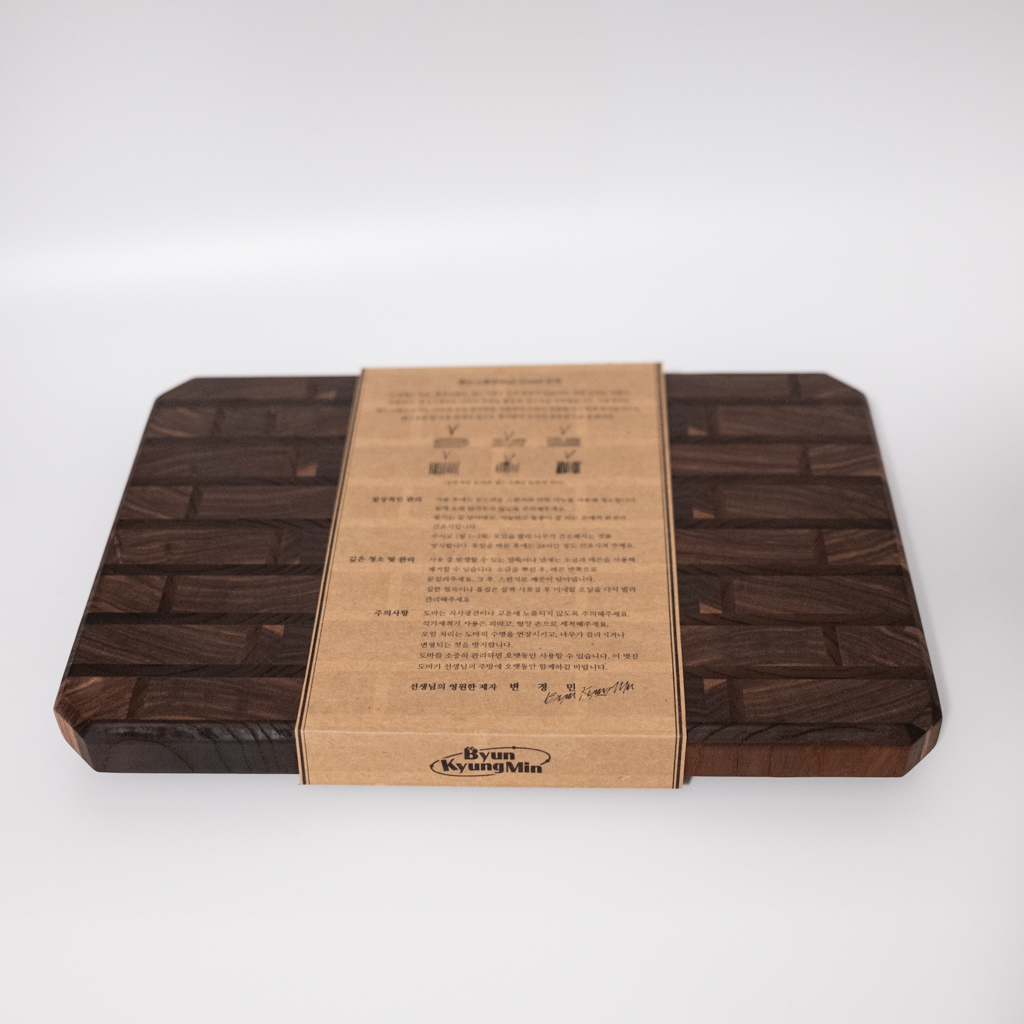
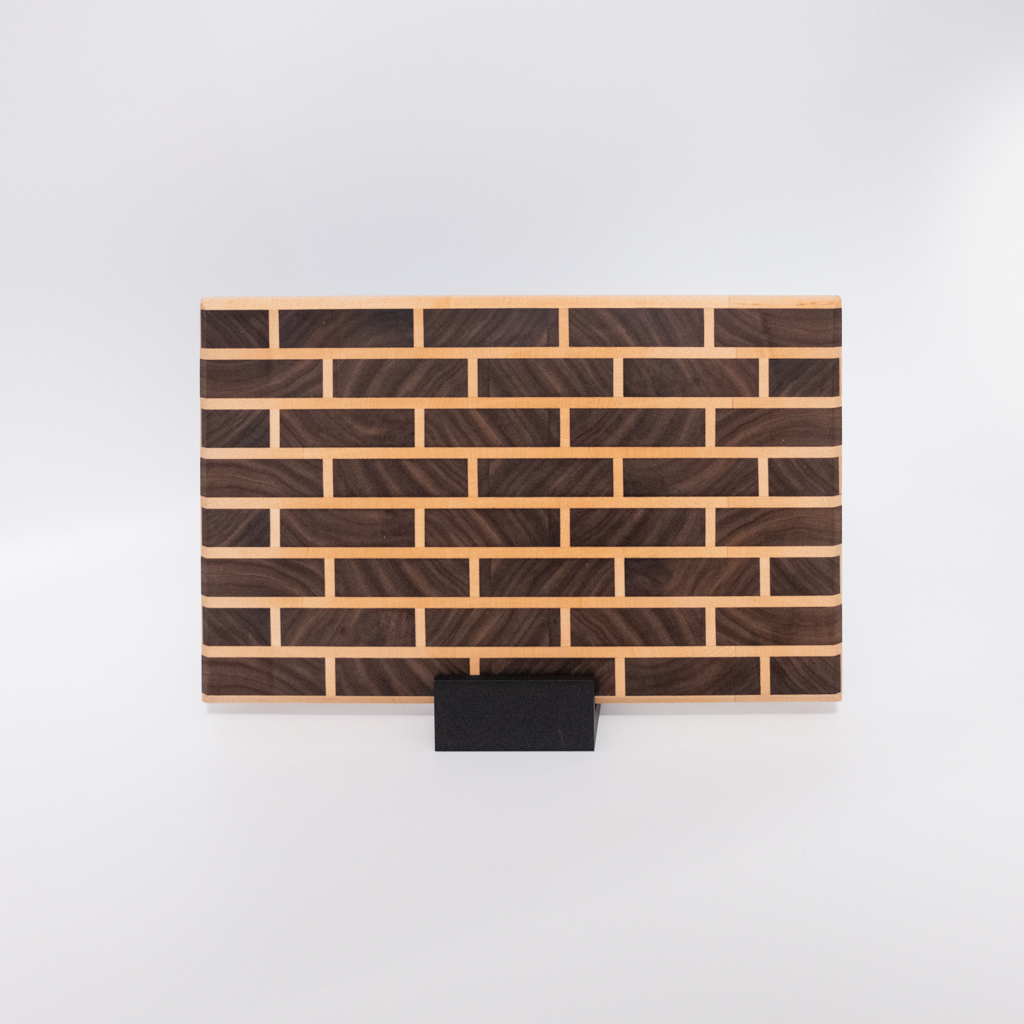
This cutting board was specially crafted as a gift for my longtime mentor, carrying gratitude from childhood to the present. It was made using a combination of dense and durable walnut, bright and smooth beech, and charred ash in an end-grain composition. The pieces were bonded with Titebond III and finished with a mineral oil blend.
Tap the image to open it in full view.

Behind
Modeling. A useful Rhino tip: when something explodes, the command ScalePosition comes in handy.
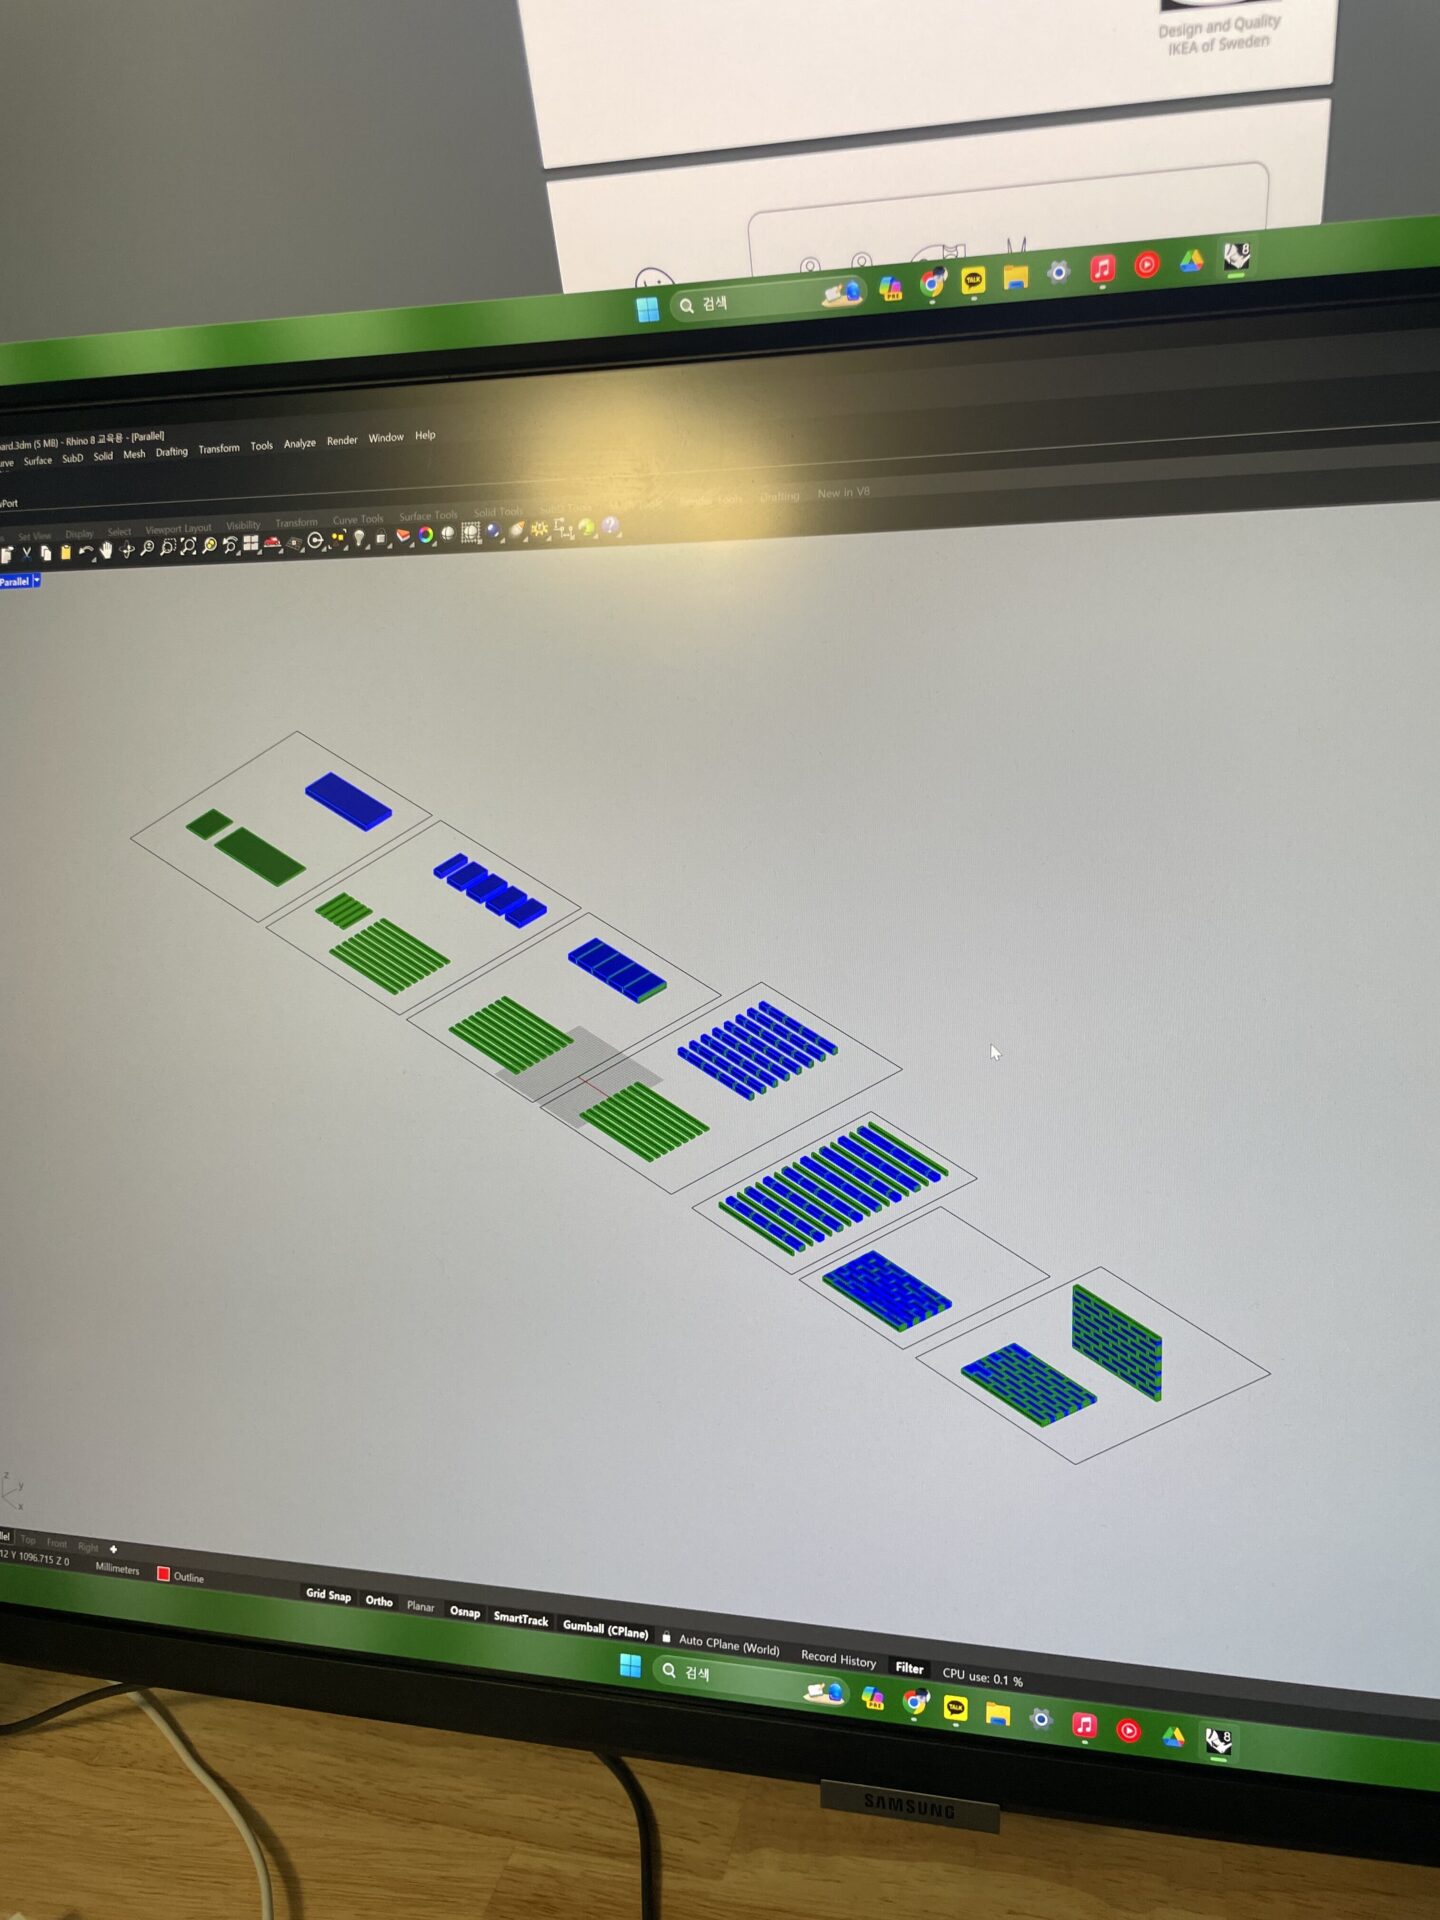
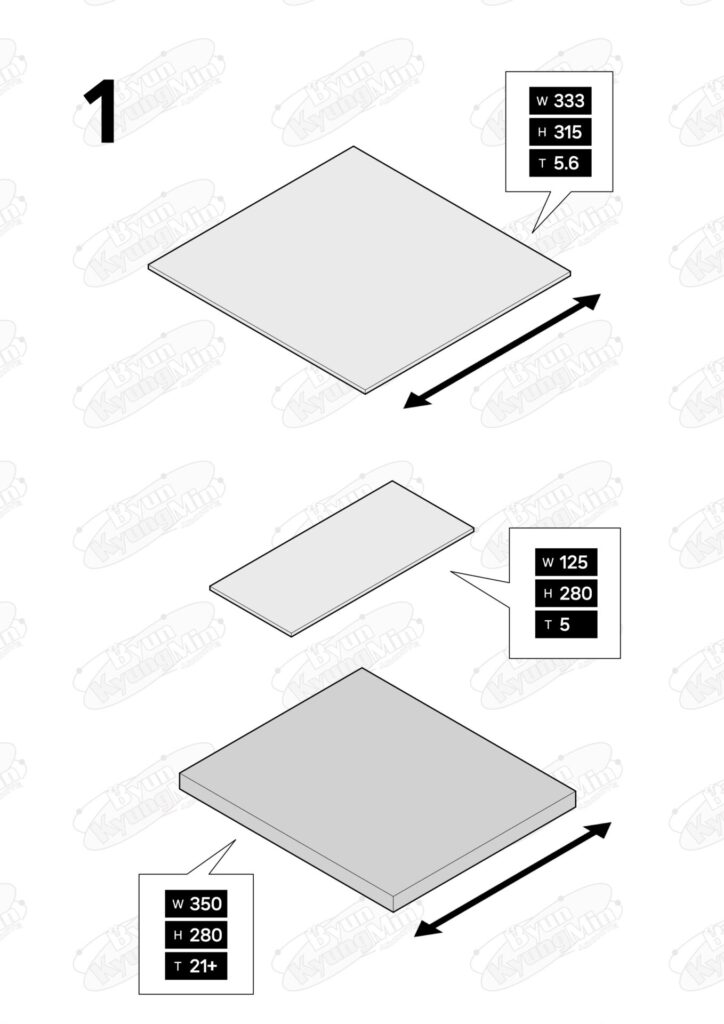
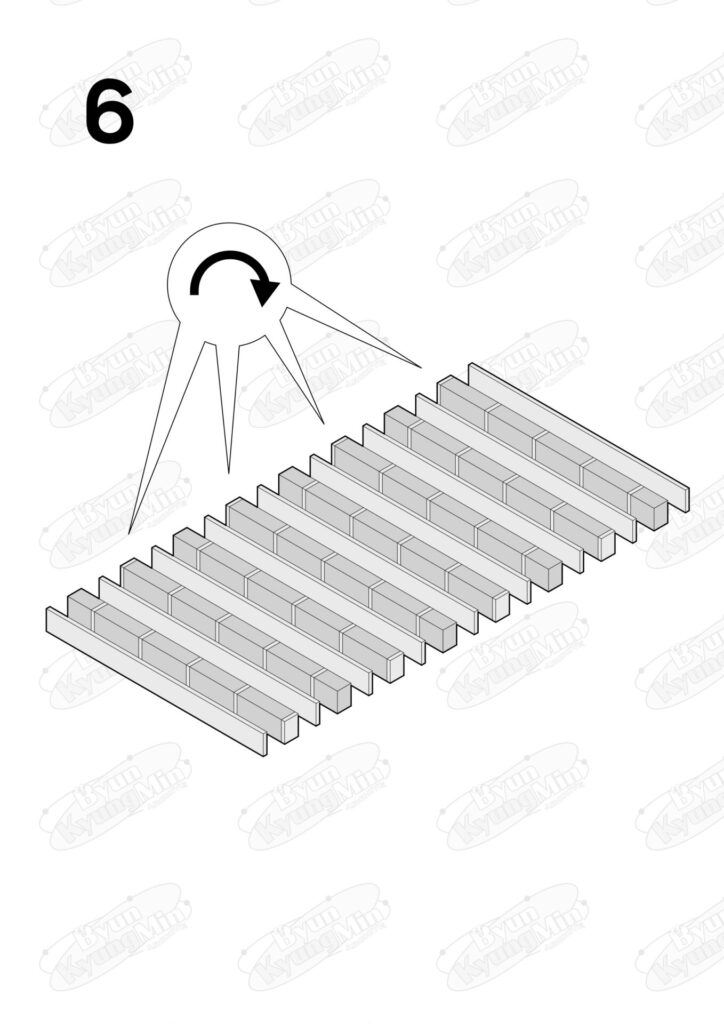
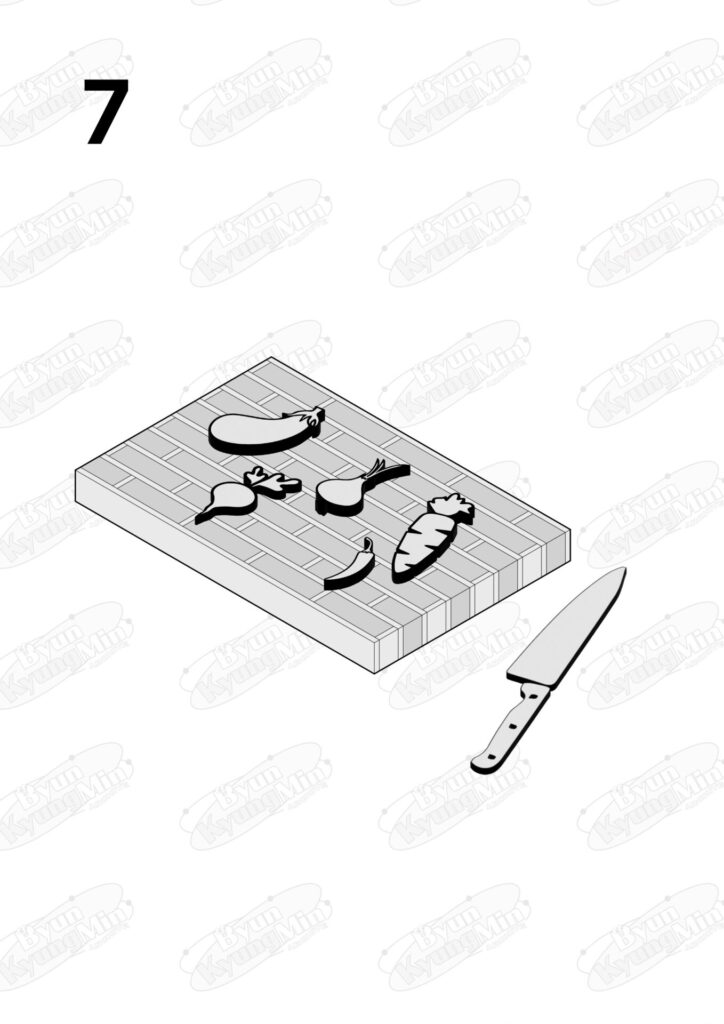
When designing an end-grain cutting board, it’s best to think backward from the final form to figure out the assembly method.
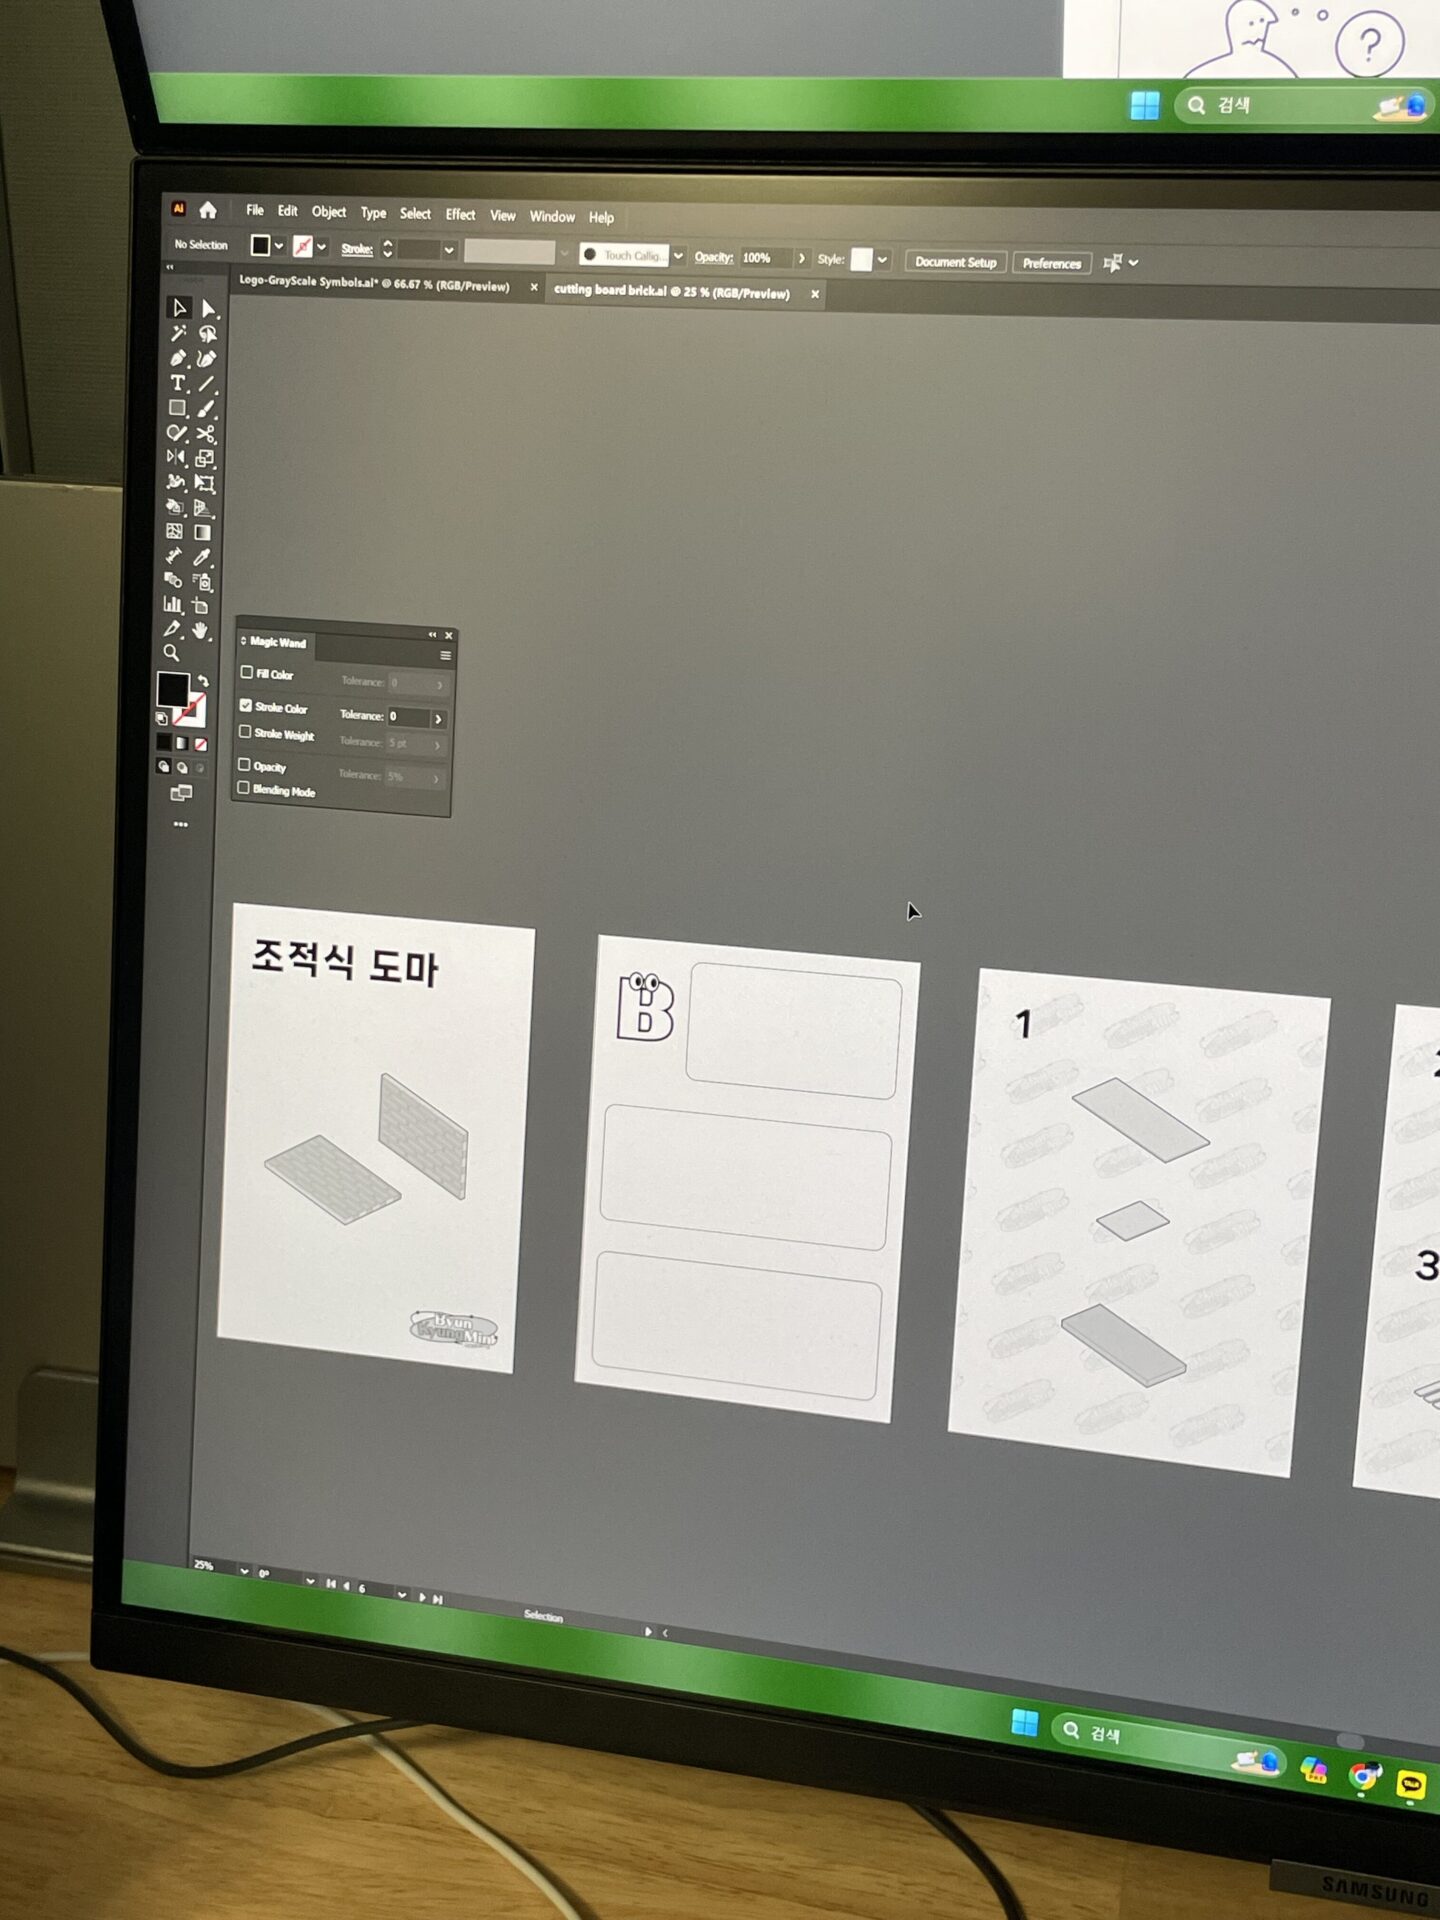
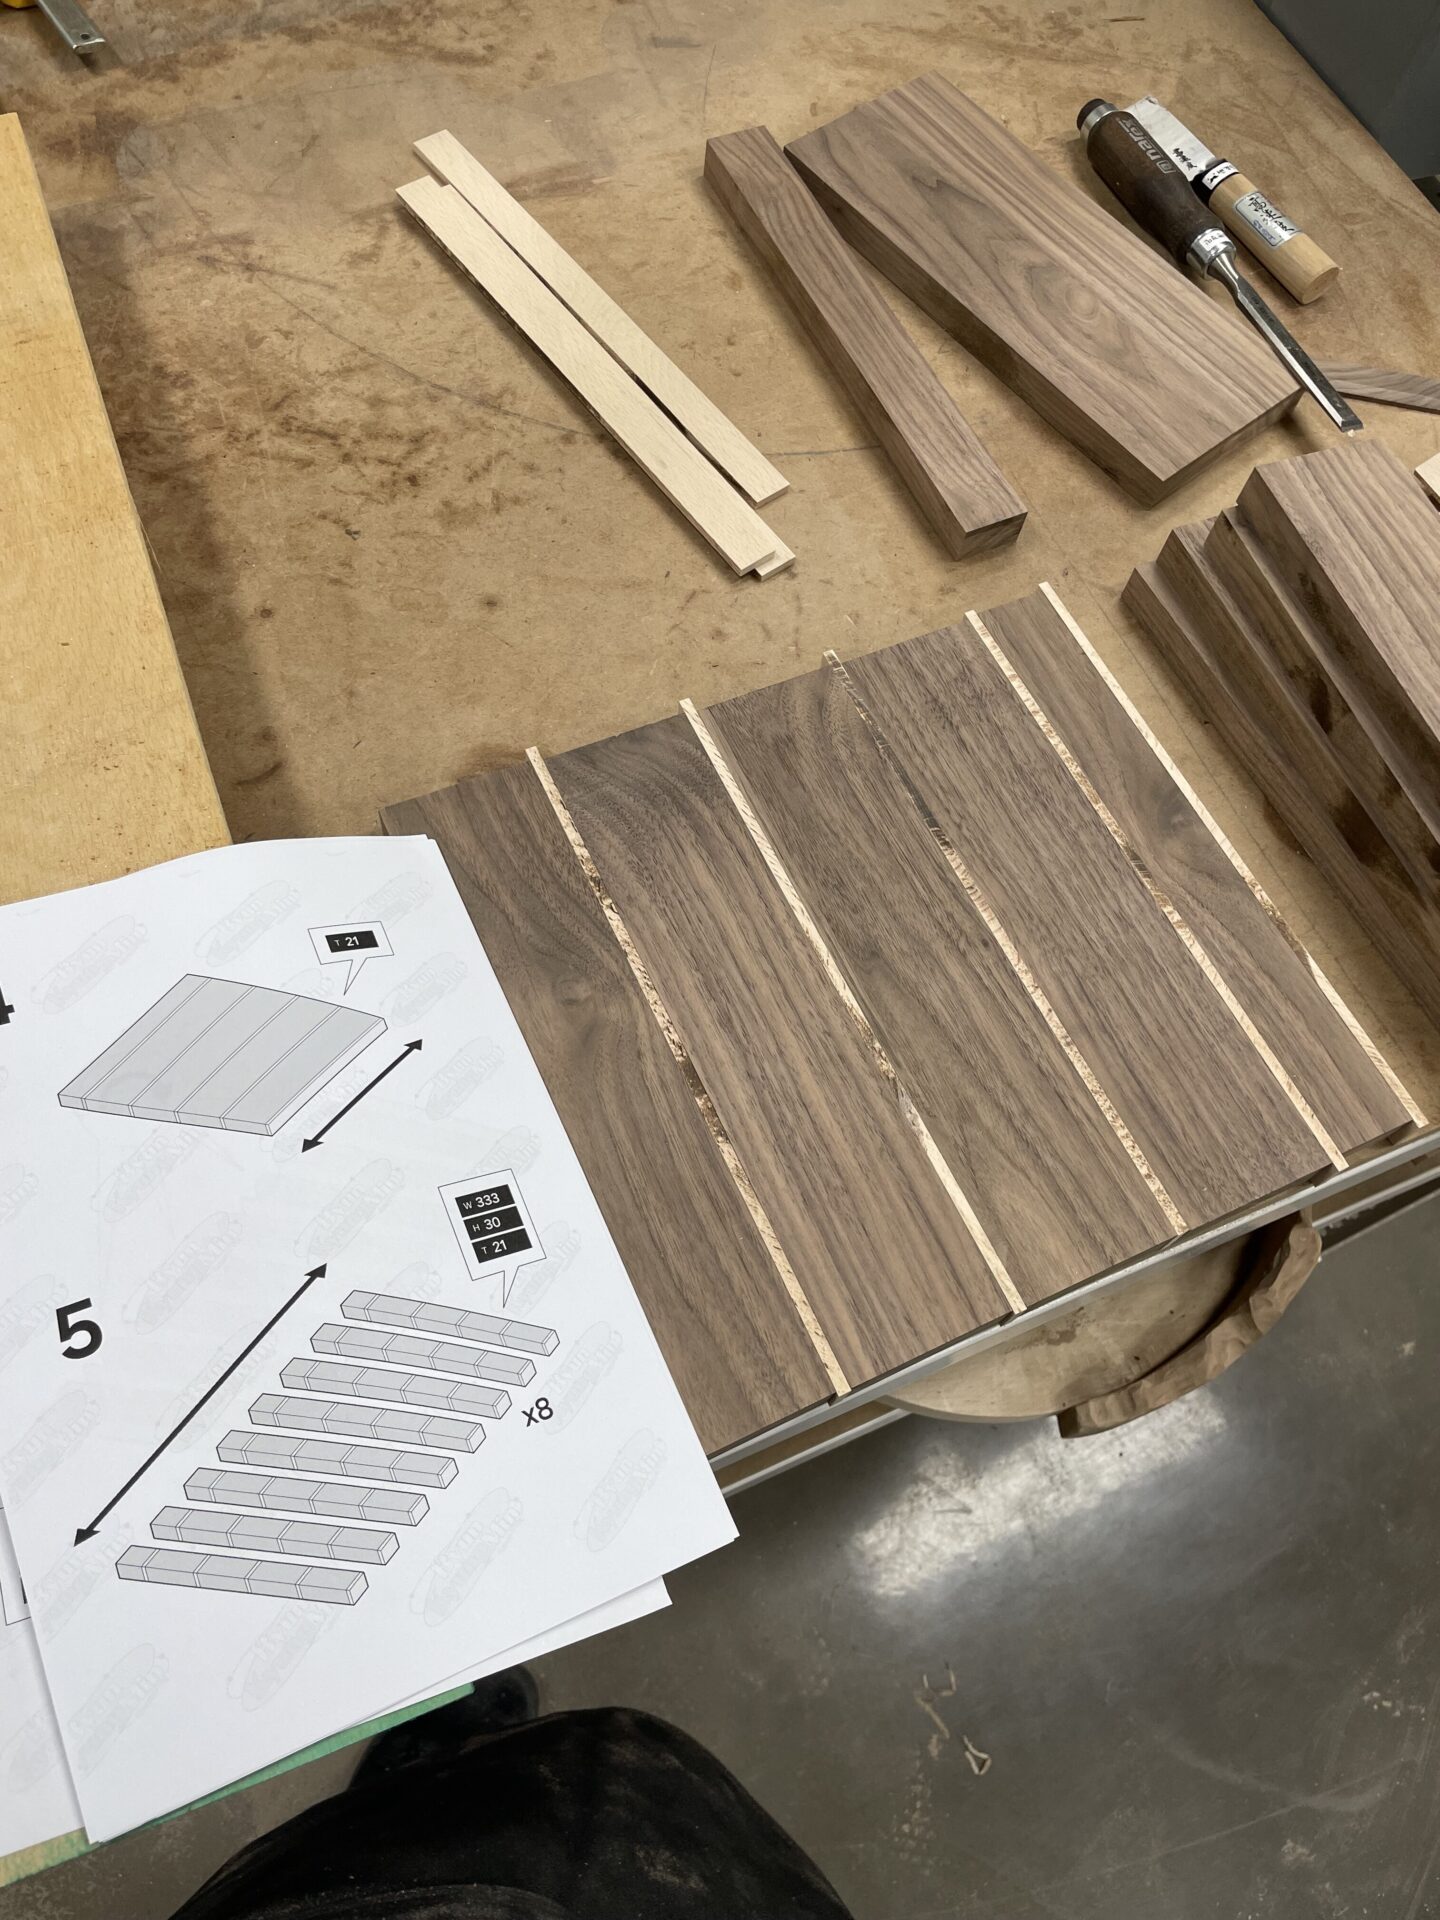
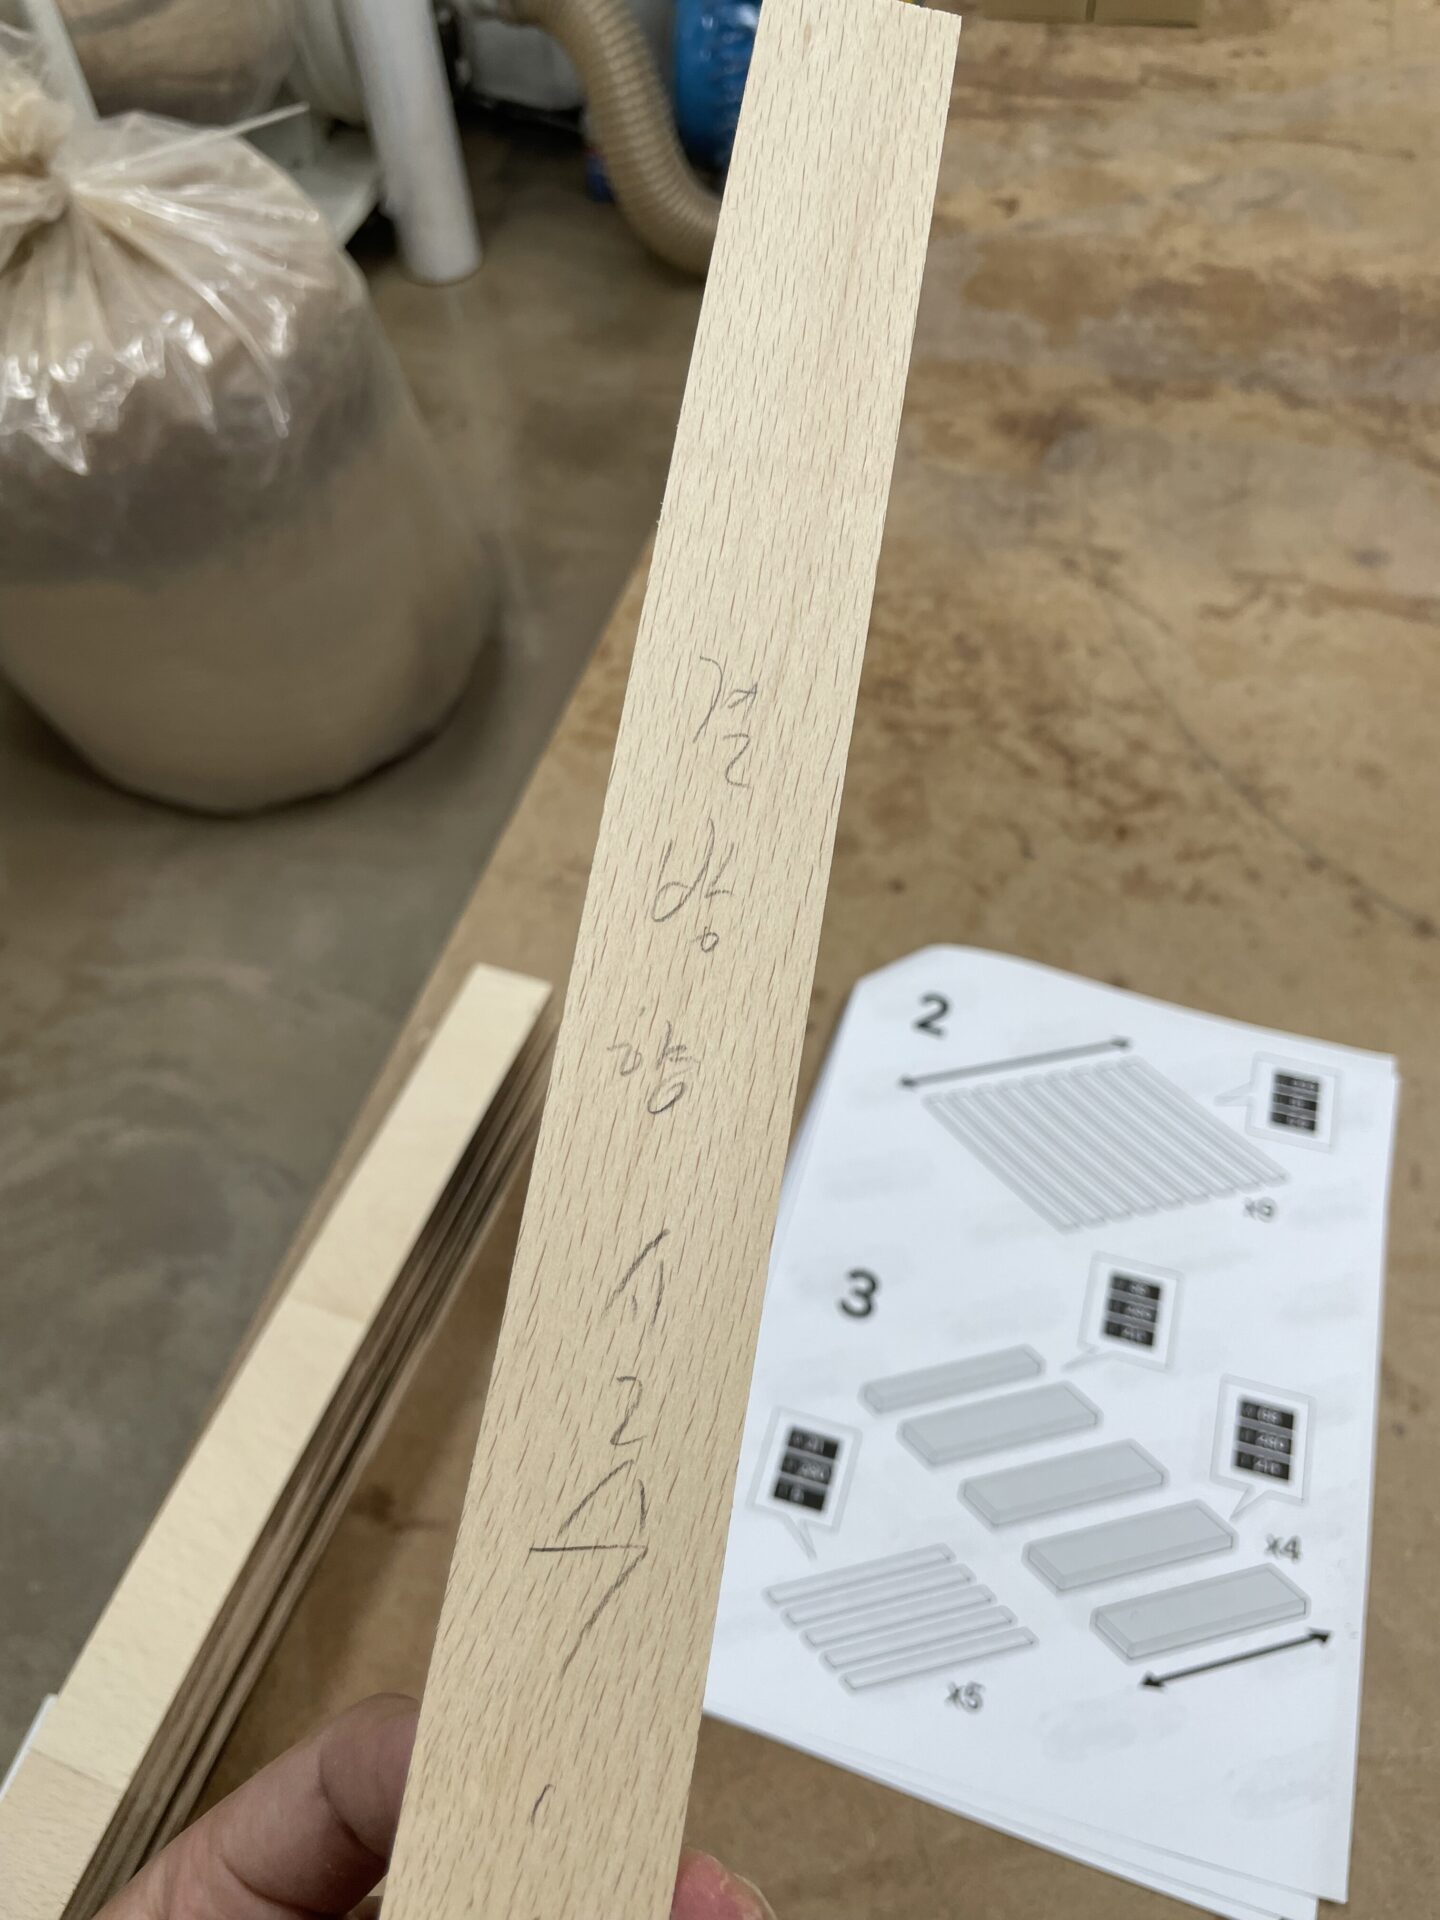
I exported the model to CAD and then to Illustrator, aiming for an IKEA-style instruction sheet. Since there are no jigs or tools specific to this project, I needed a proper manual just for myself.
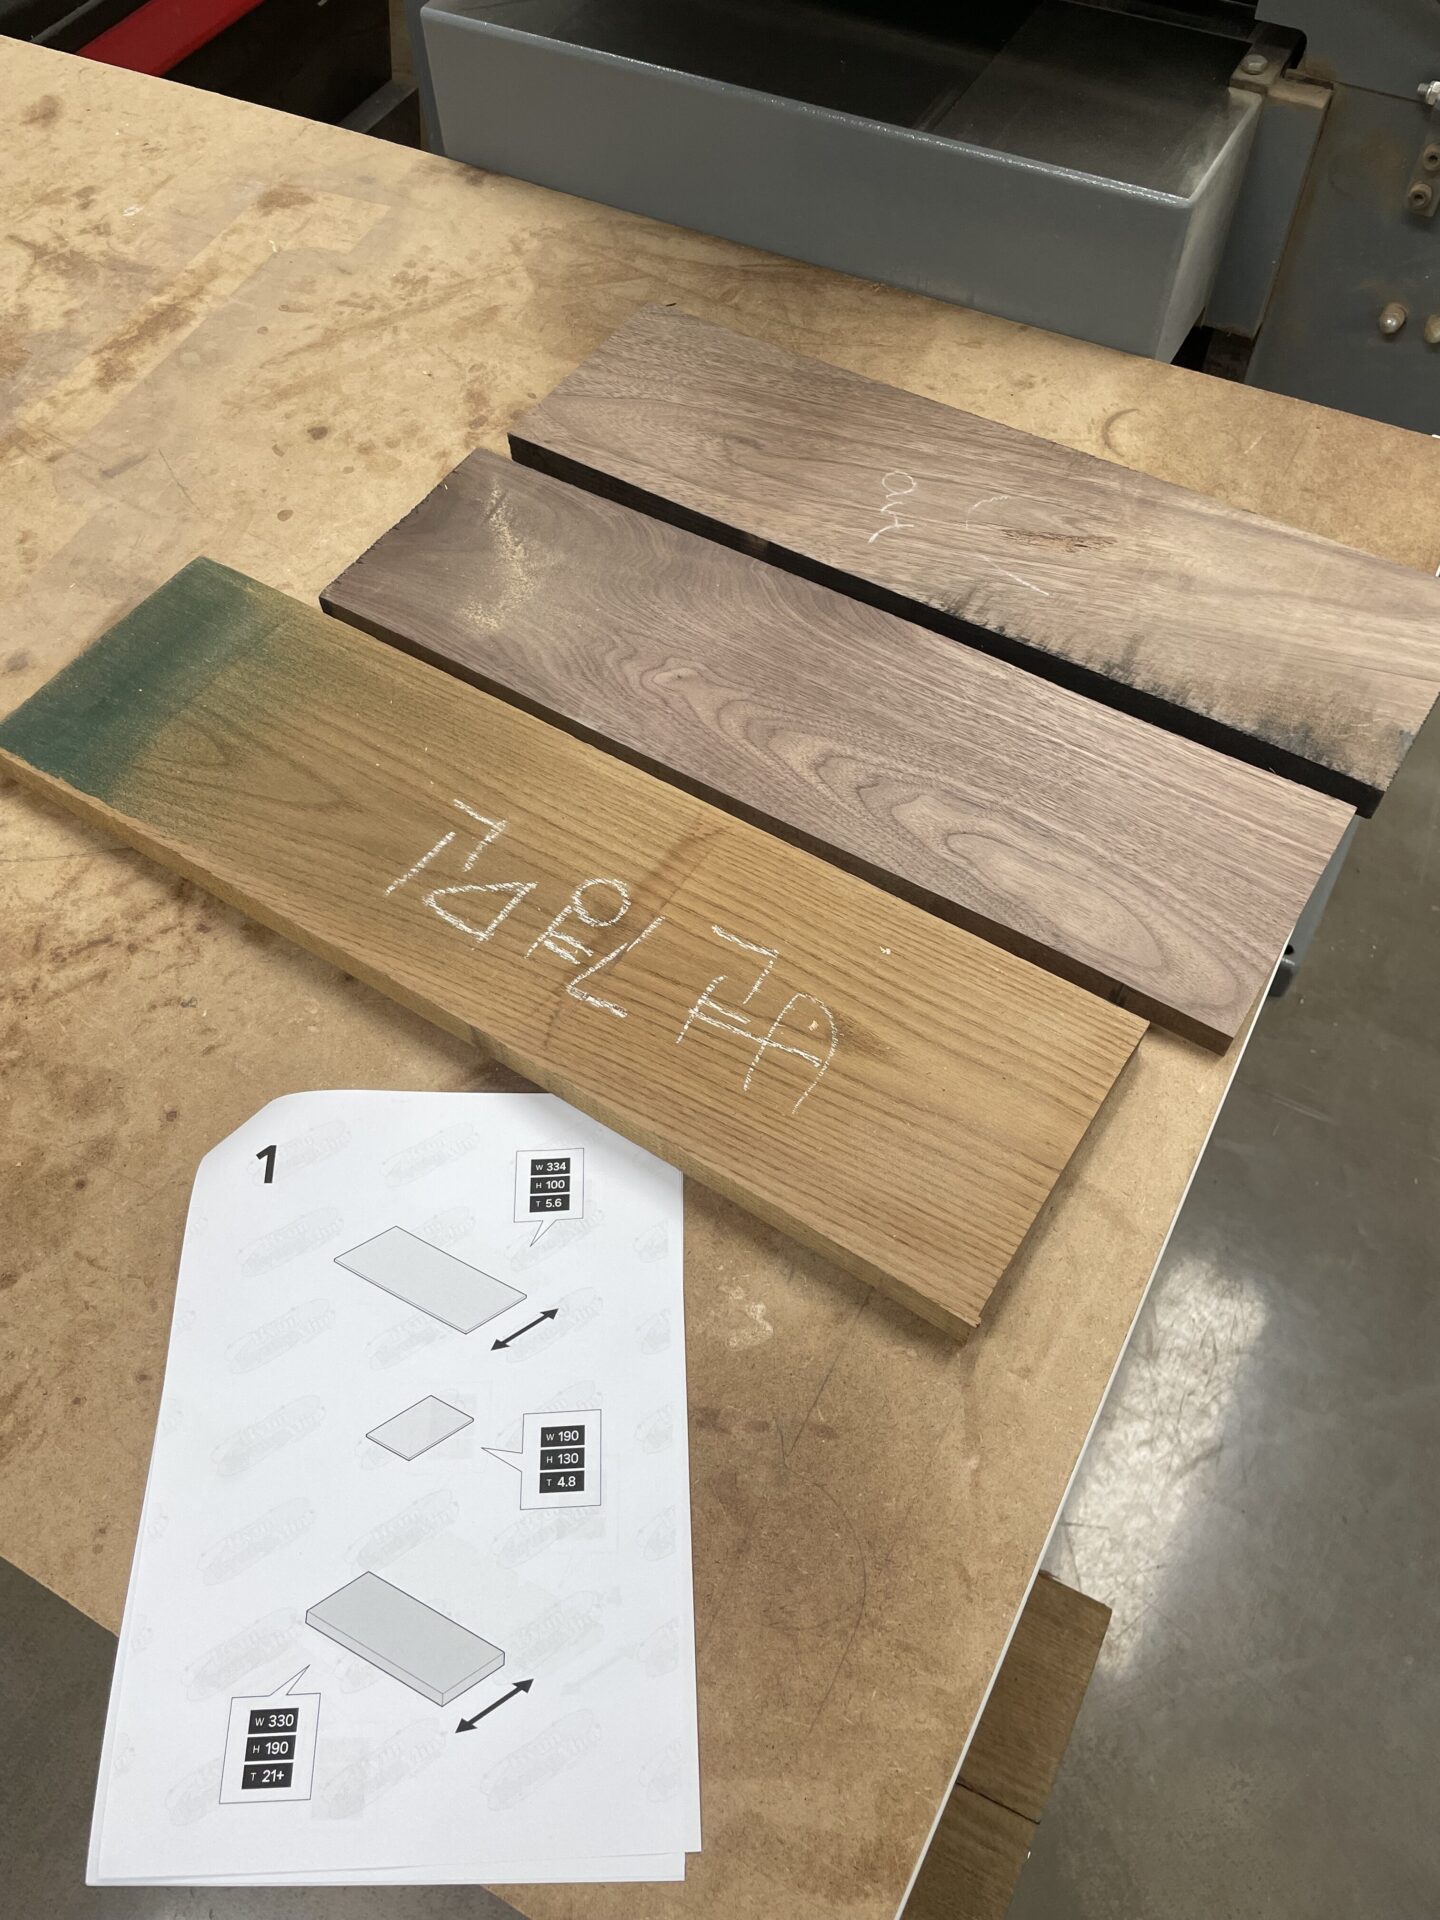
The more time spent making the instruction sheet, the less thinking is needed during the actual build.
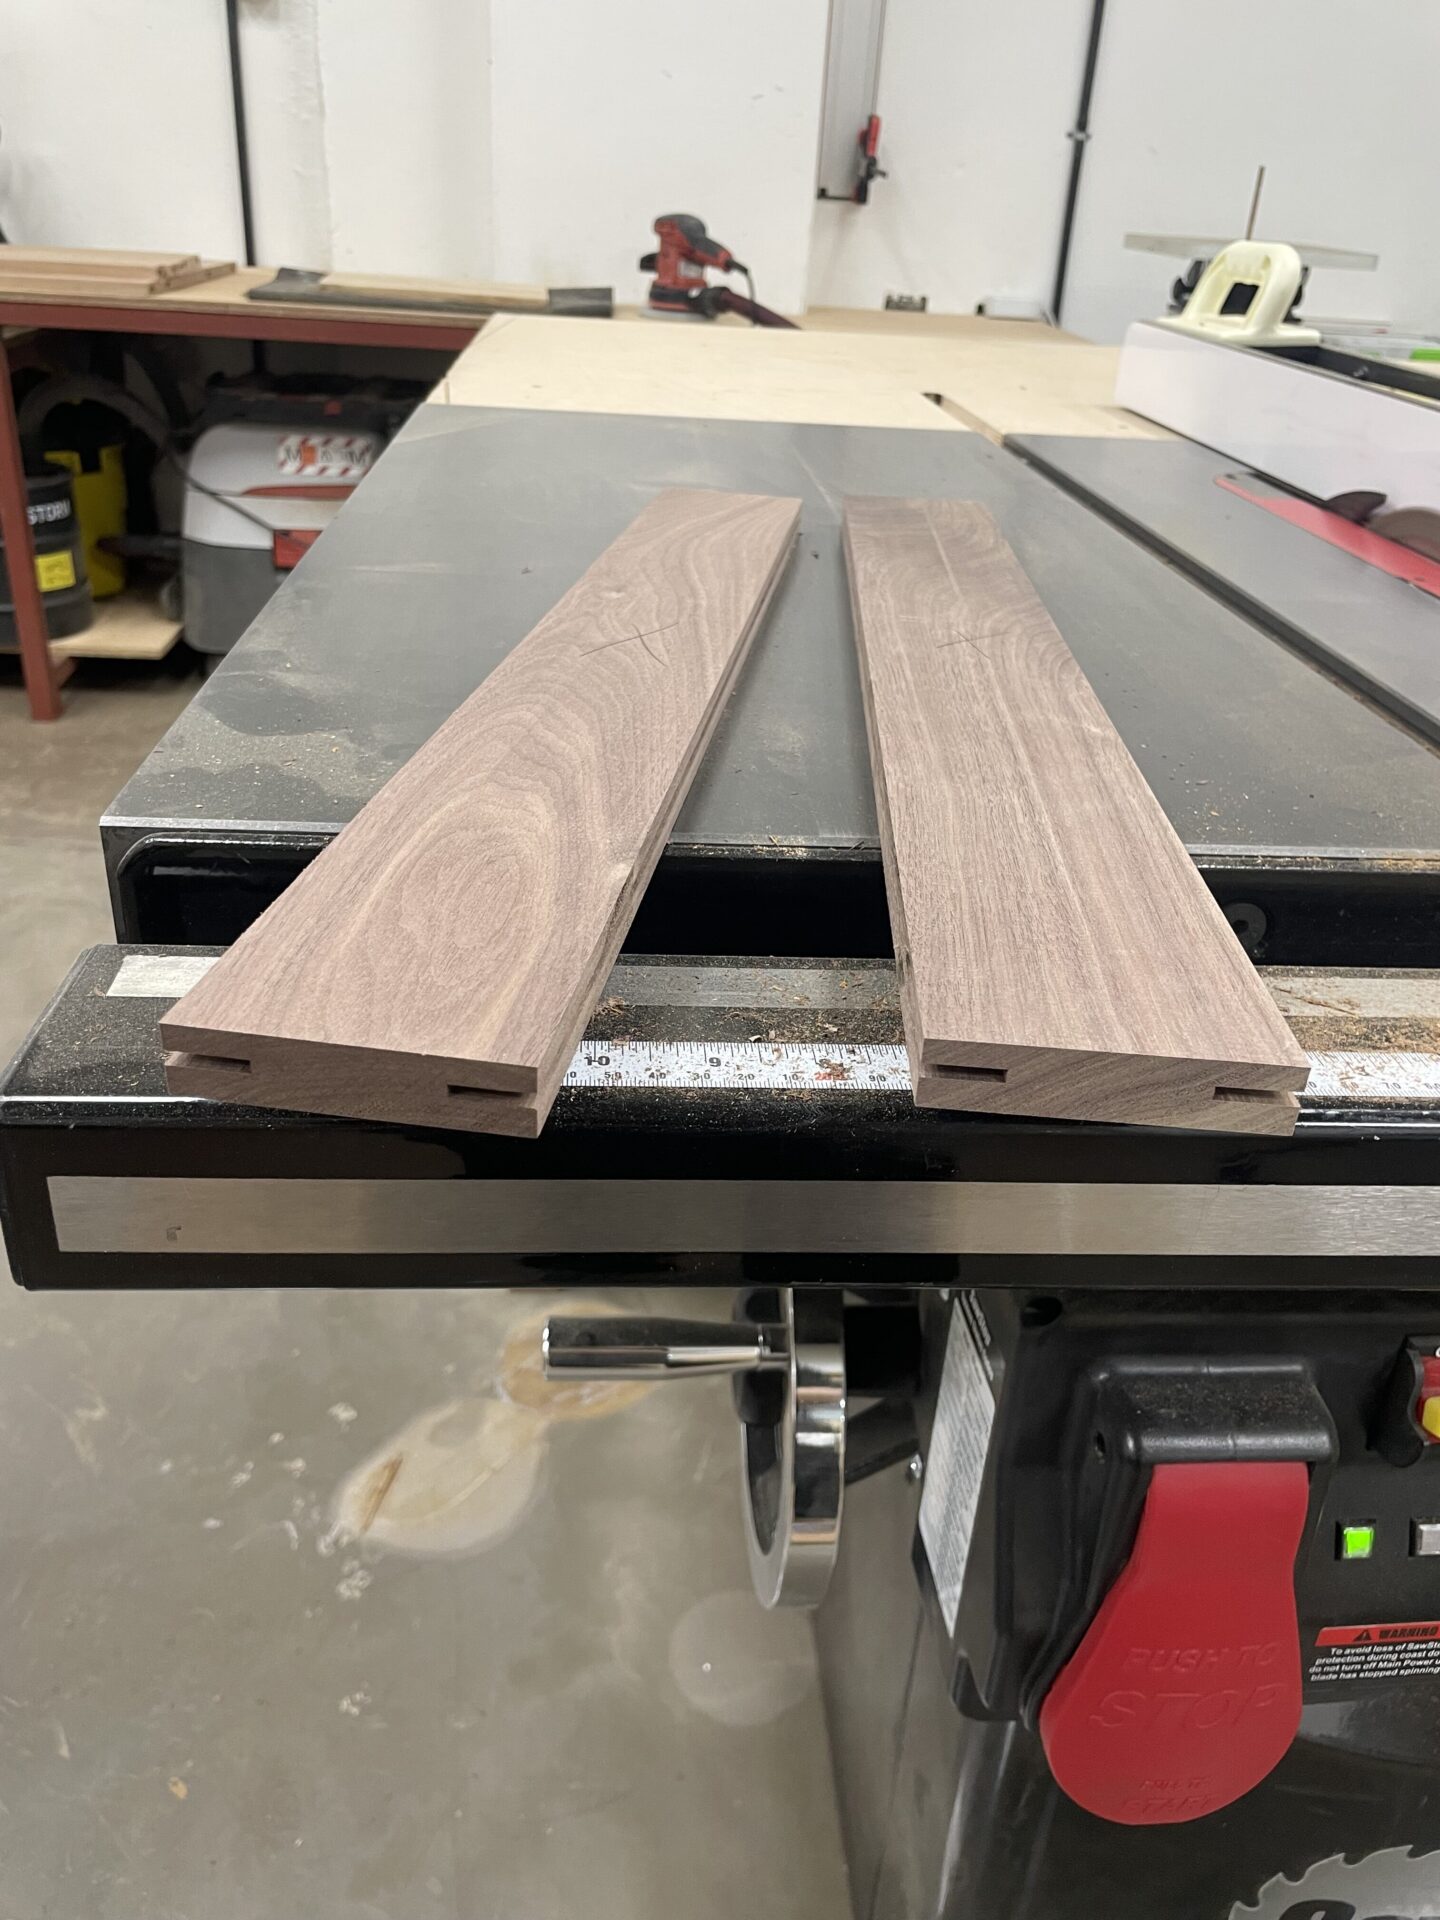
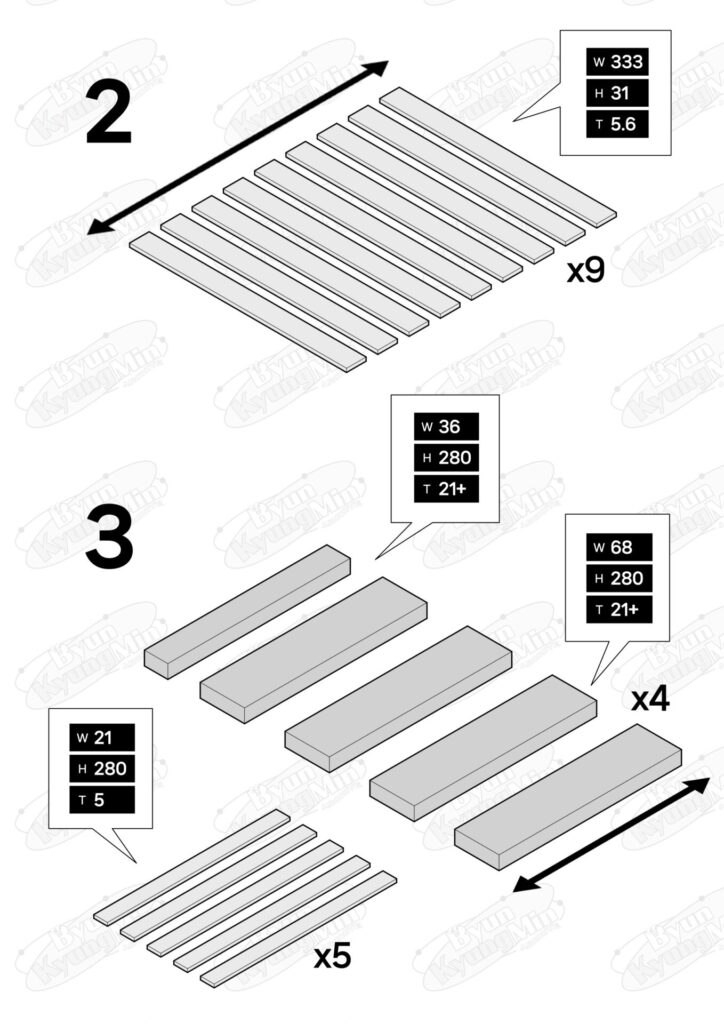
From 1-inch stock, I needed about 8 mm slices. Instead of wasting the rest with a planer, I used a table saw resawing technique I had learned.
The first design turned out wrong and I ran short on lumber. I did a partial test build. Always account for the 3 mm thickness of saw blades.
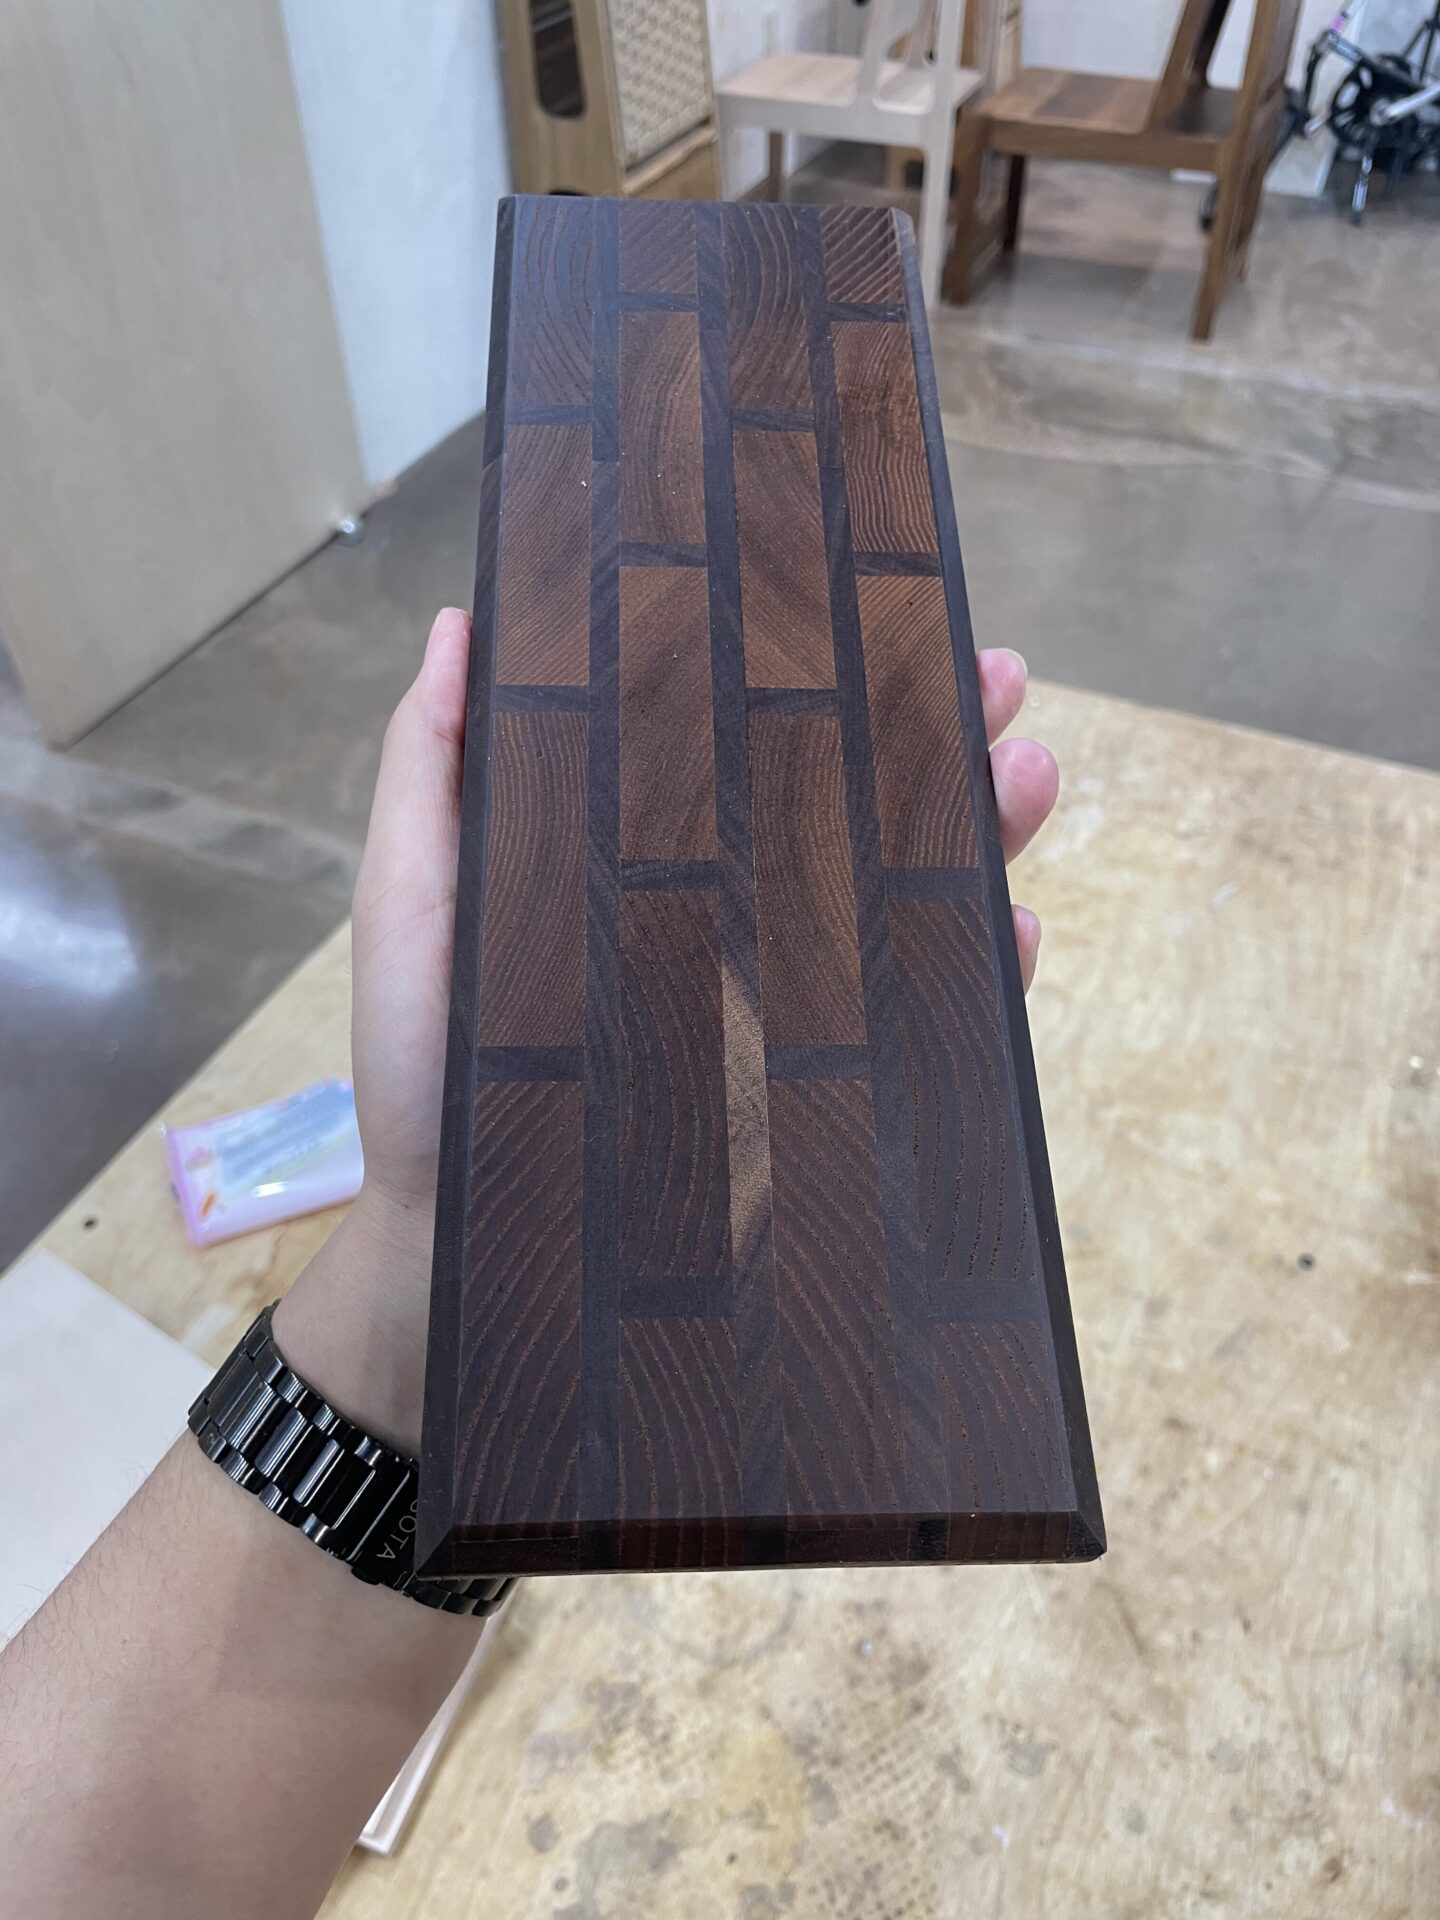
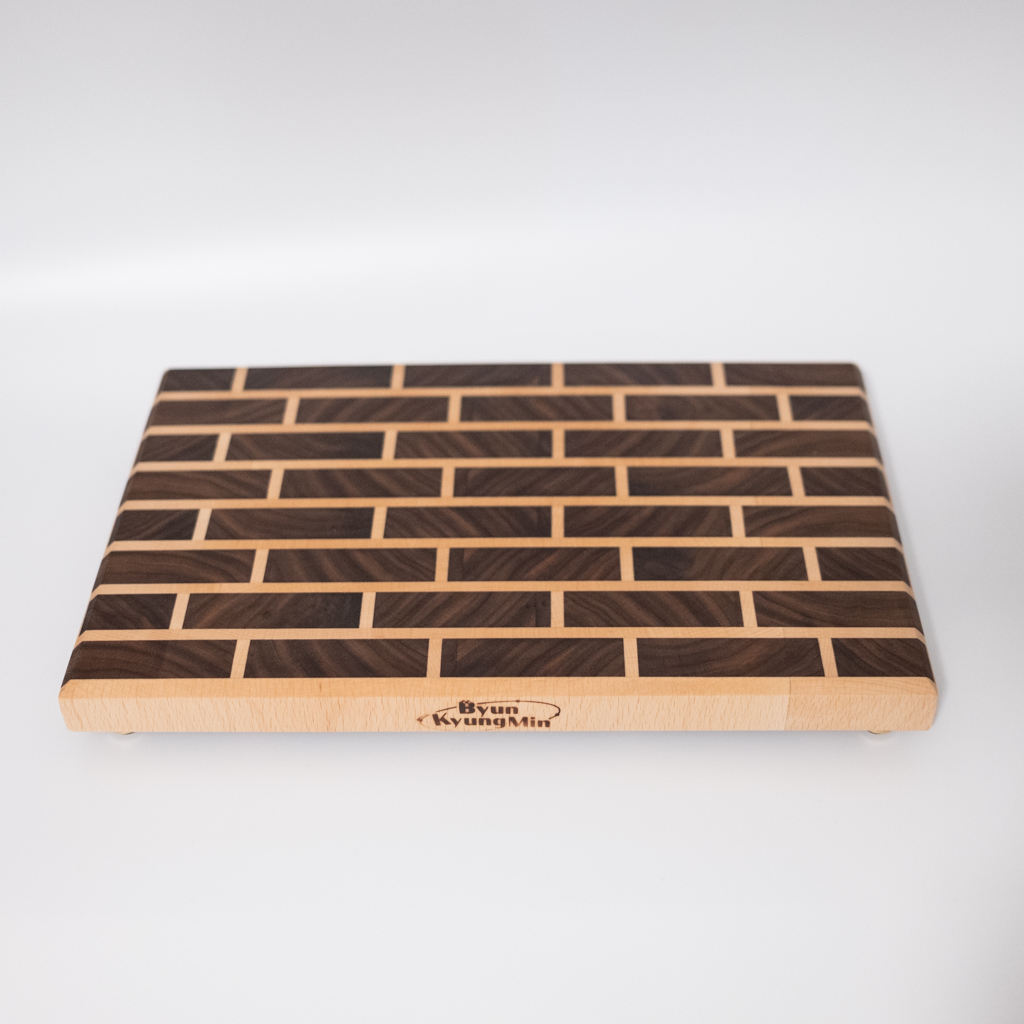
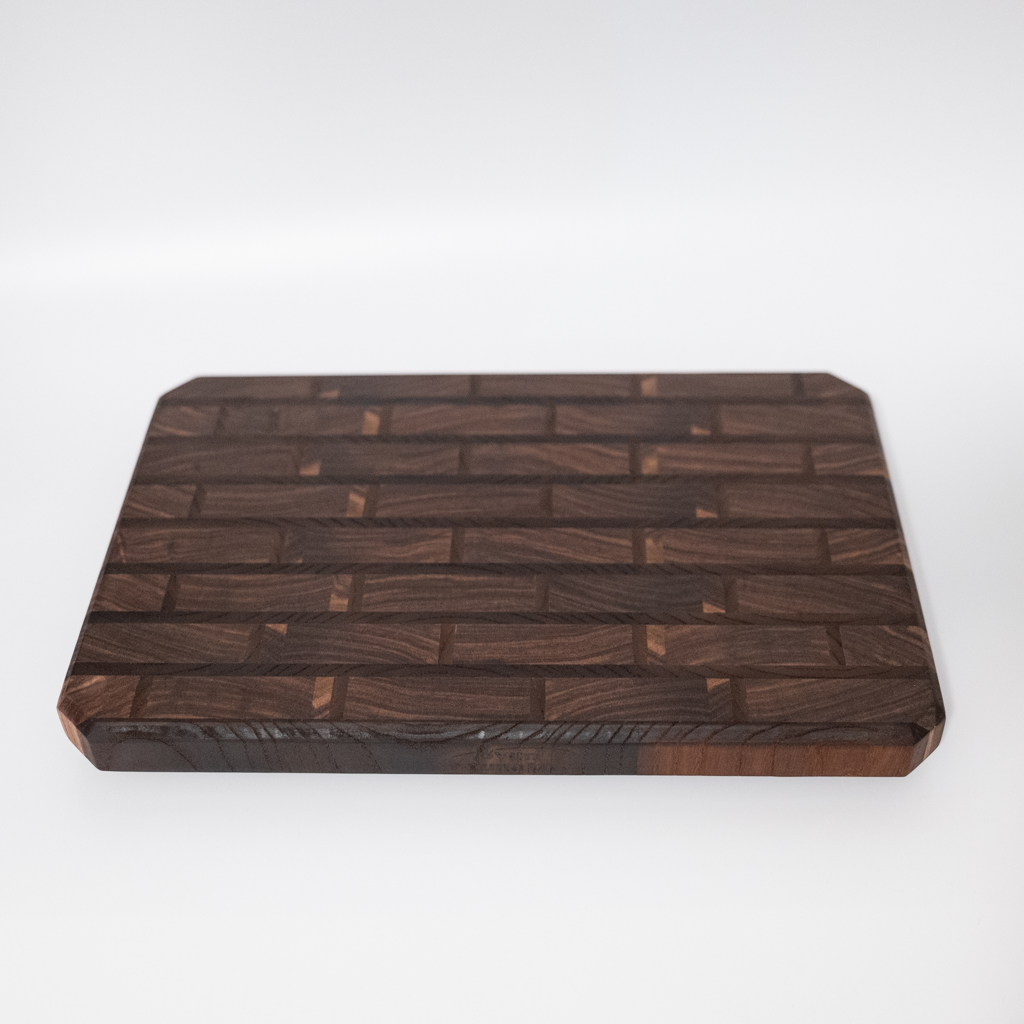
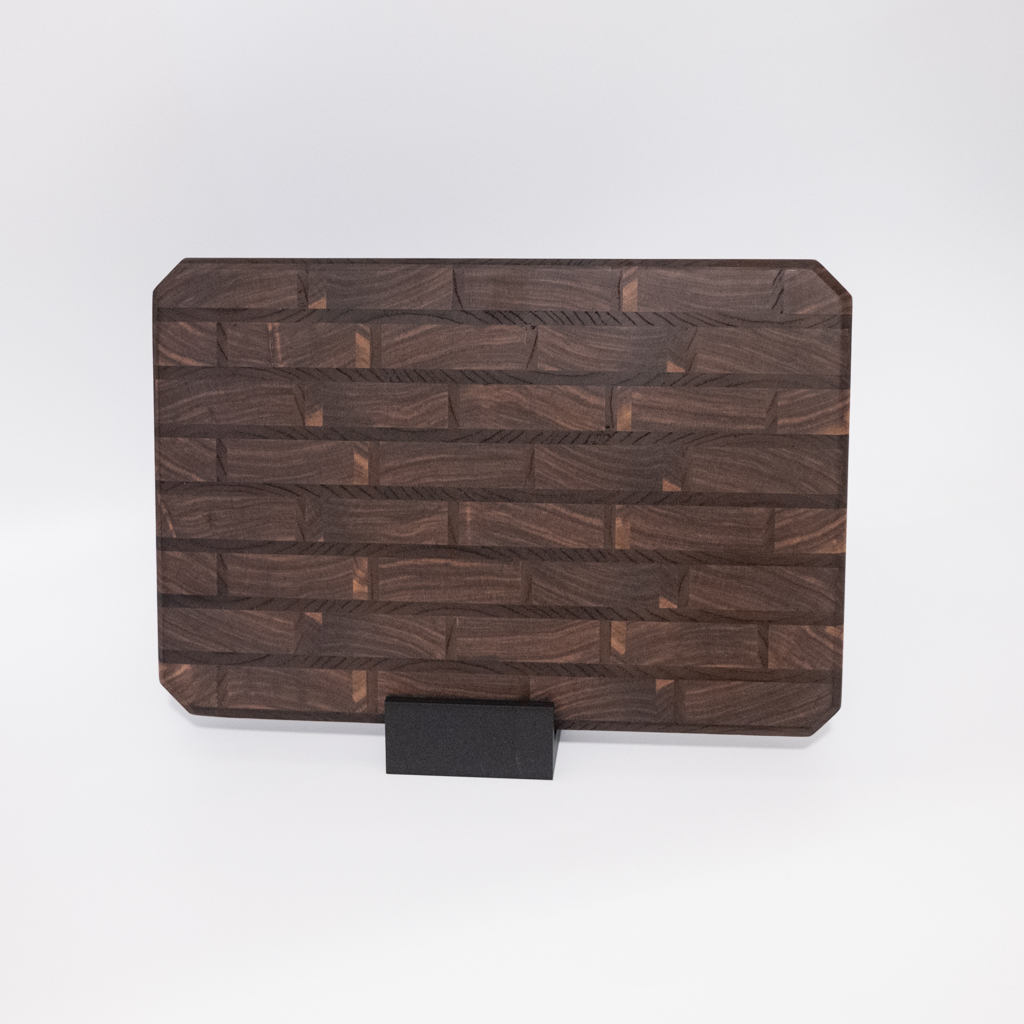
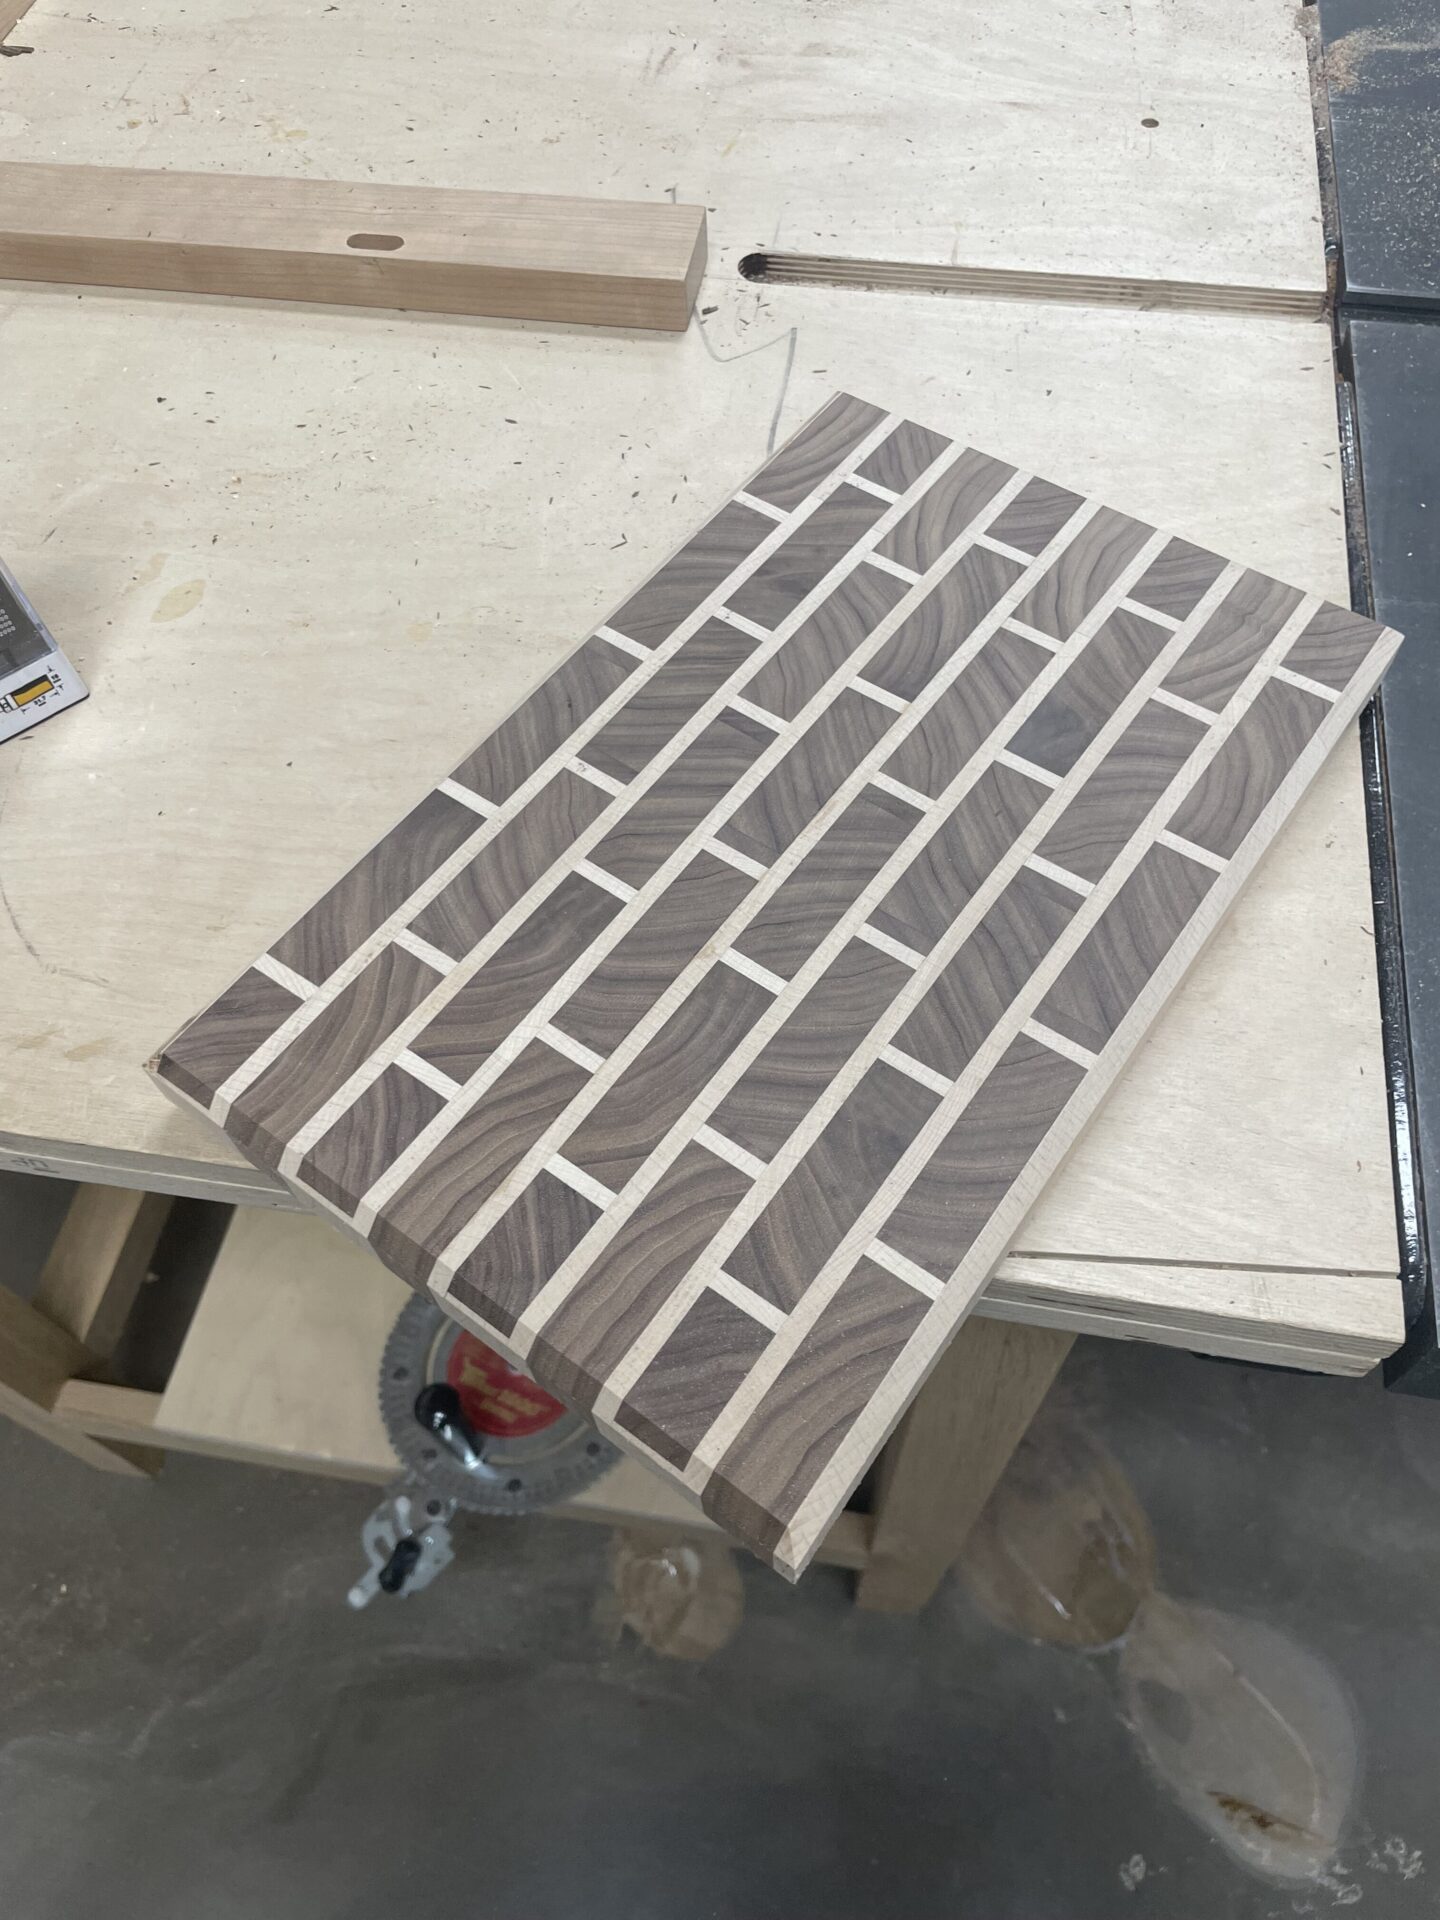
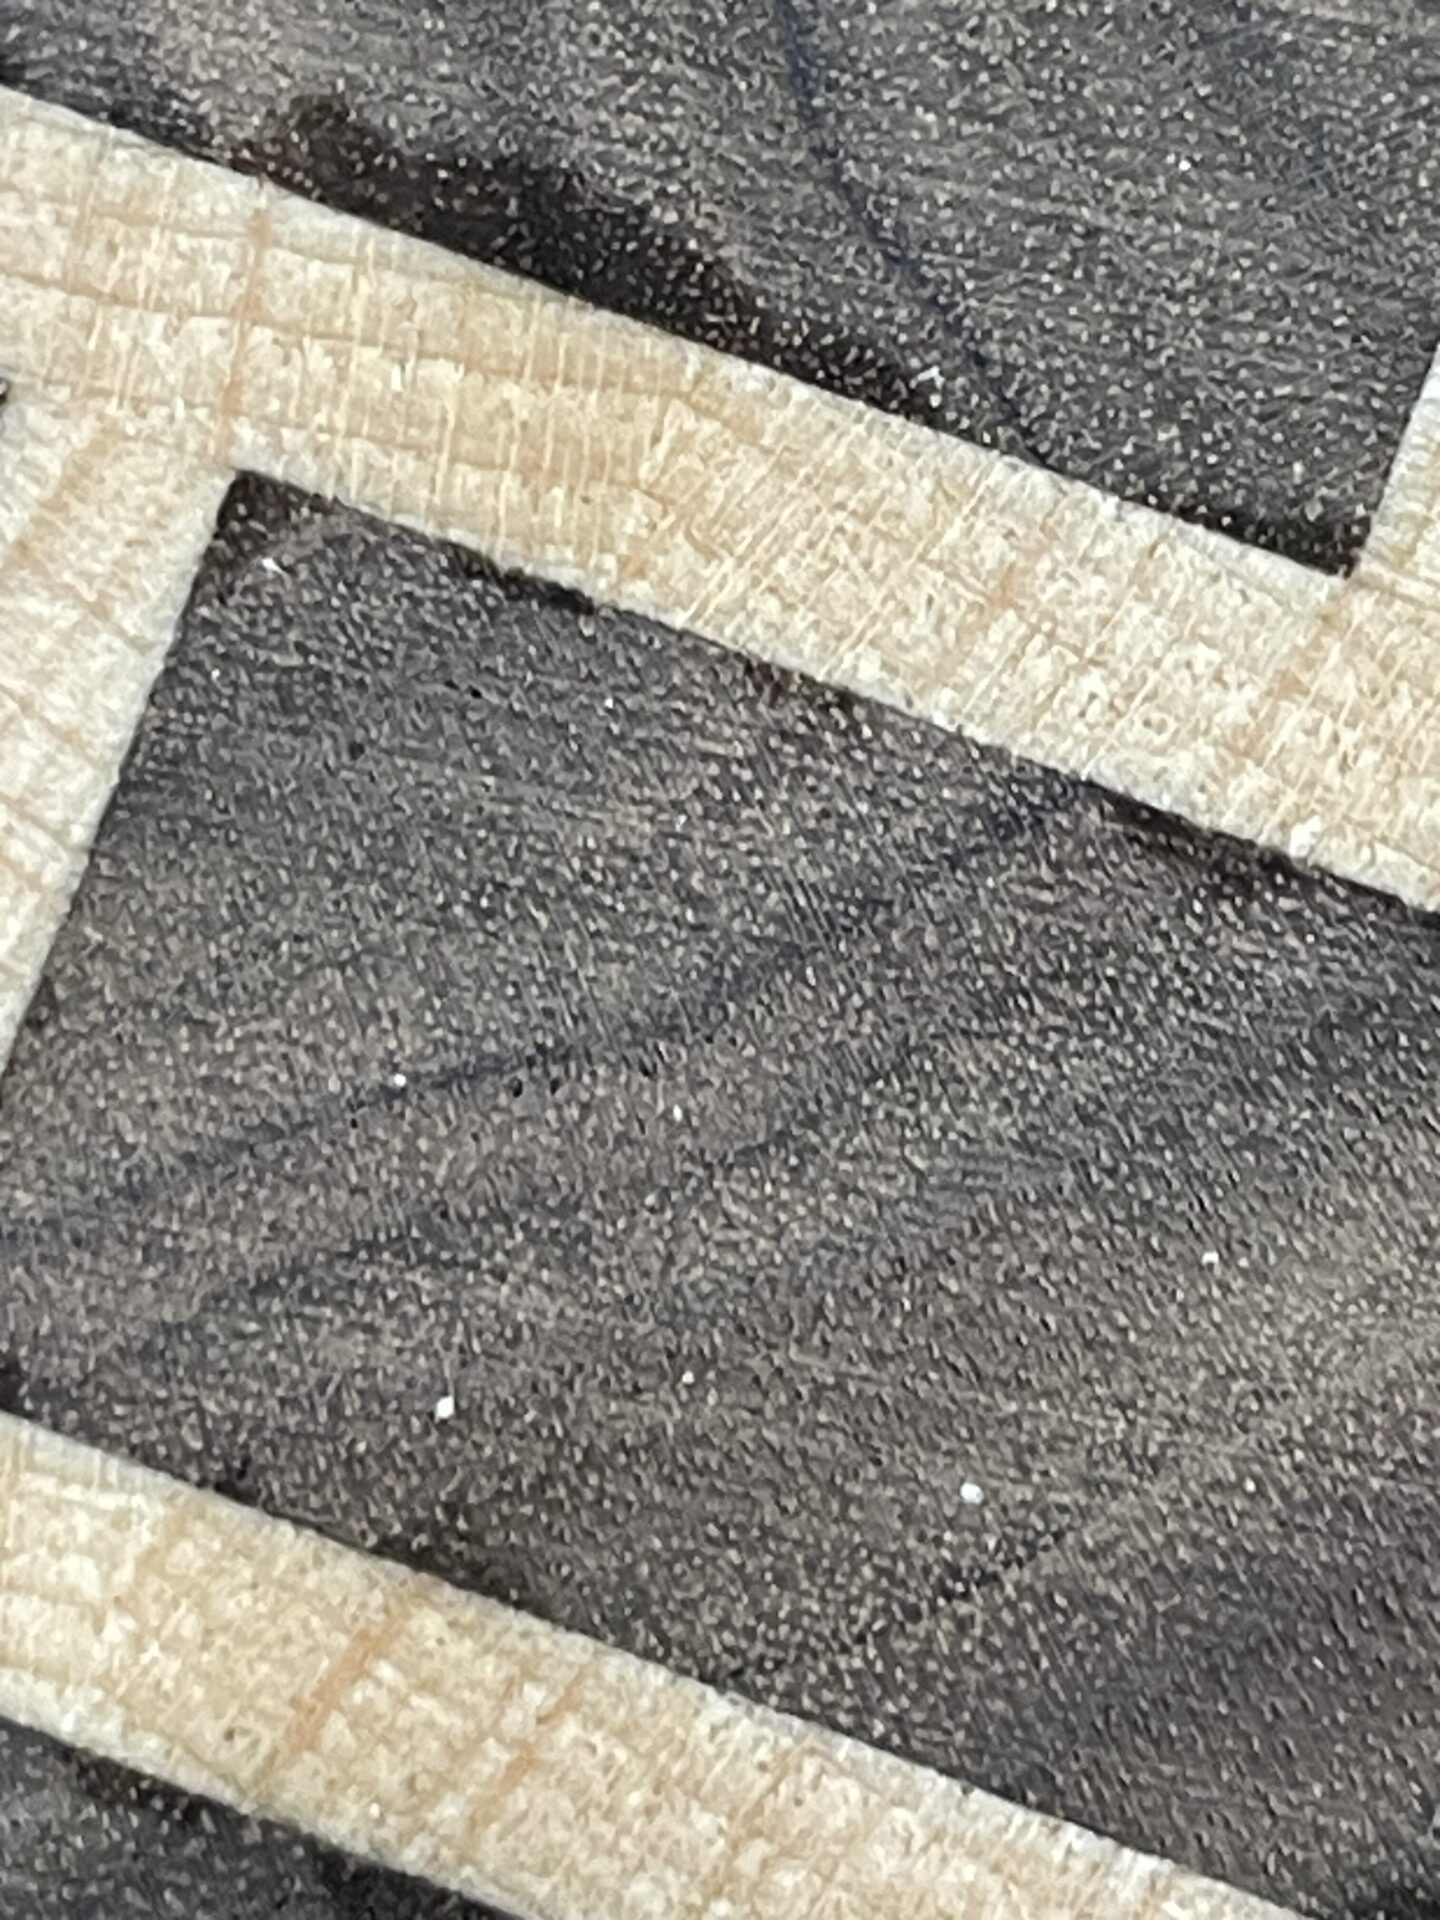
After sanding and oiling, this was the result. The brick-like sections were made of charred ash, while the rest was walnut.
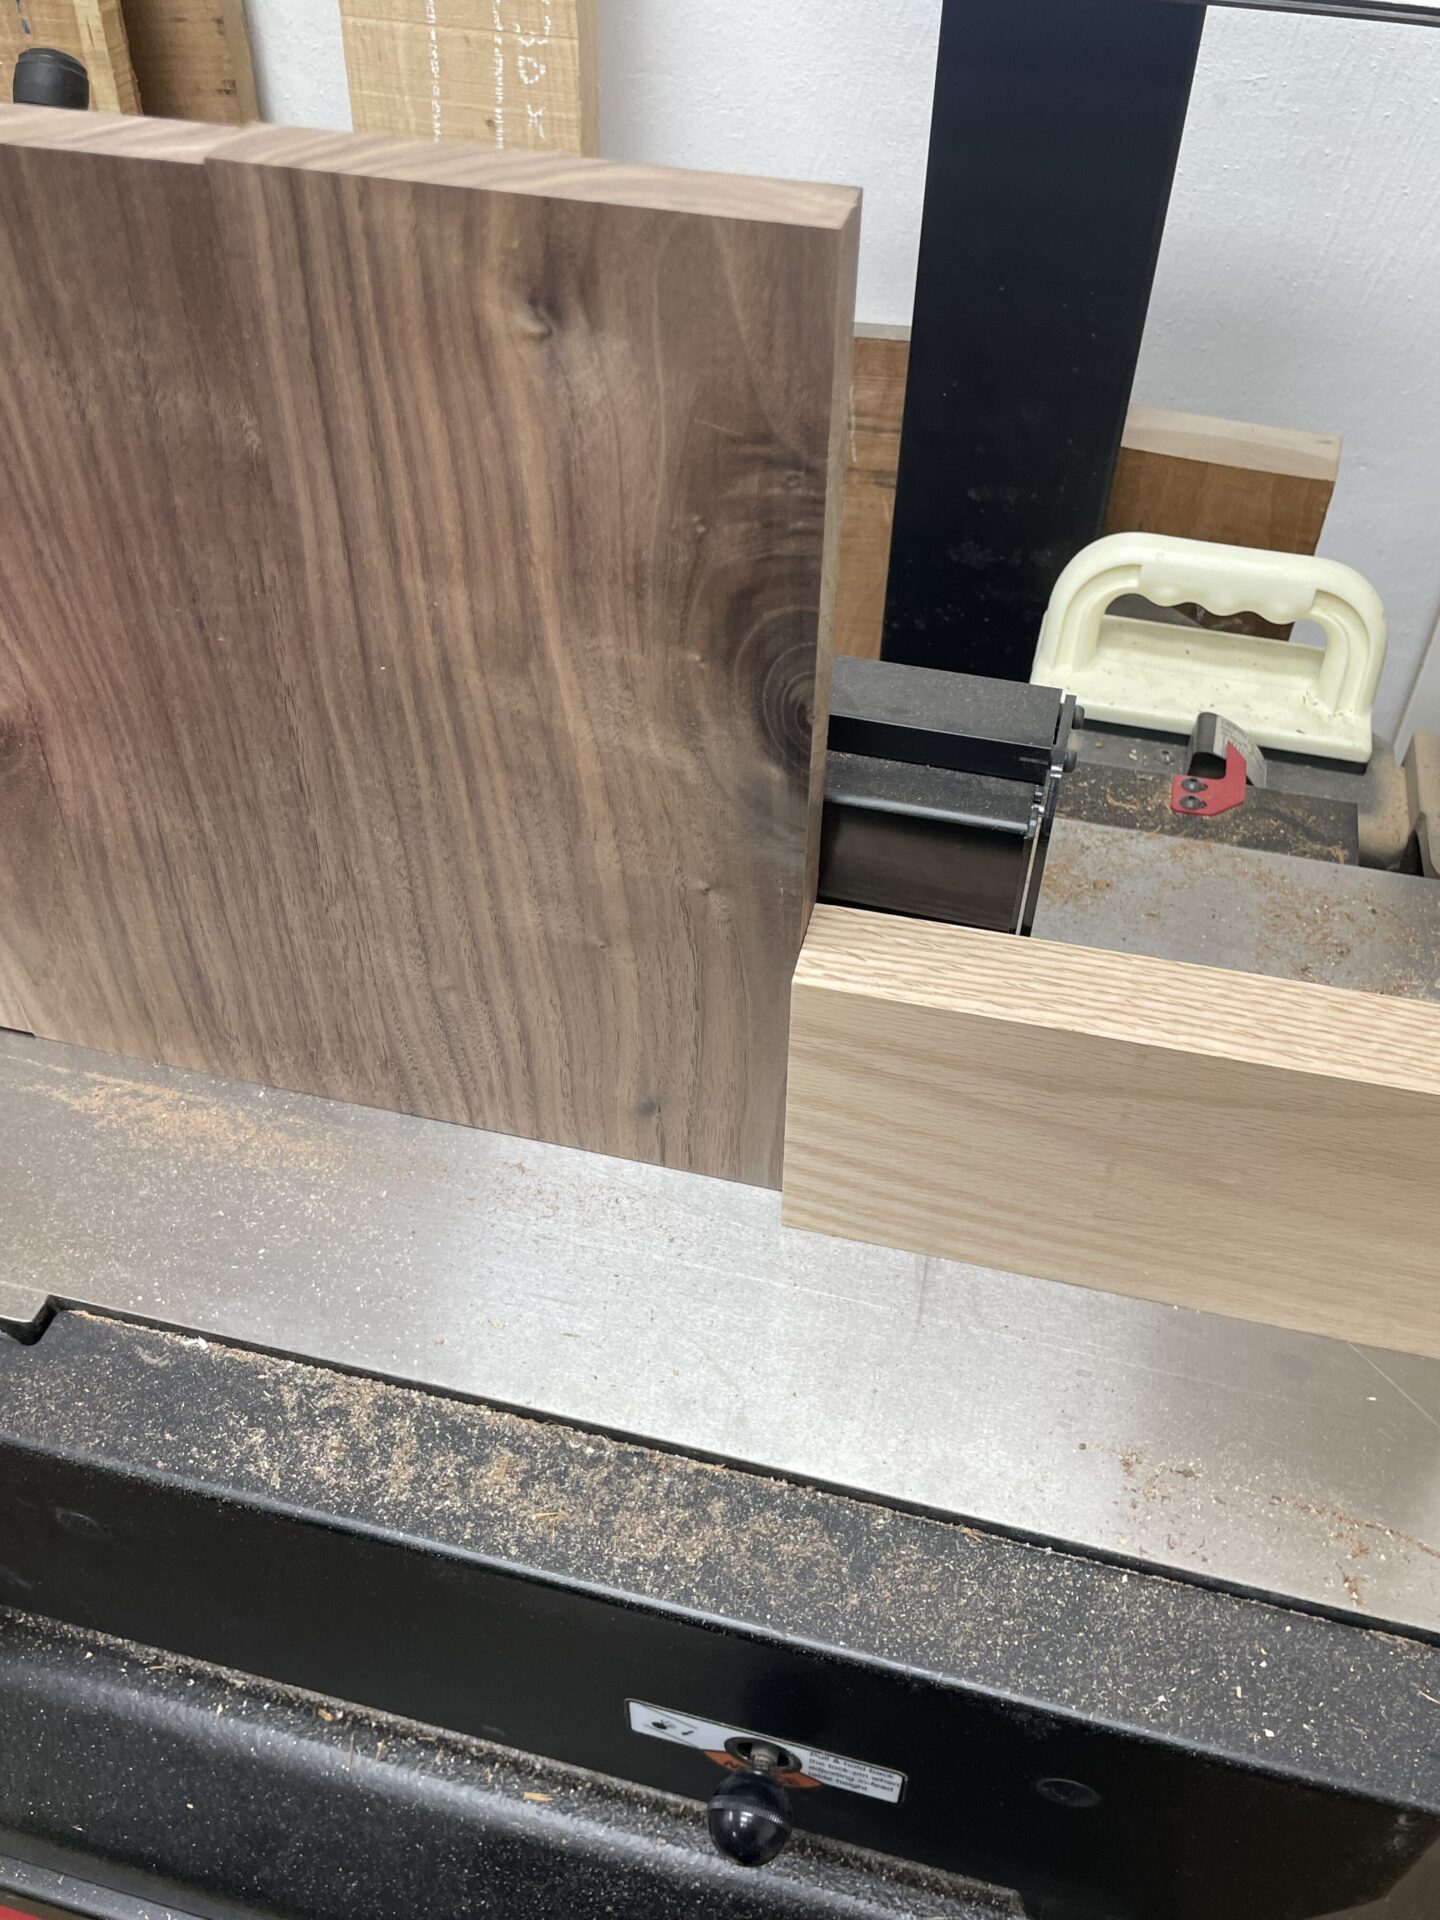
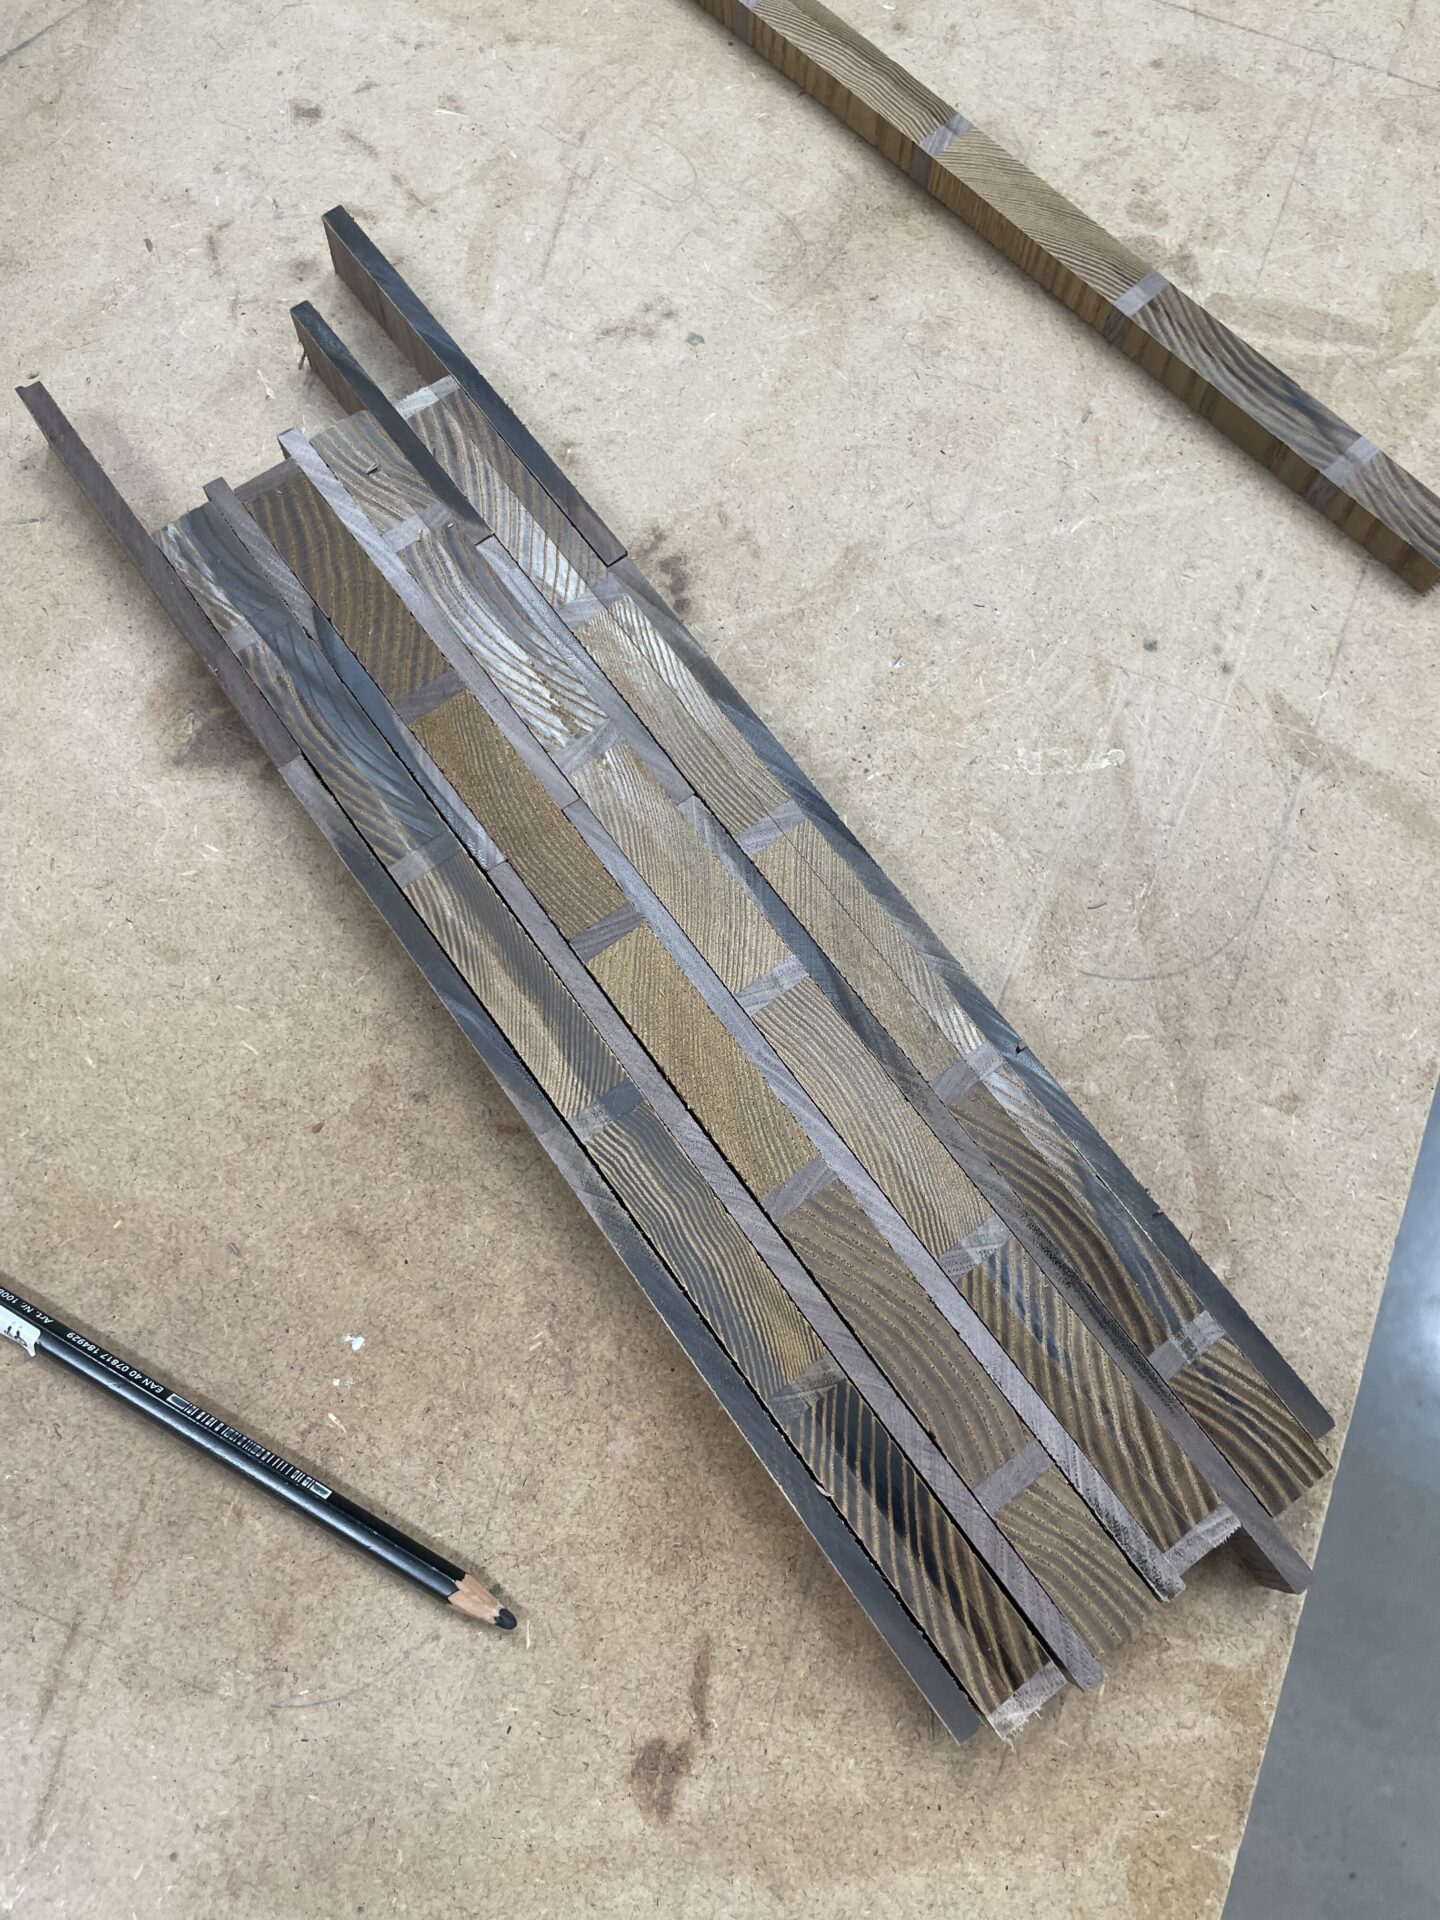
When planing glued-up boards against the grain, place another piece behind to prevent tear-out.
Started the second build with a revised instruction sheet.

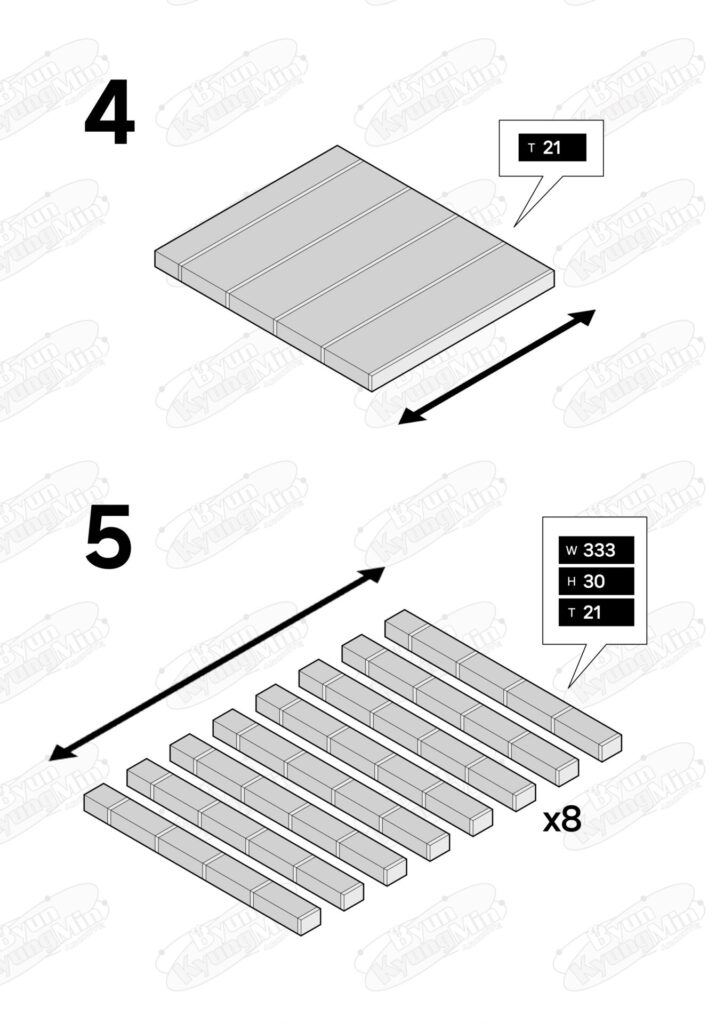
After about 30 minutes of glue-up, scrape off the hardened glue with a knife.
Rushing causes mistakes—if the end-grain orientation is mismatched, the board becomes unusable.
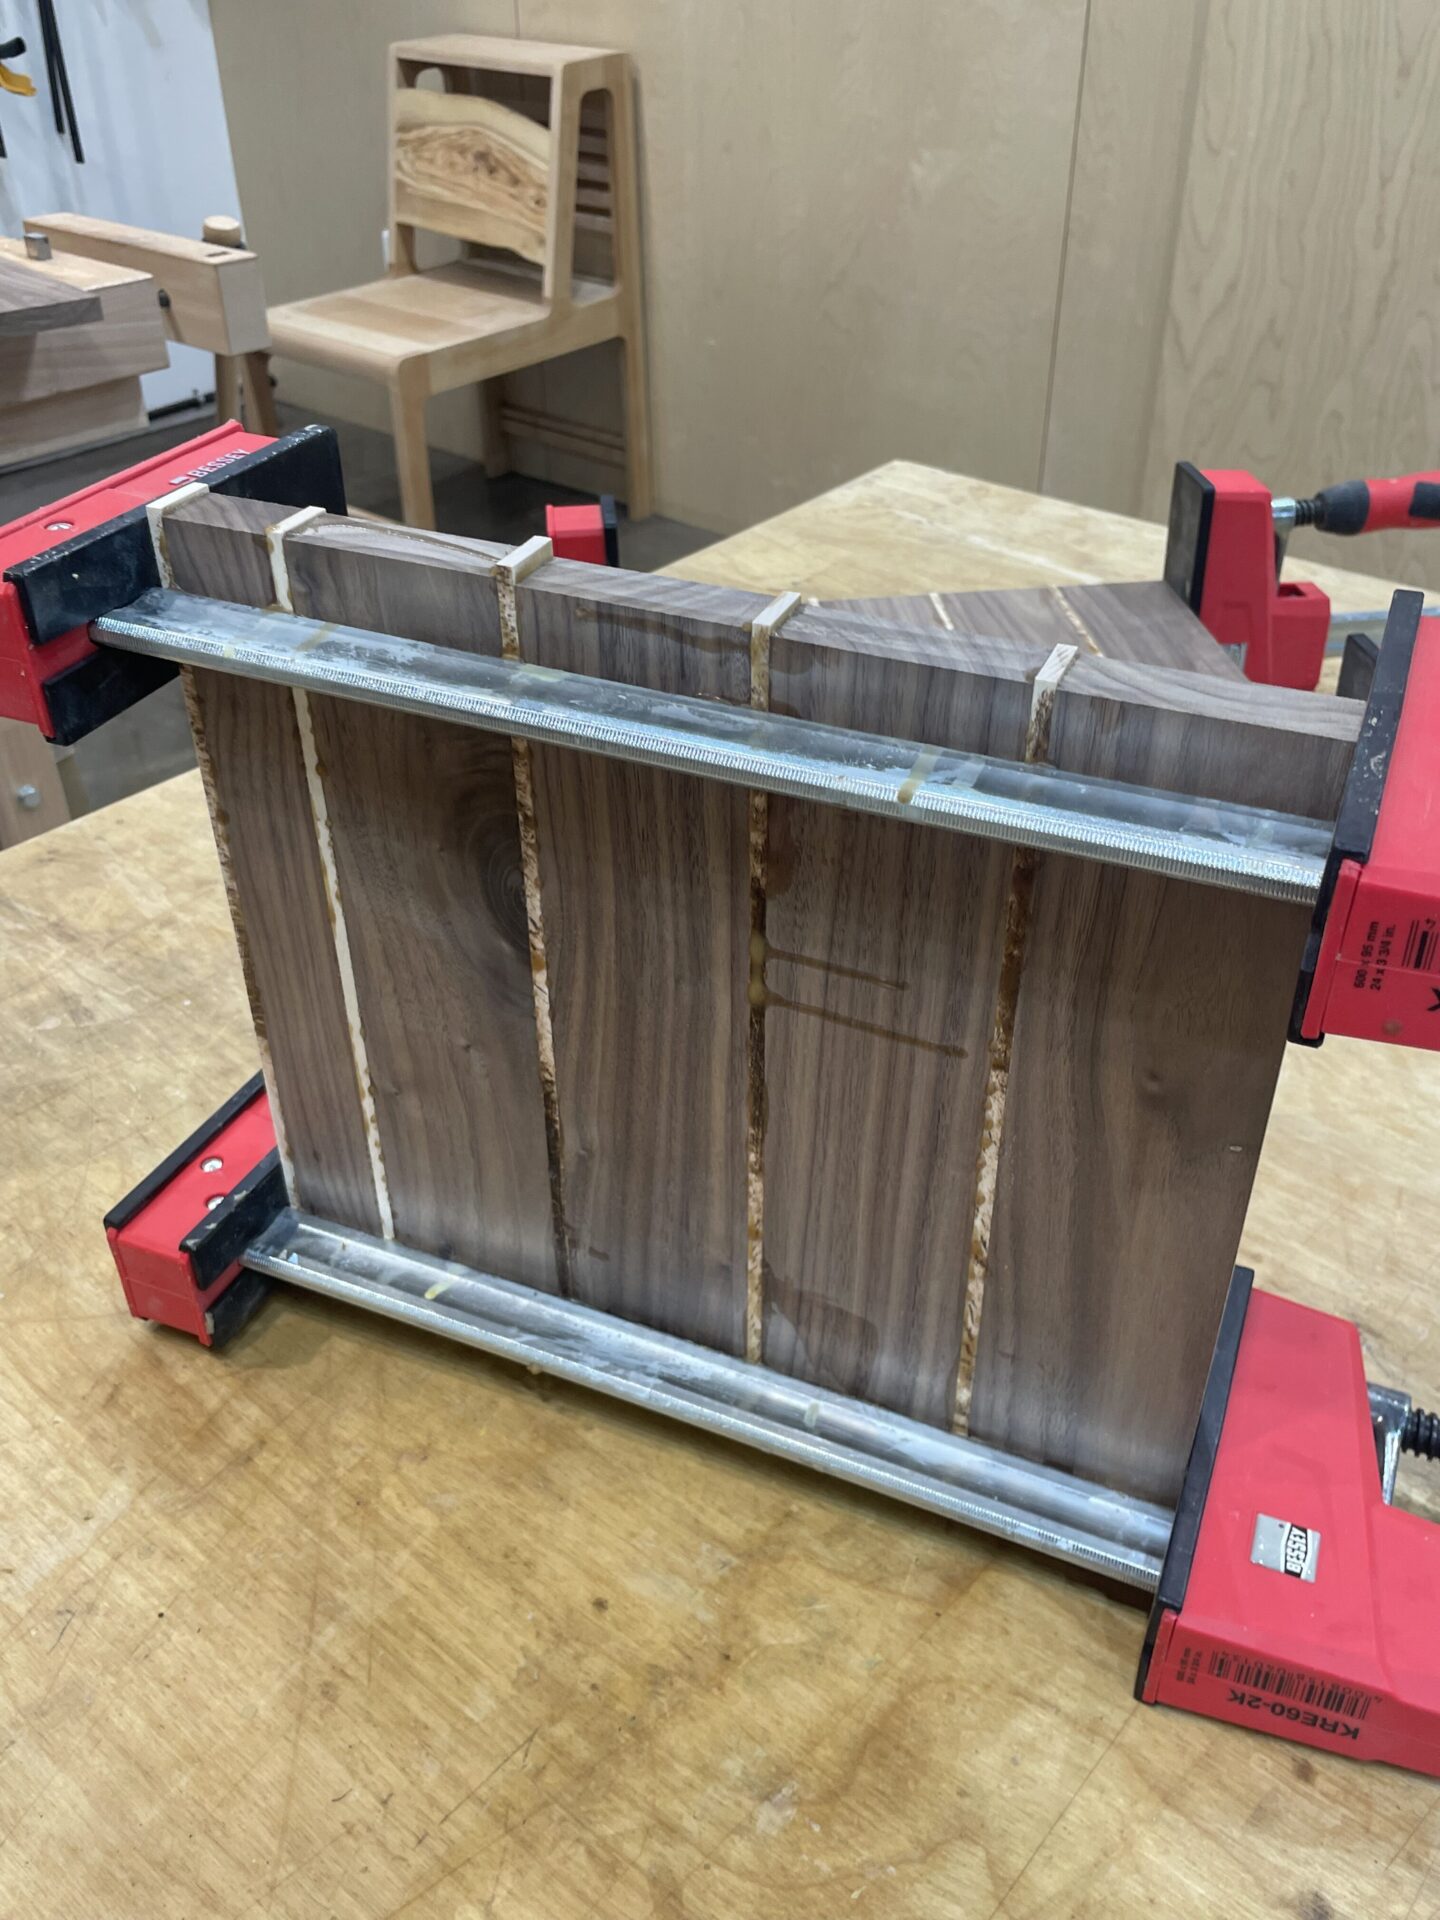
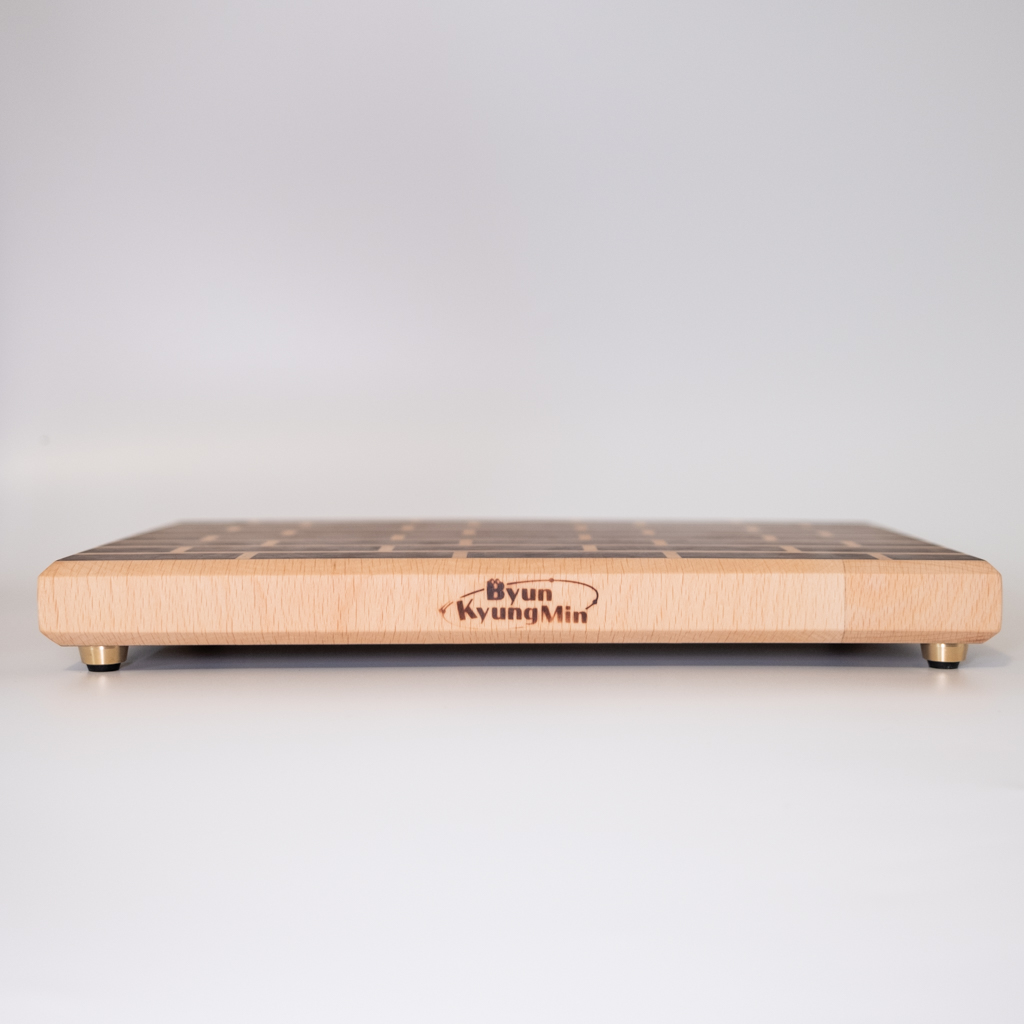
This time I chose walnut and beech for a clear color contrast.
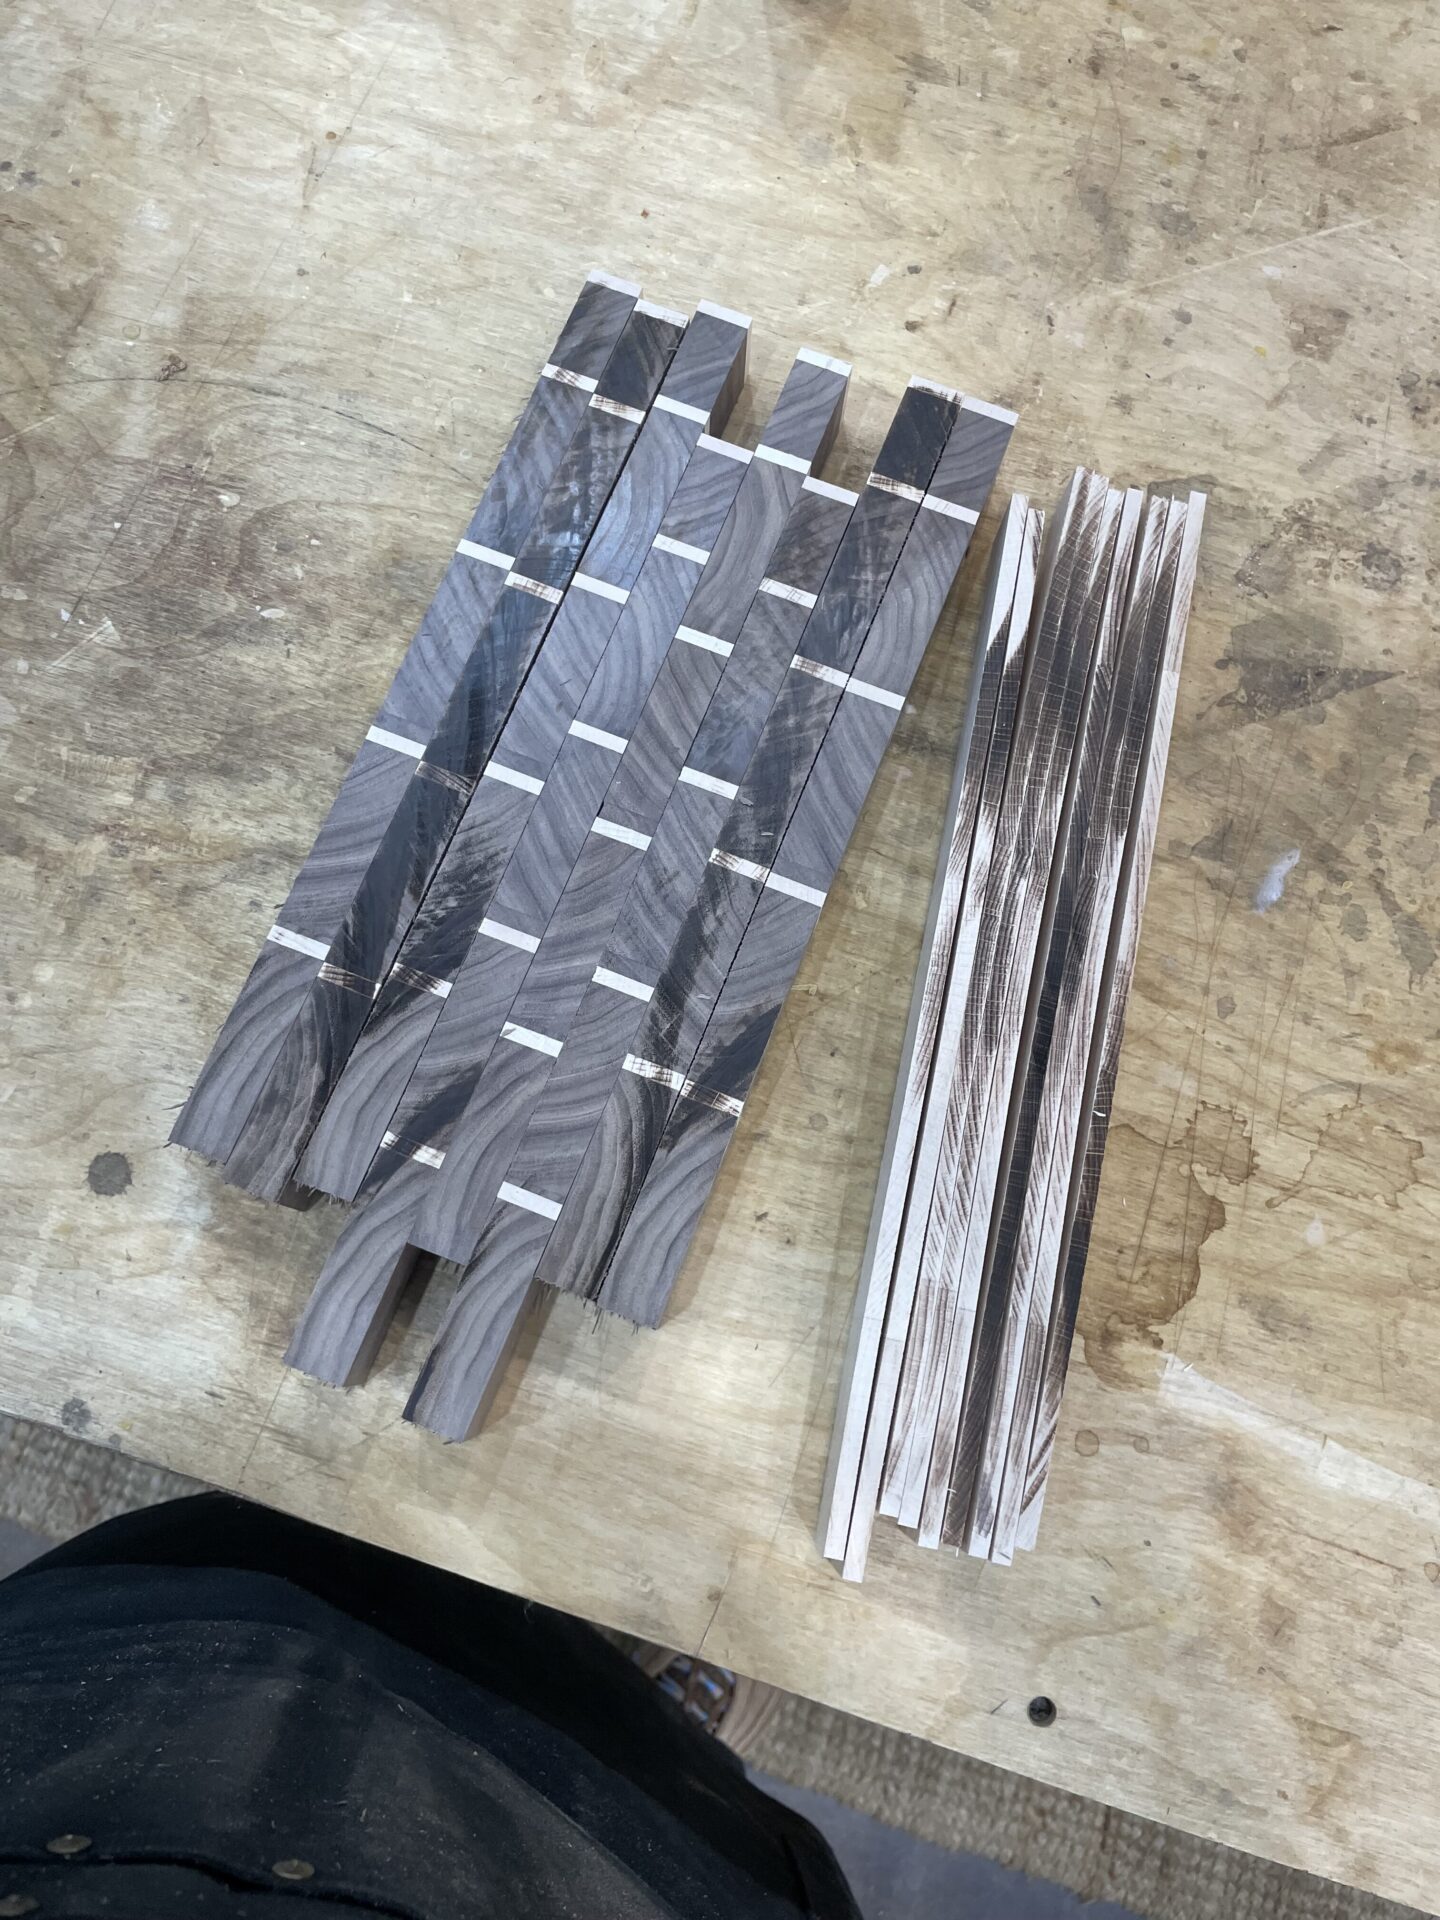
Cutting them up like this.
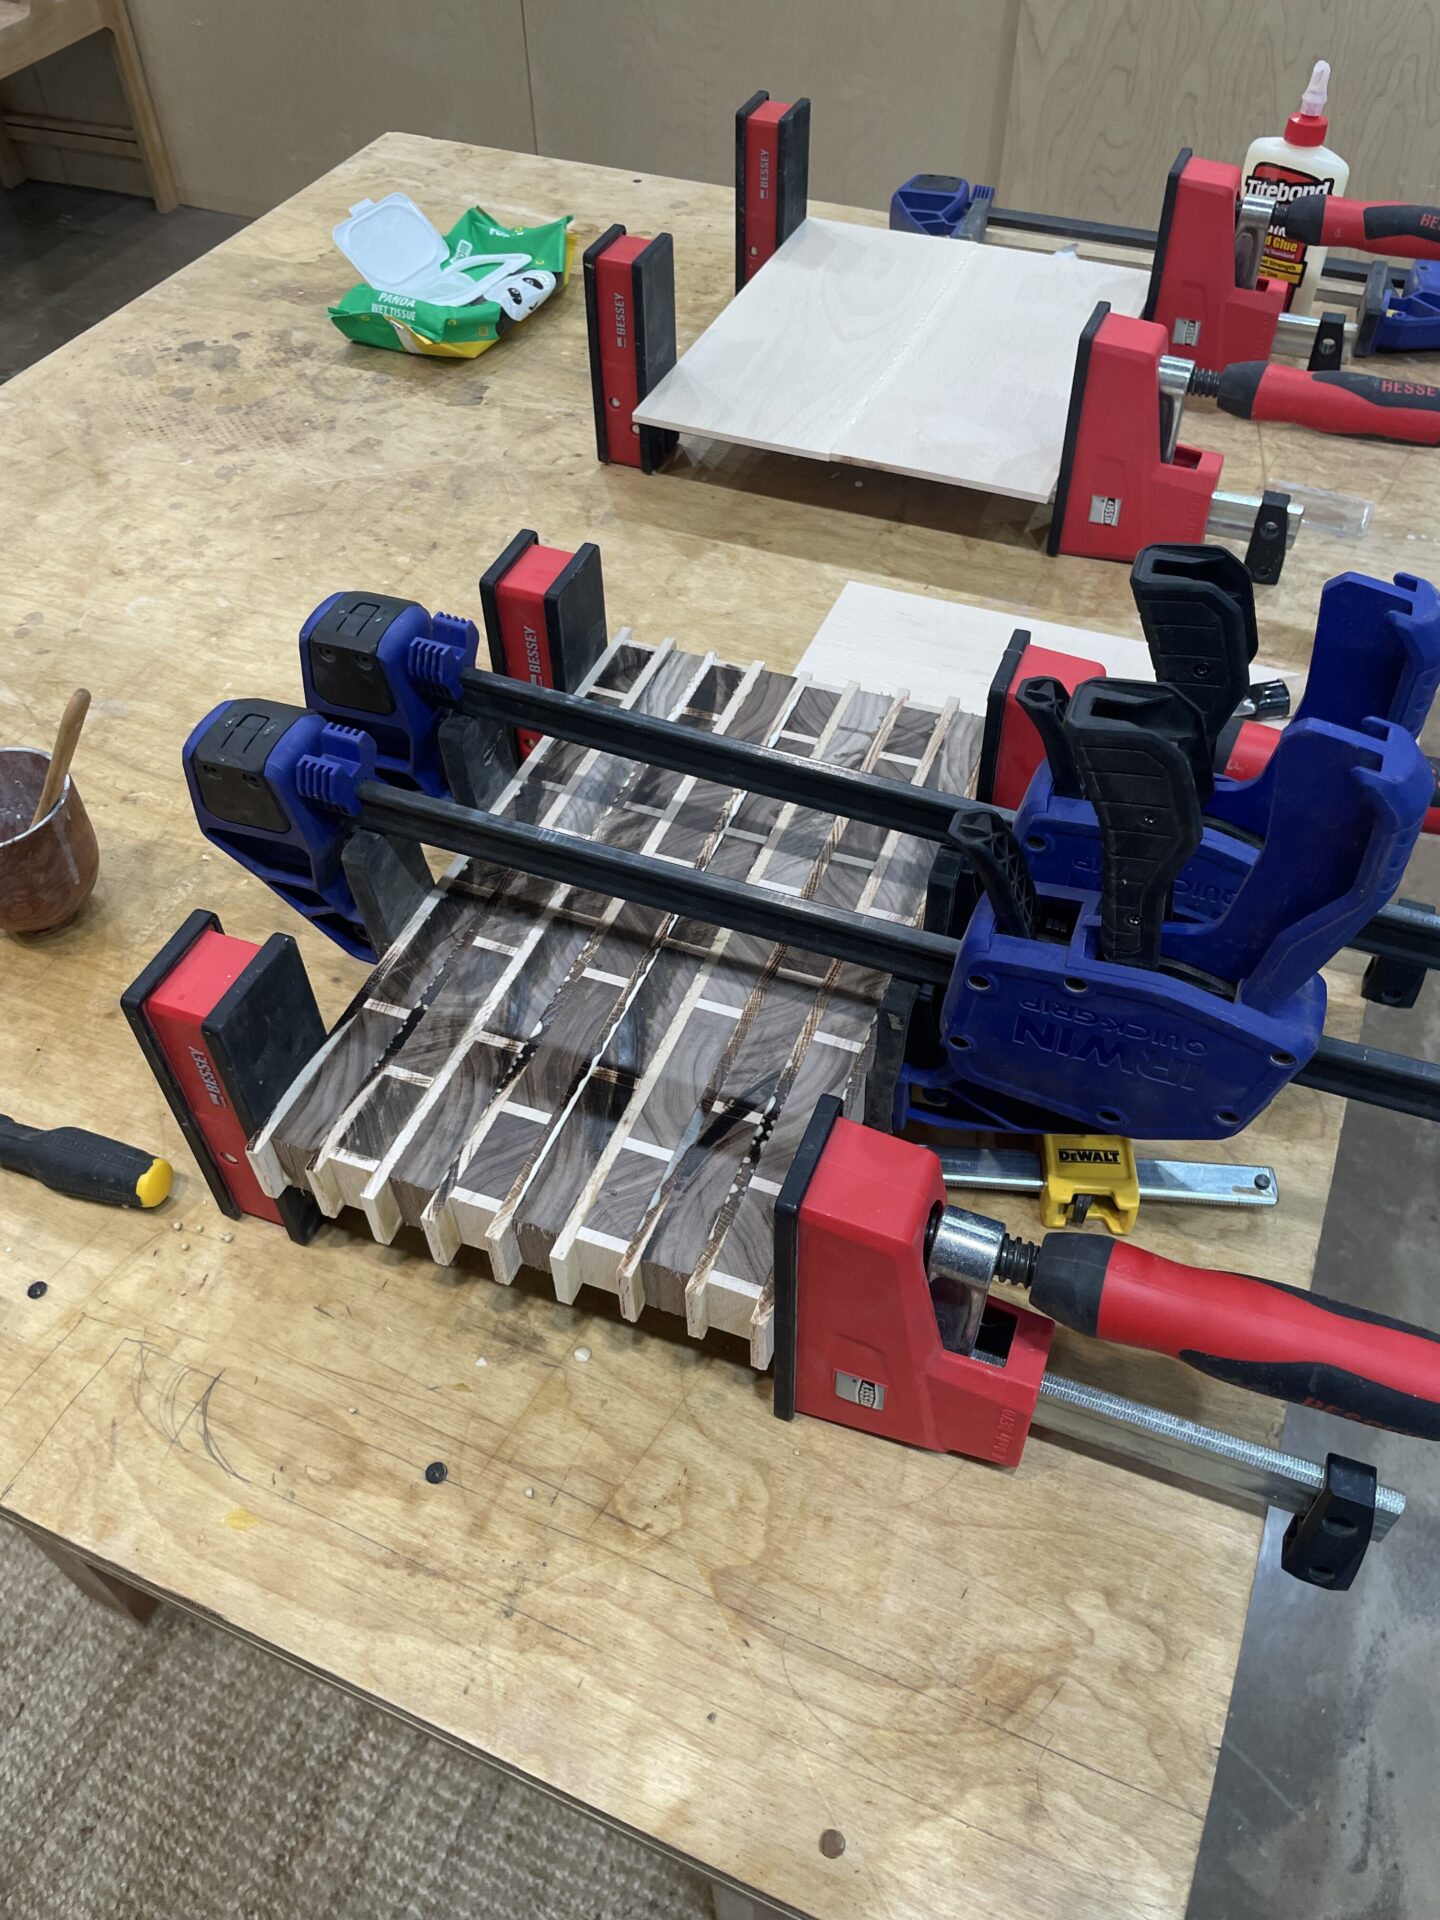
Another glue-up.
Planing and sanding, removing burn marks and blemishes.
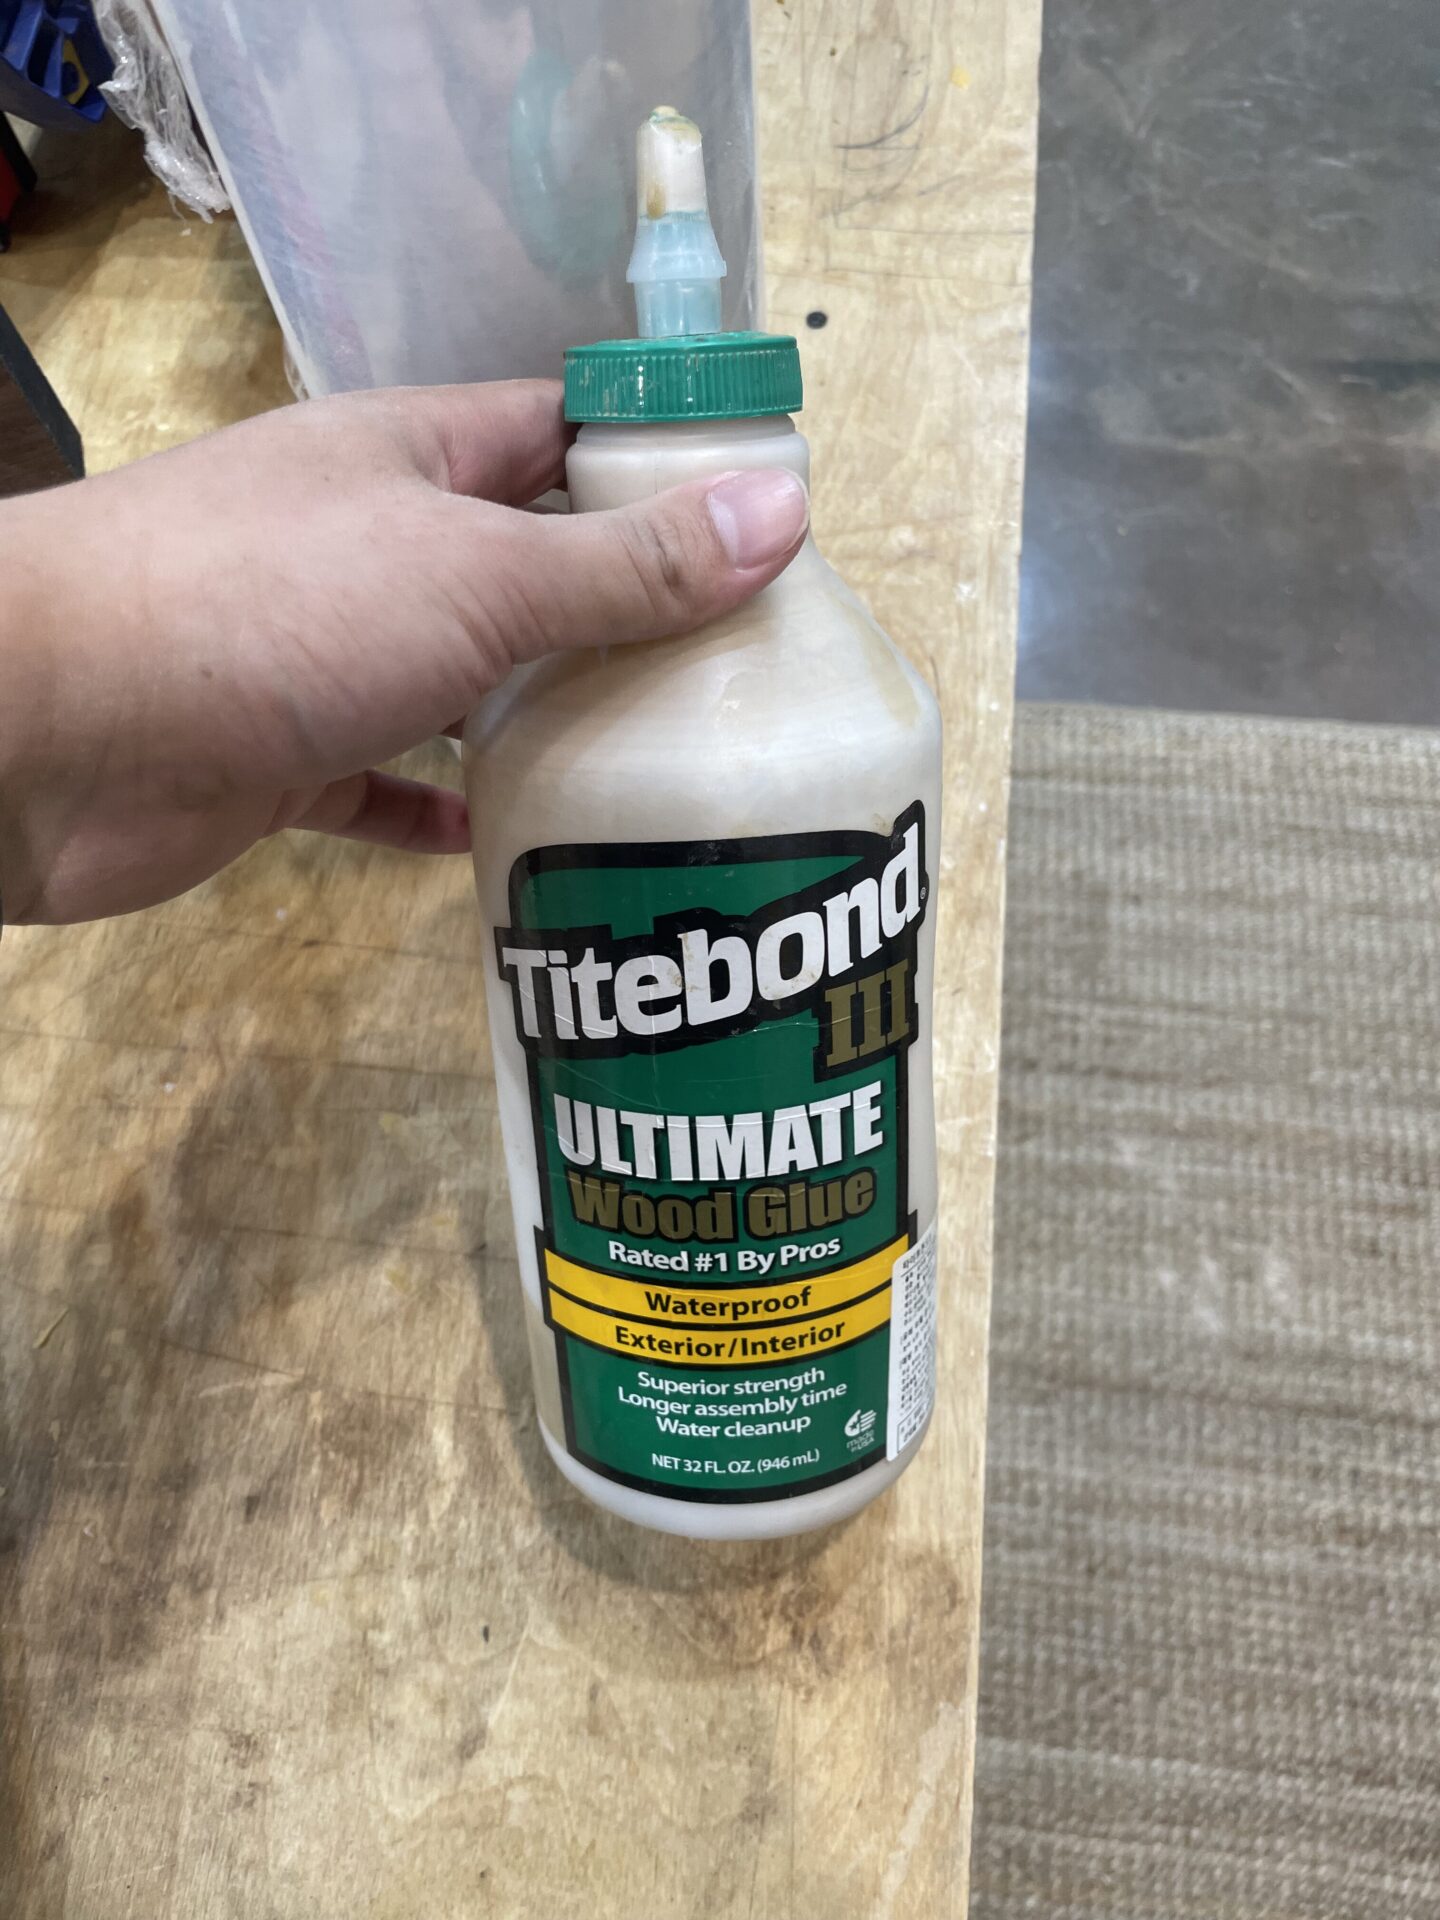
For cutting boards, use waterproof Titebond 3, certified by the FDA.
A key step is water sanding: wet the board so the grain swells, then sand down the raised fibers.
Even small wood fibers are visible to the eye. Blowing compressed air from the front pushes them out through the back.
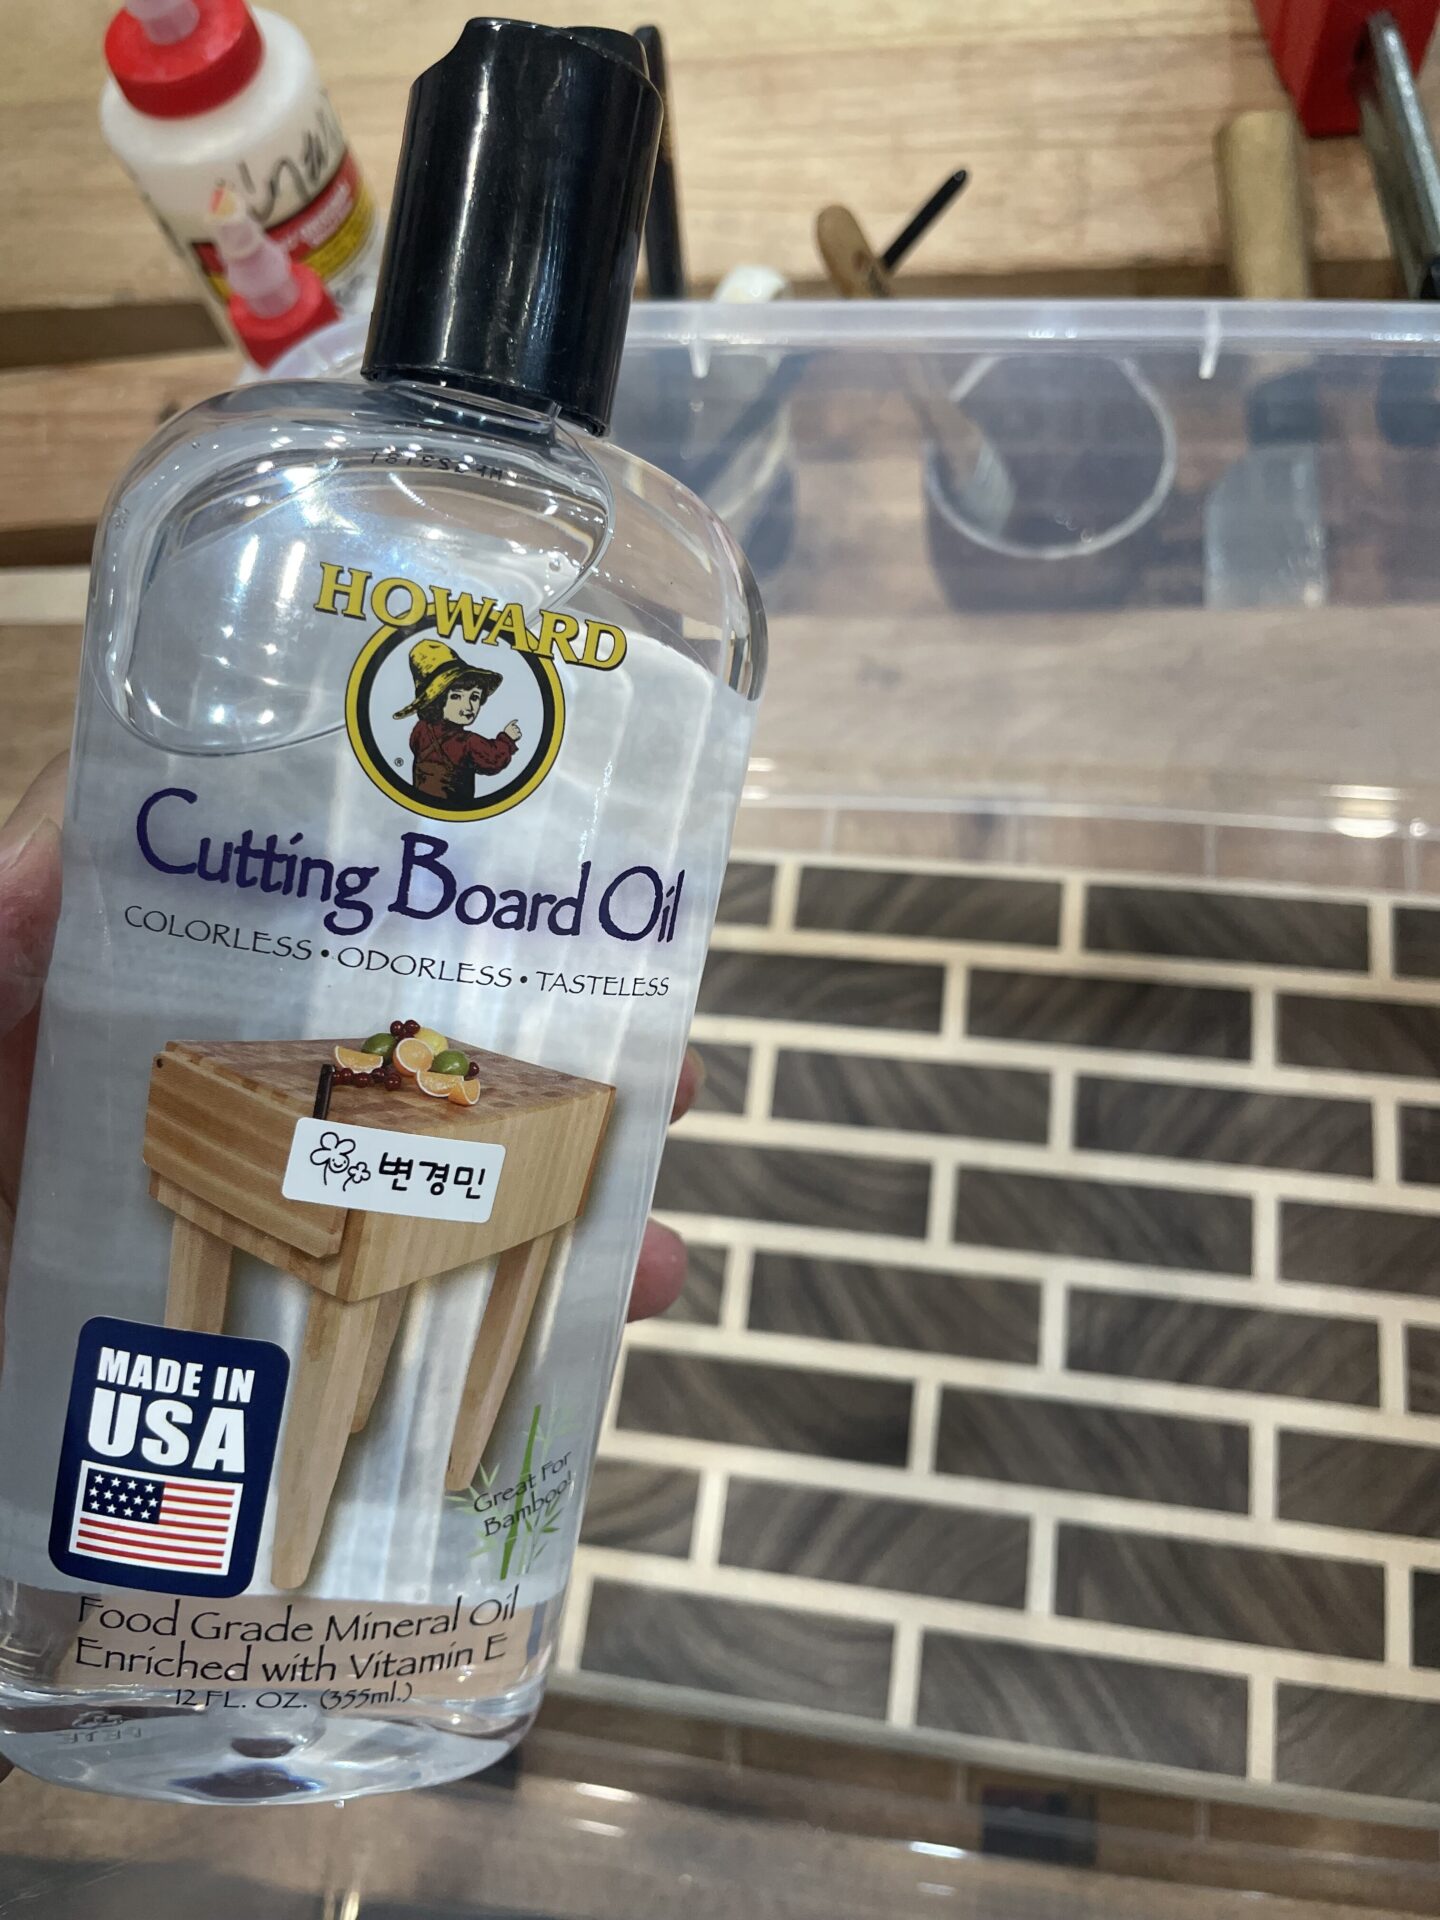
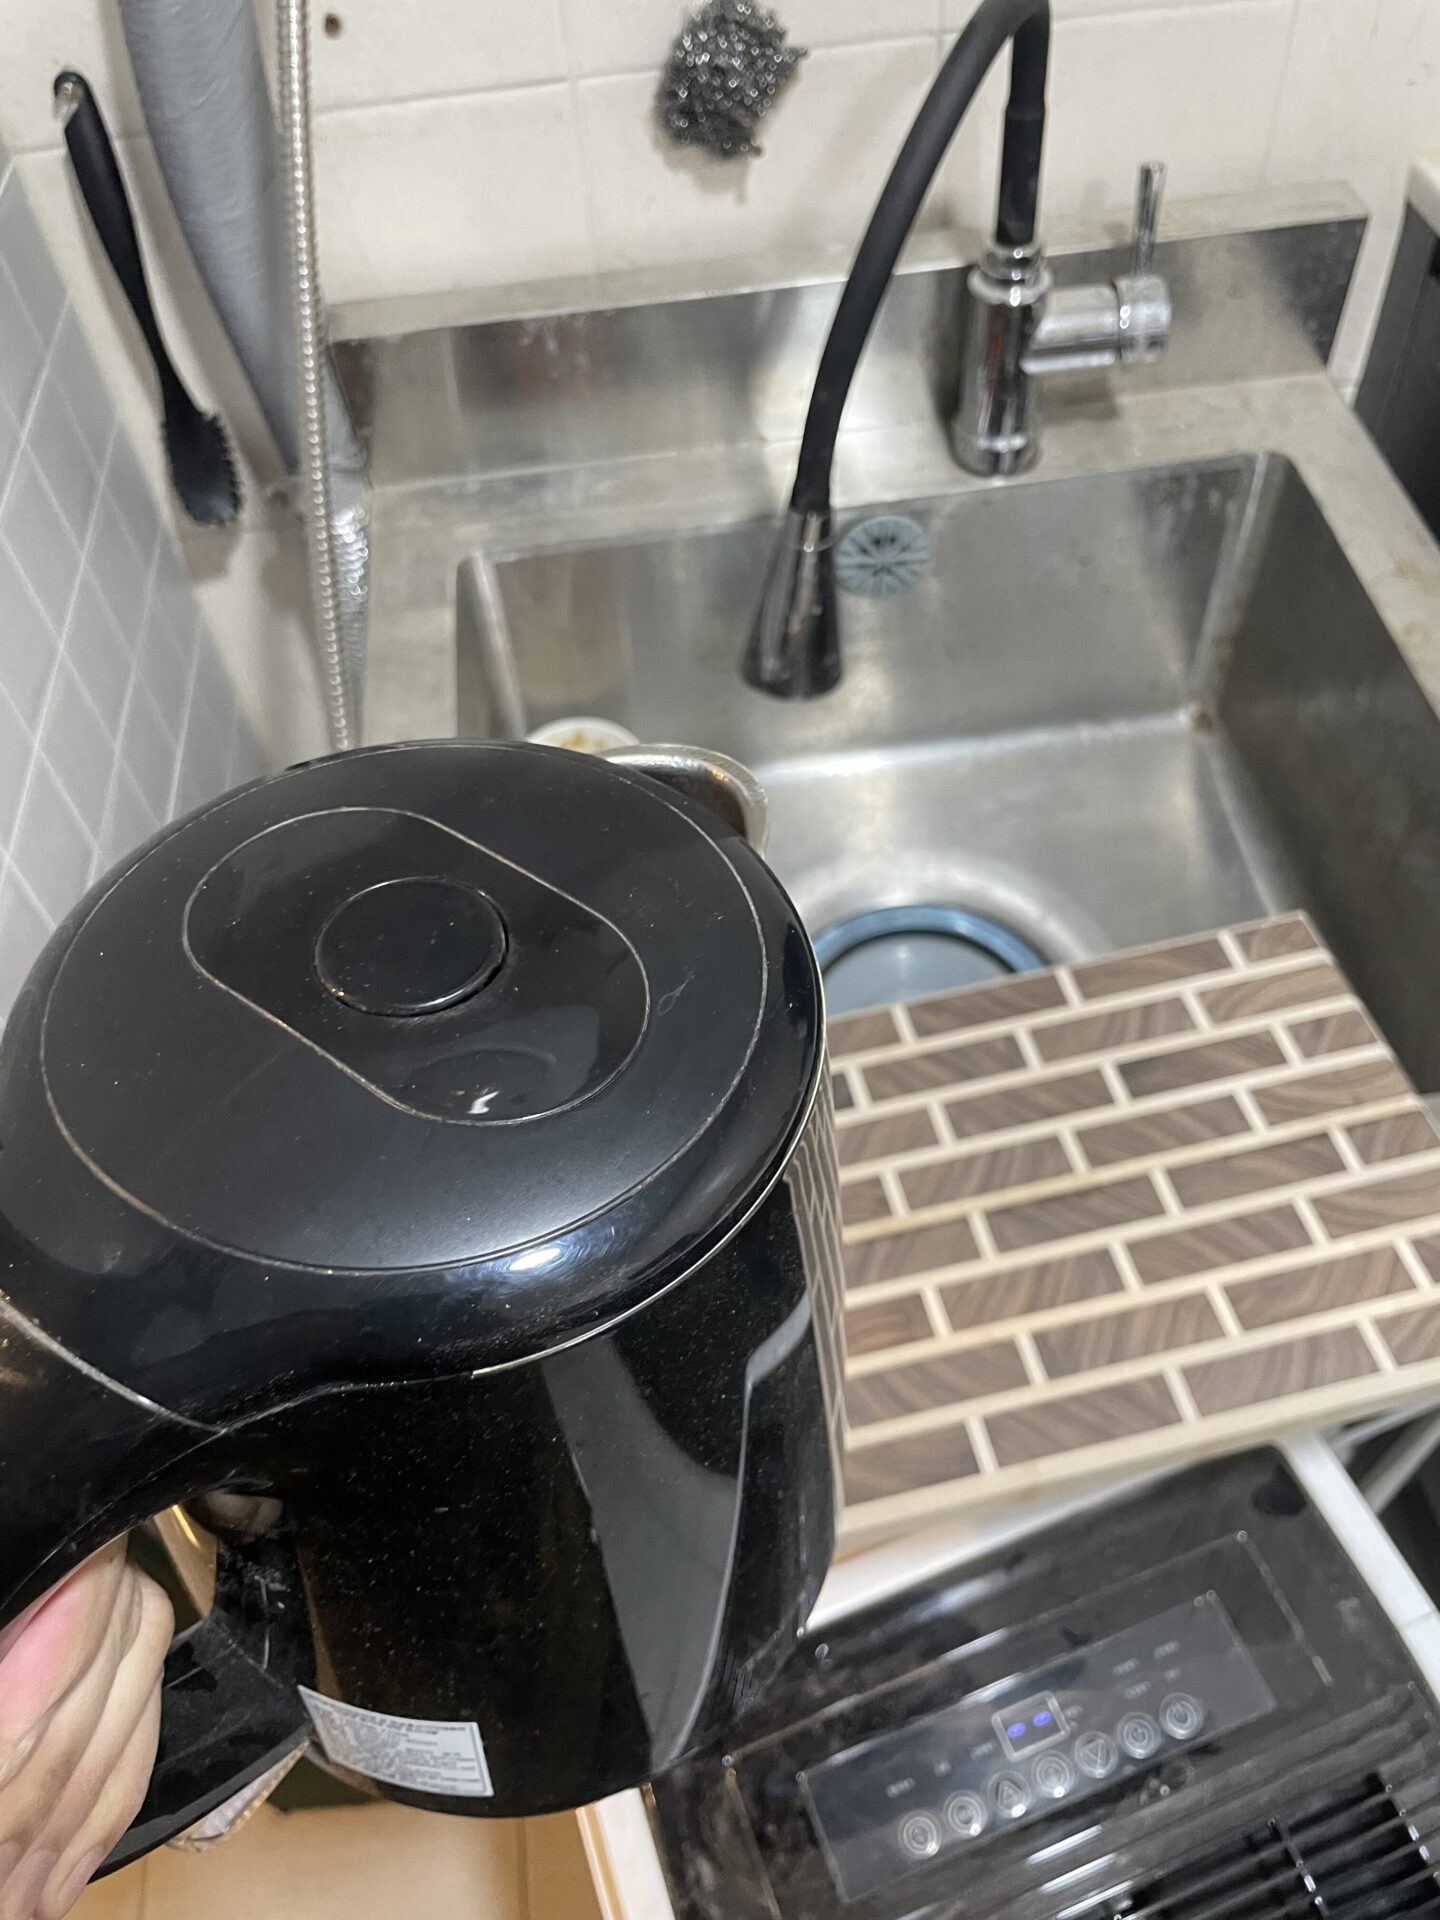
Applying mineral oil: it soaks into the grain and extends the board’s life.
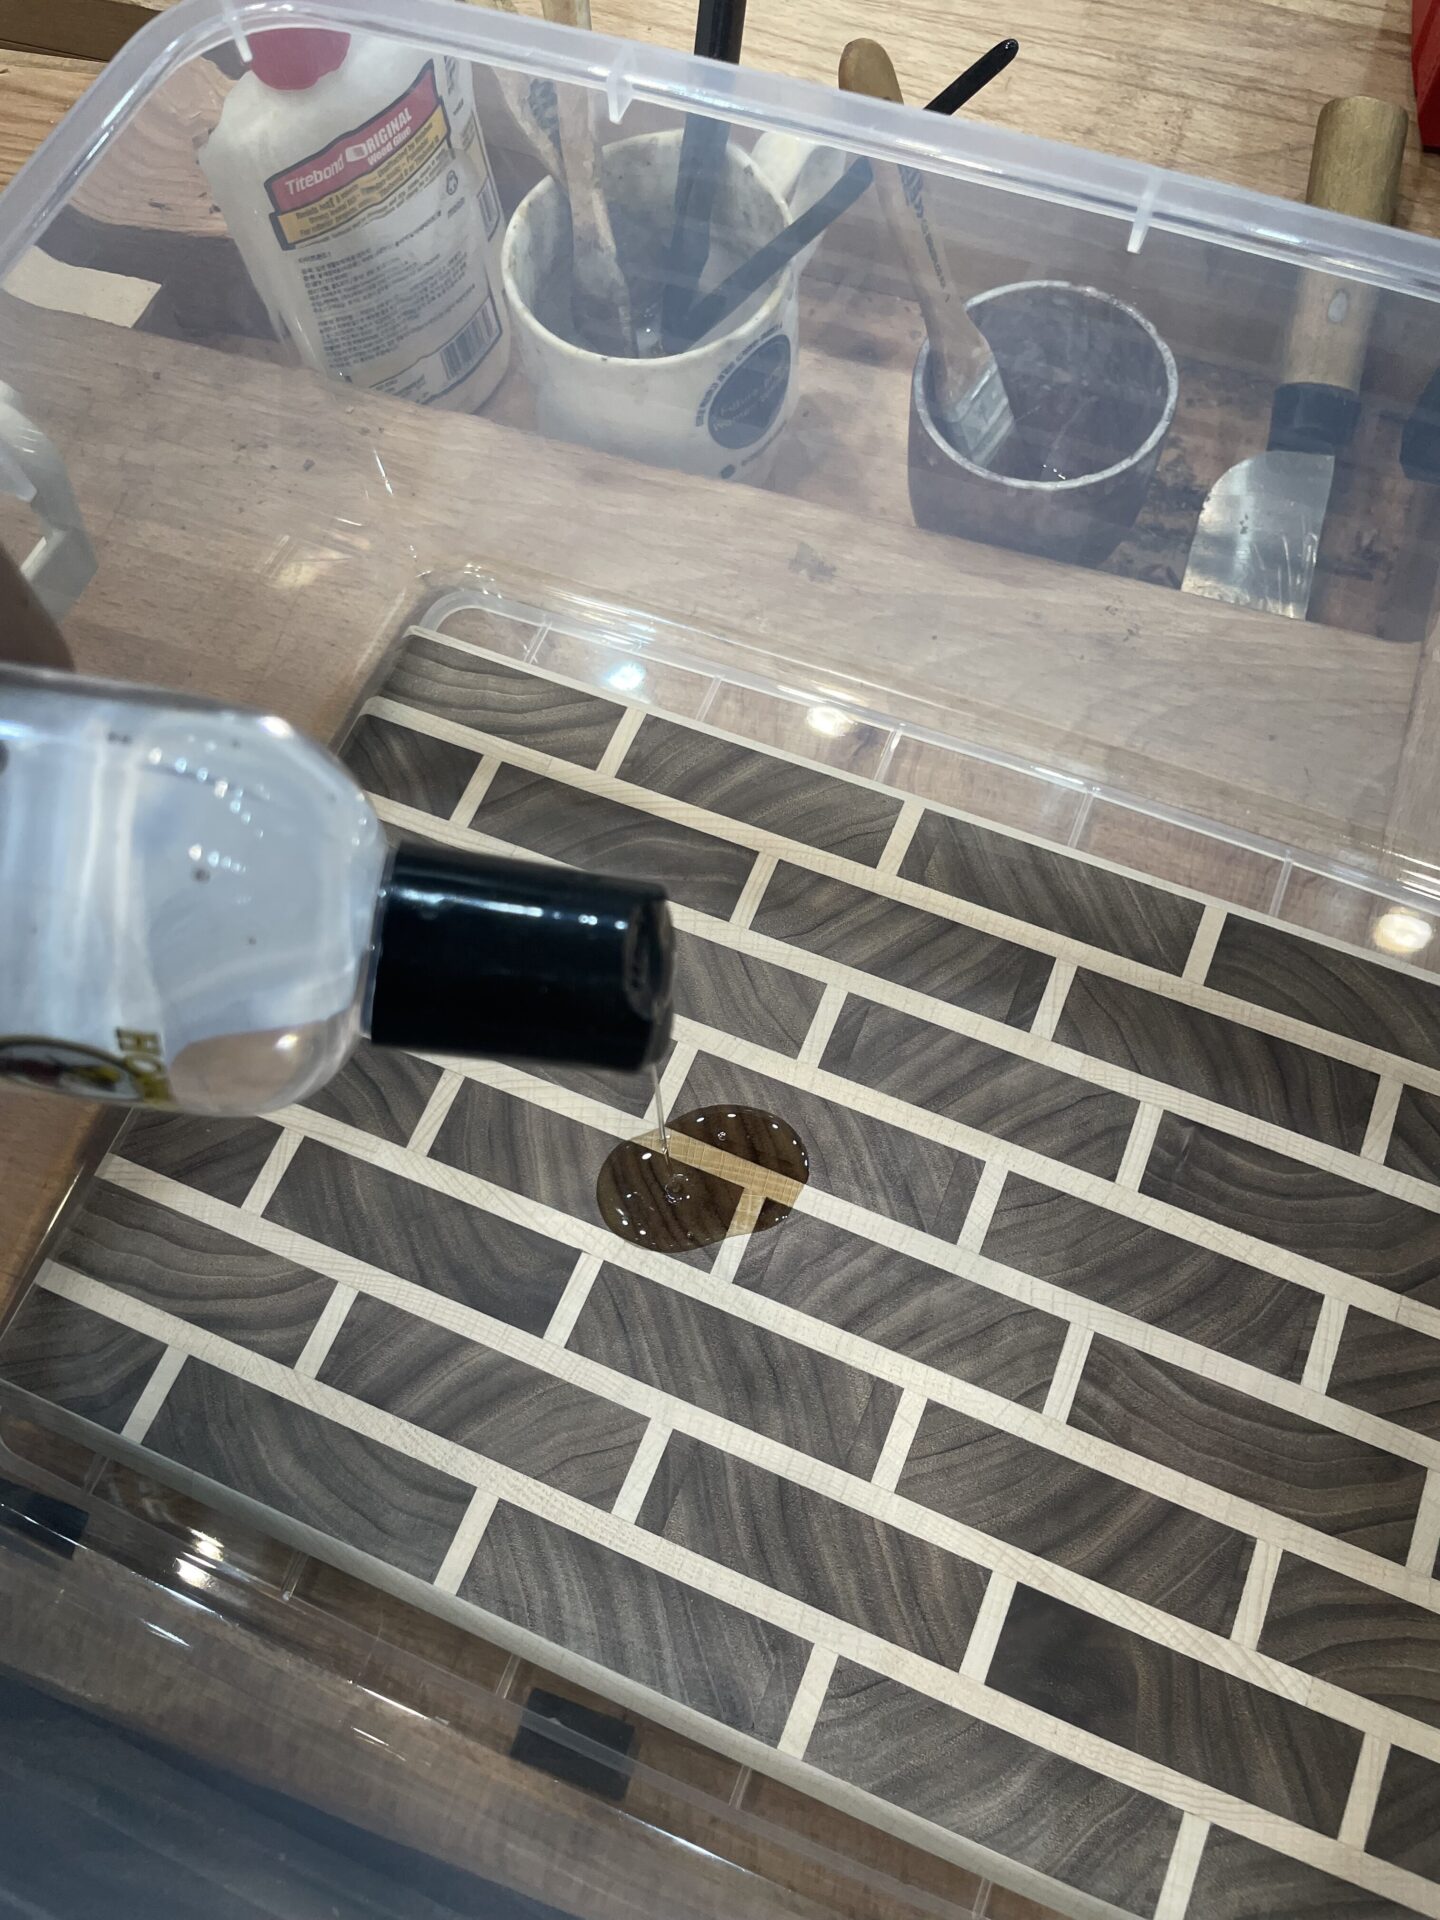
Coat about three times at 20–30 minute intervals, then let it dry for over a day. Some people immerse the entire board in oil, but I just brushed it on.

Looks like it gained some weight?
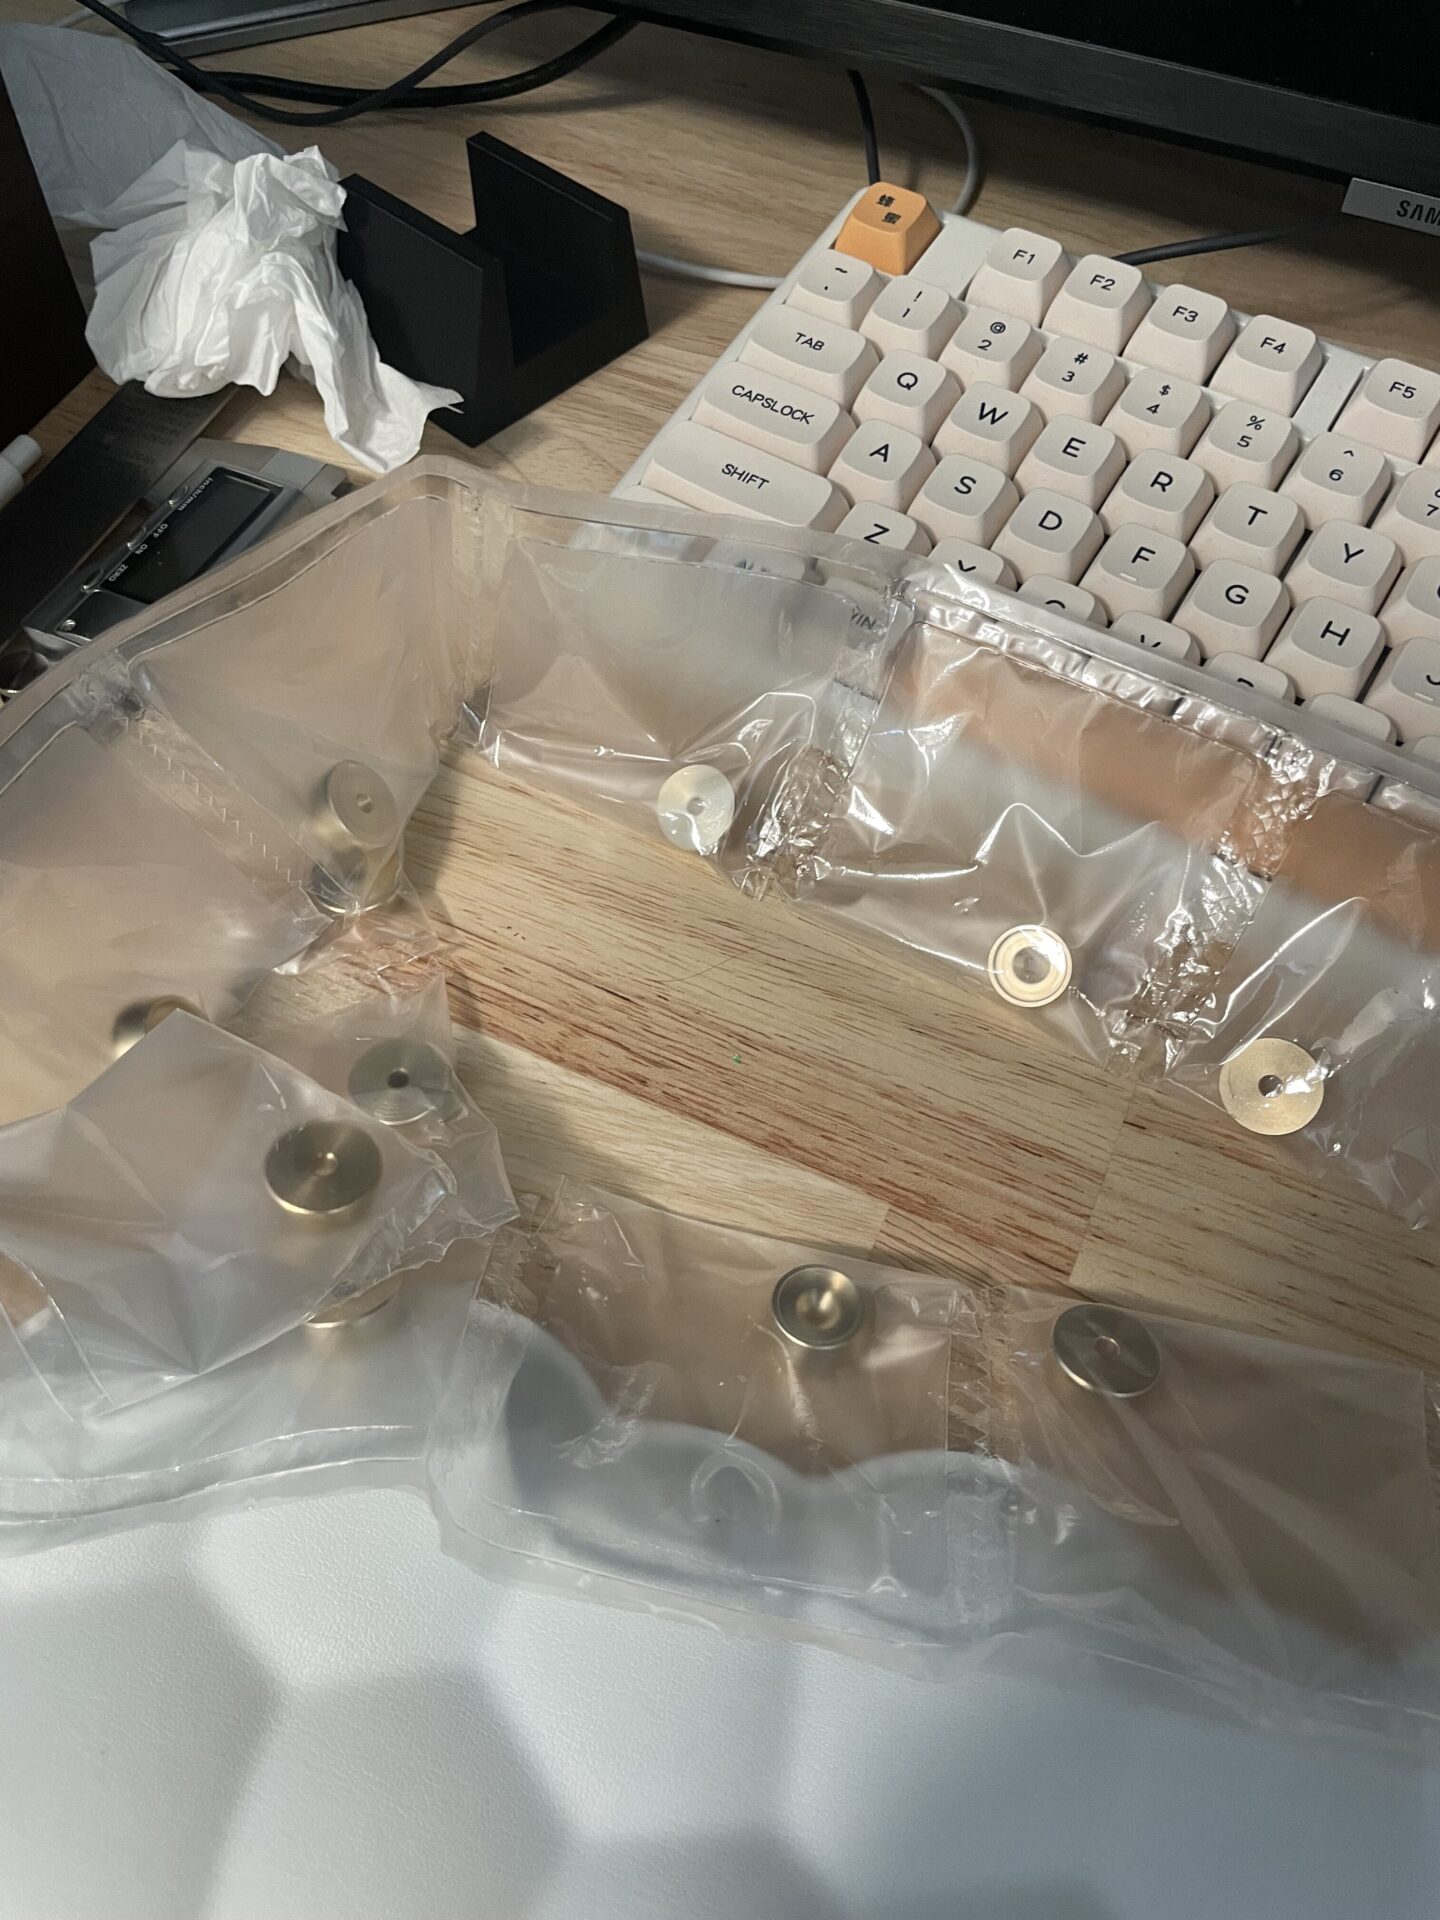
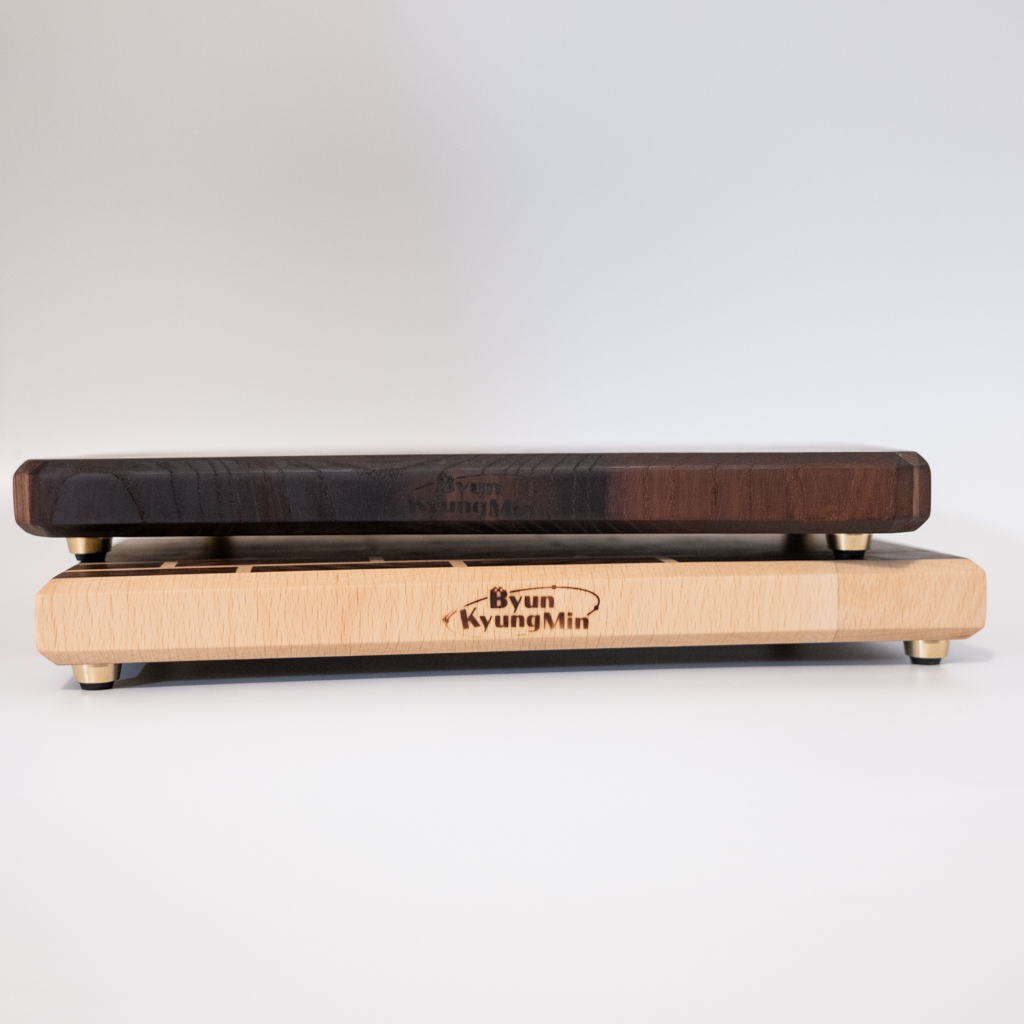
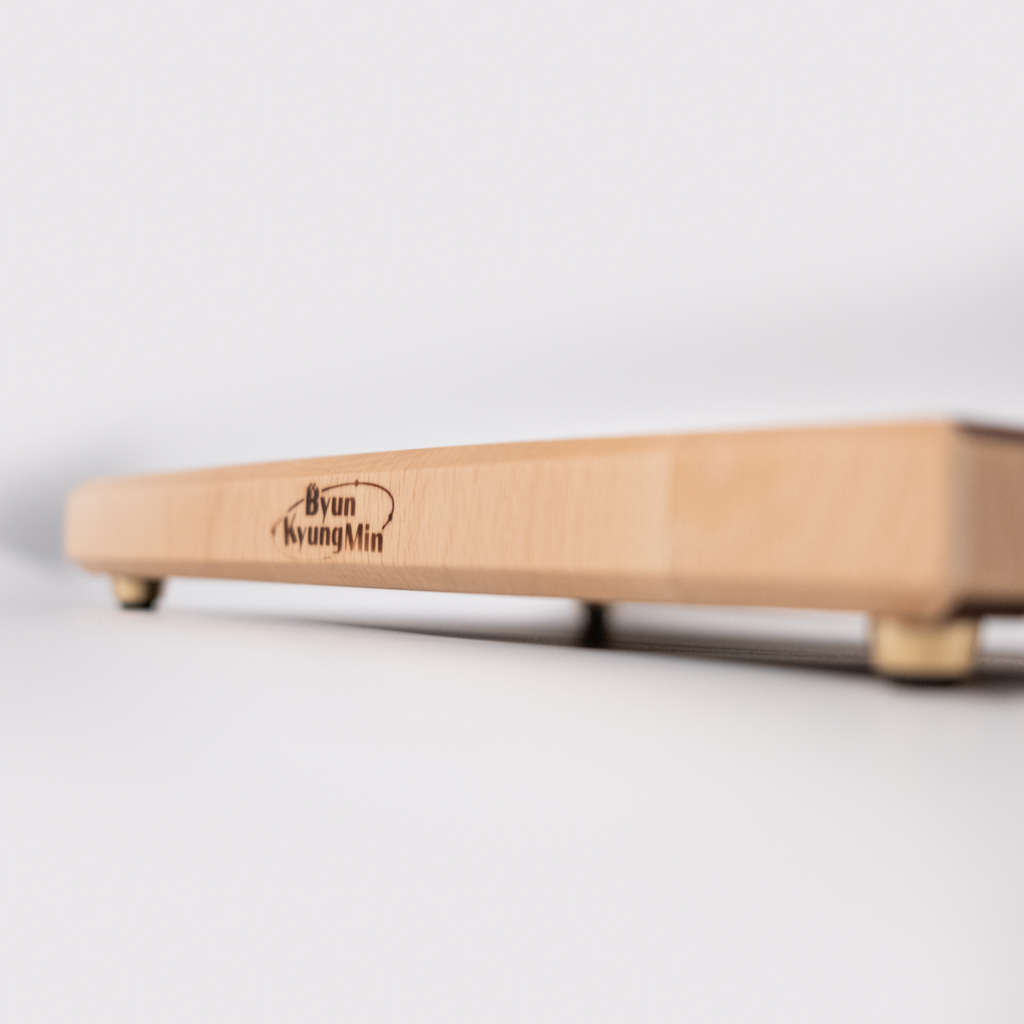
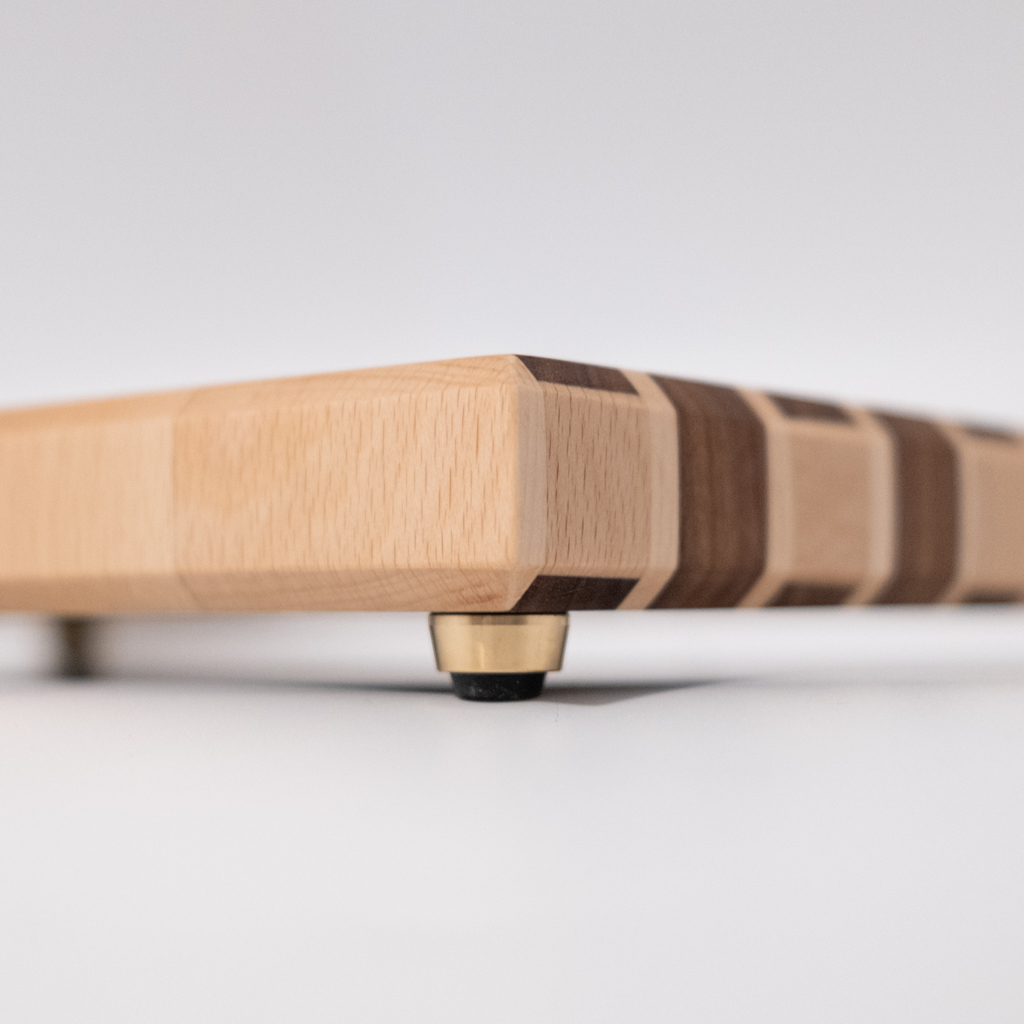
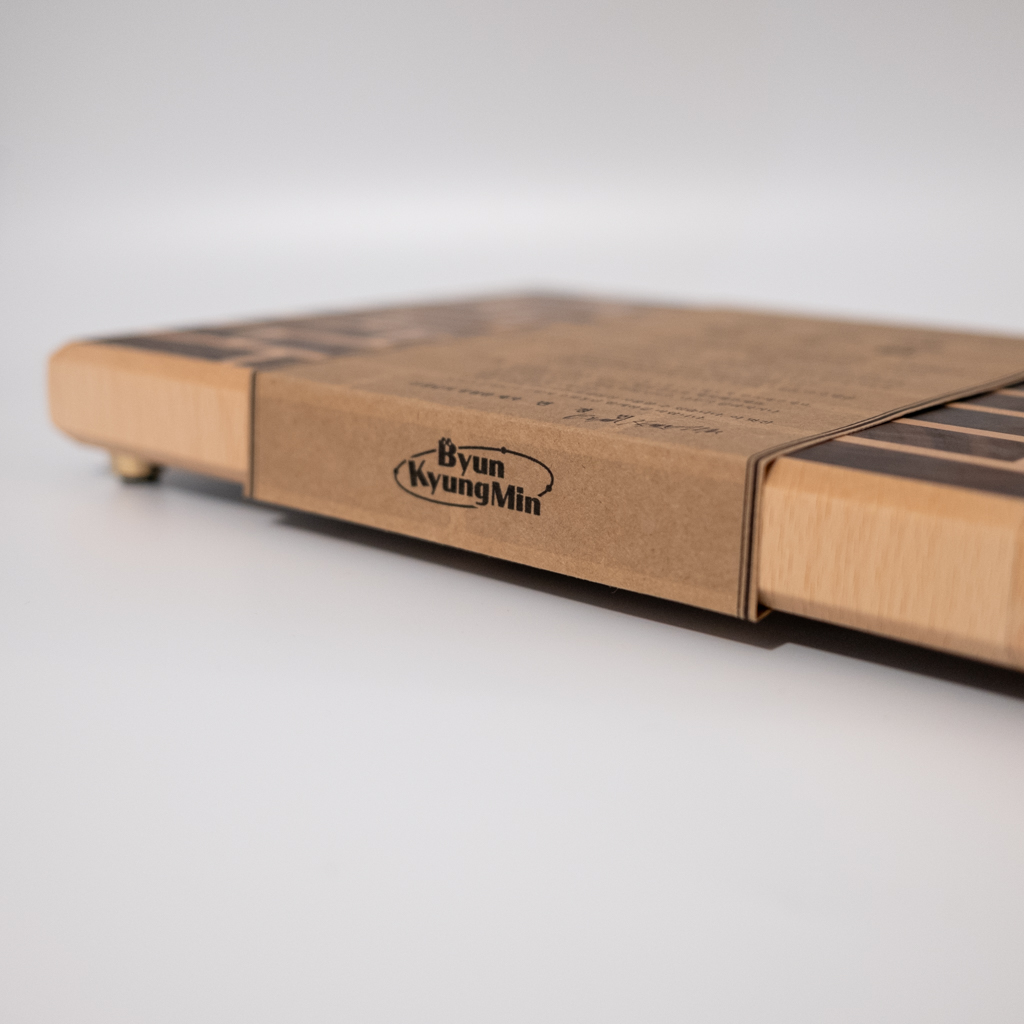
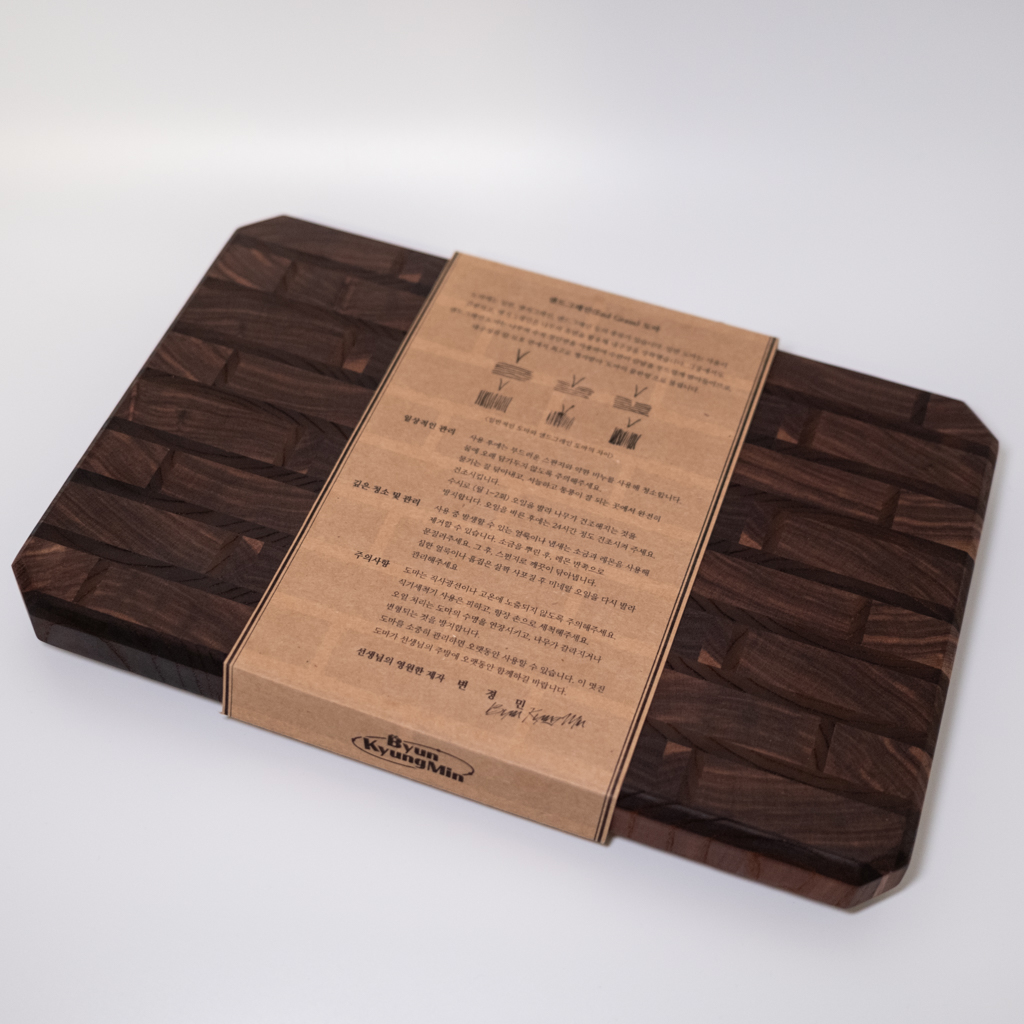
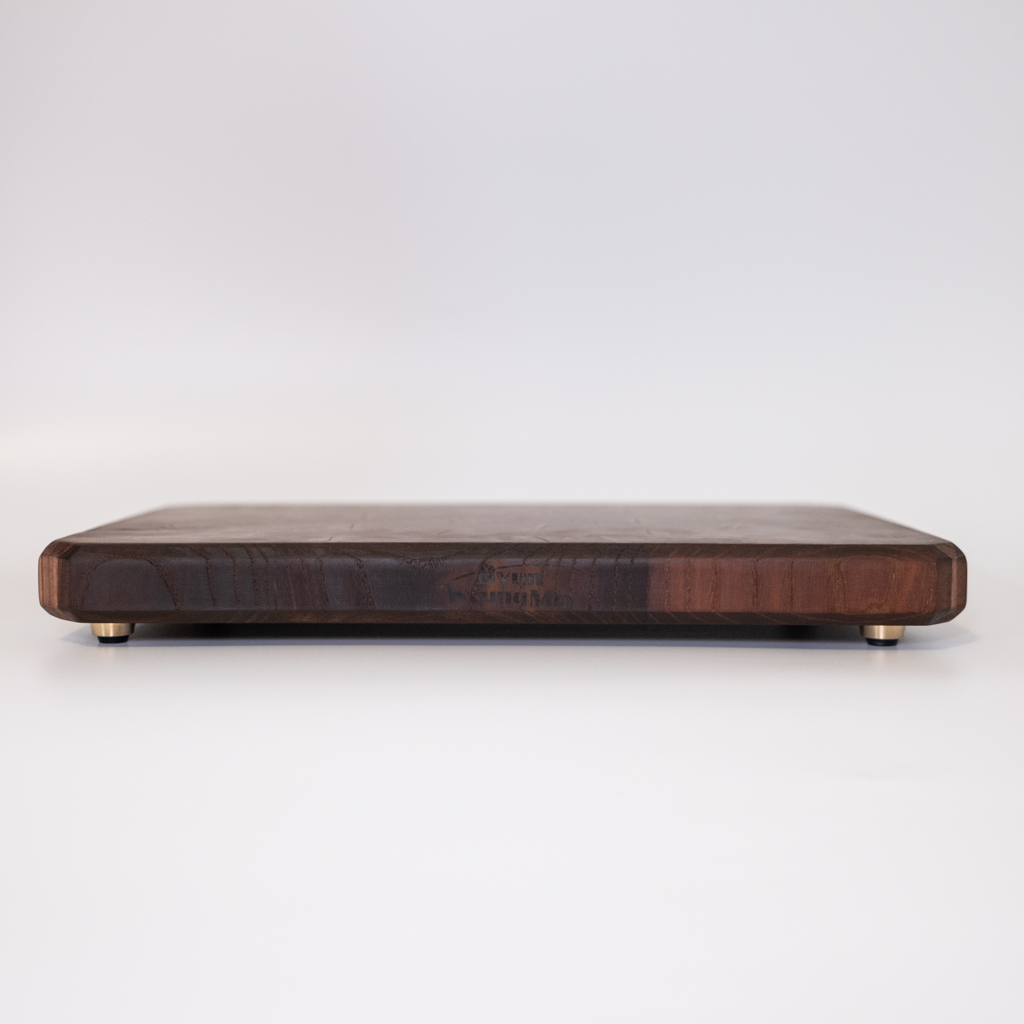
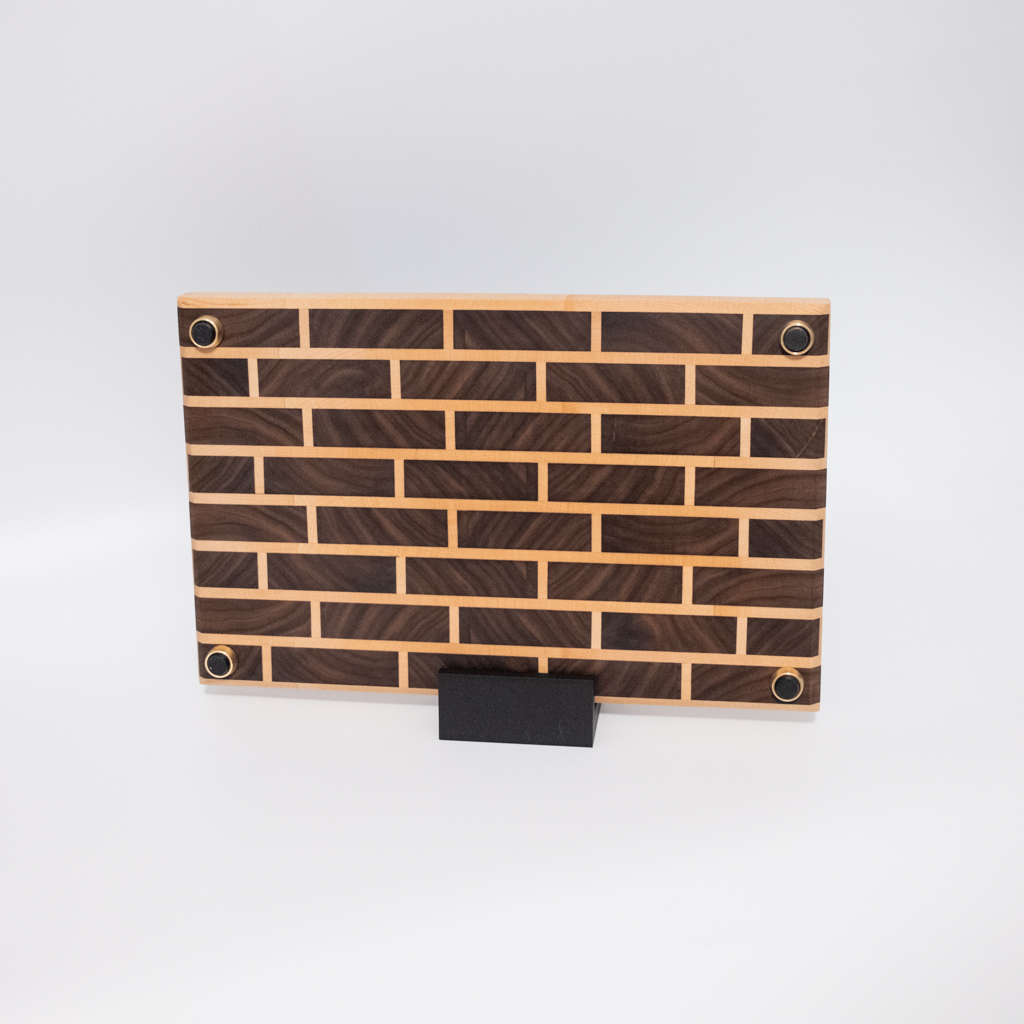
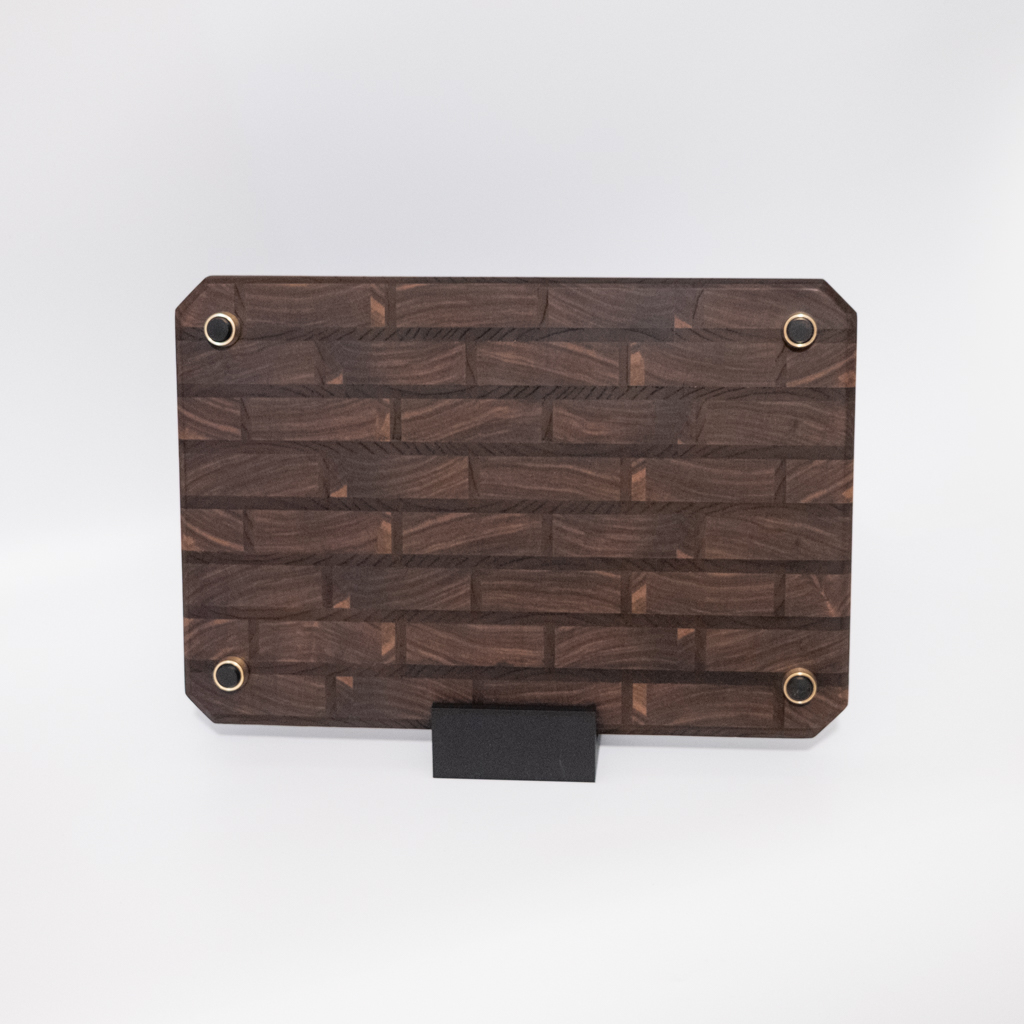
Adding brass-coated legs gave it a more luxurious look when paired with wood.
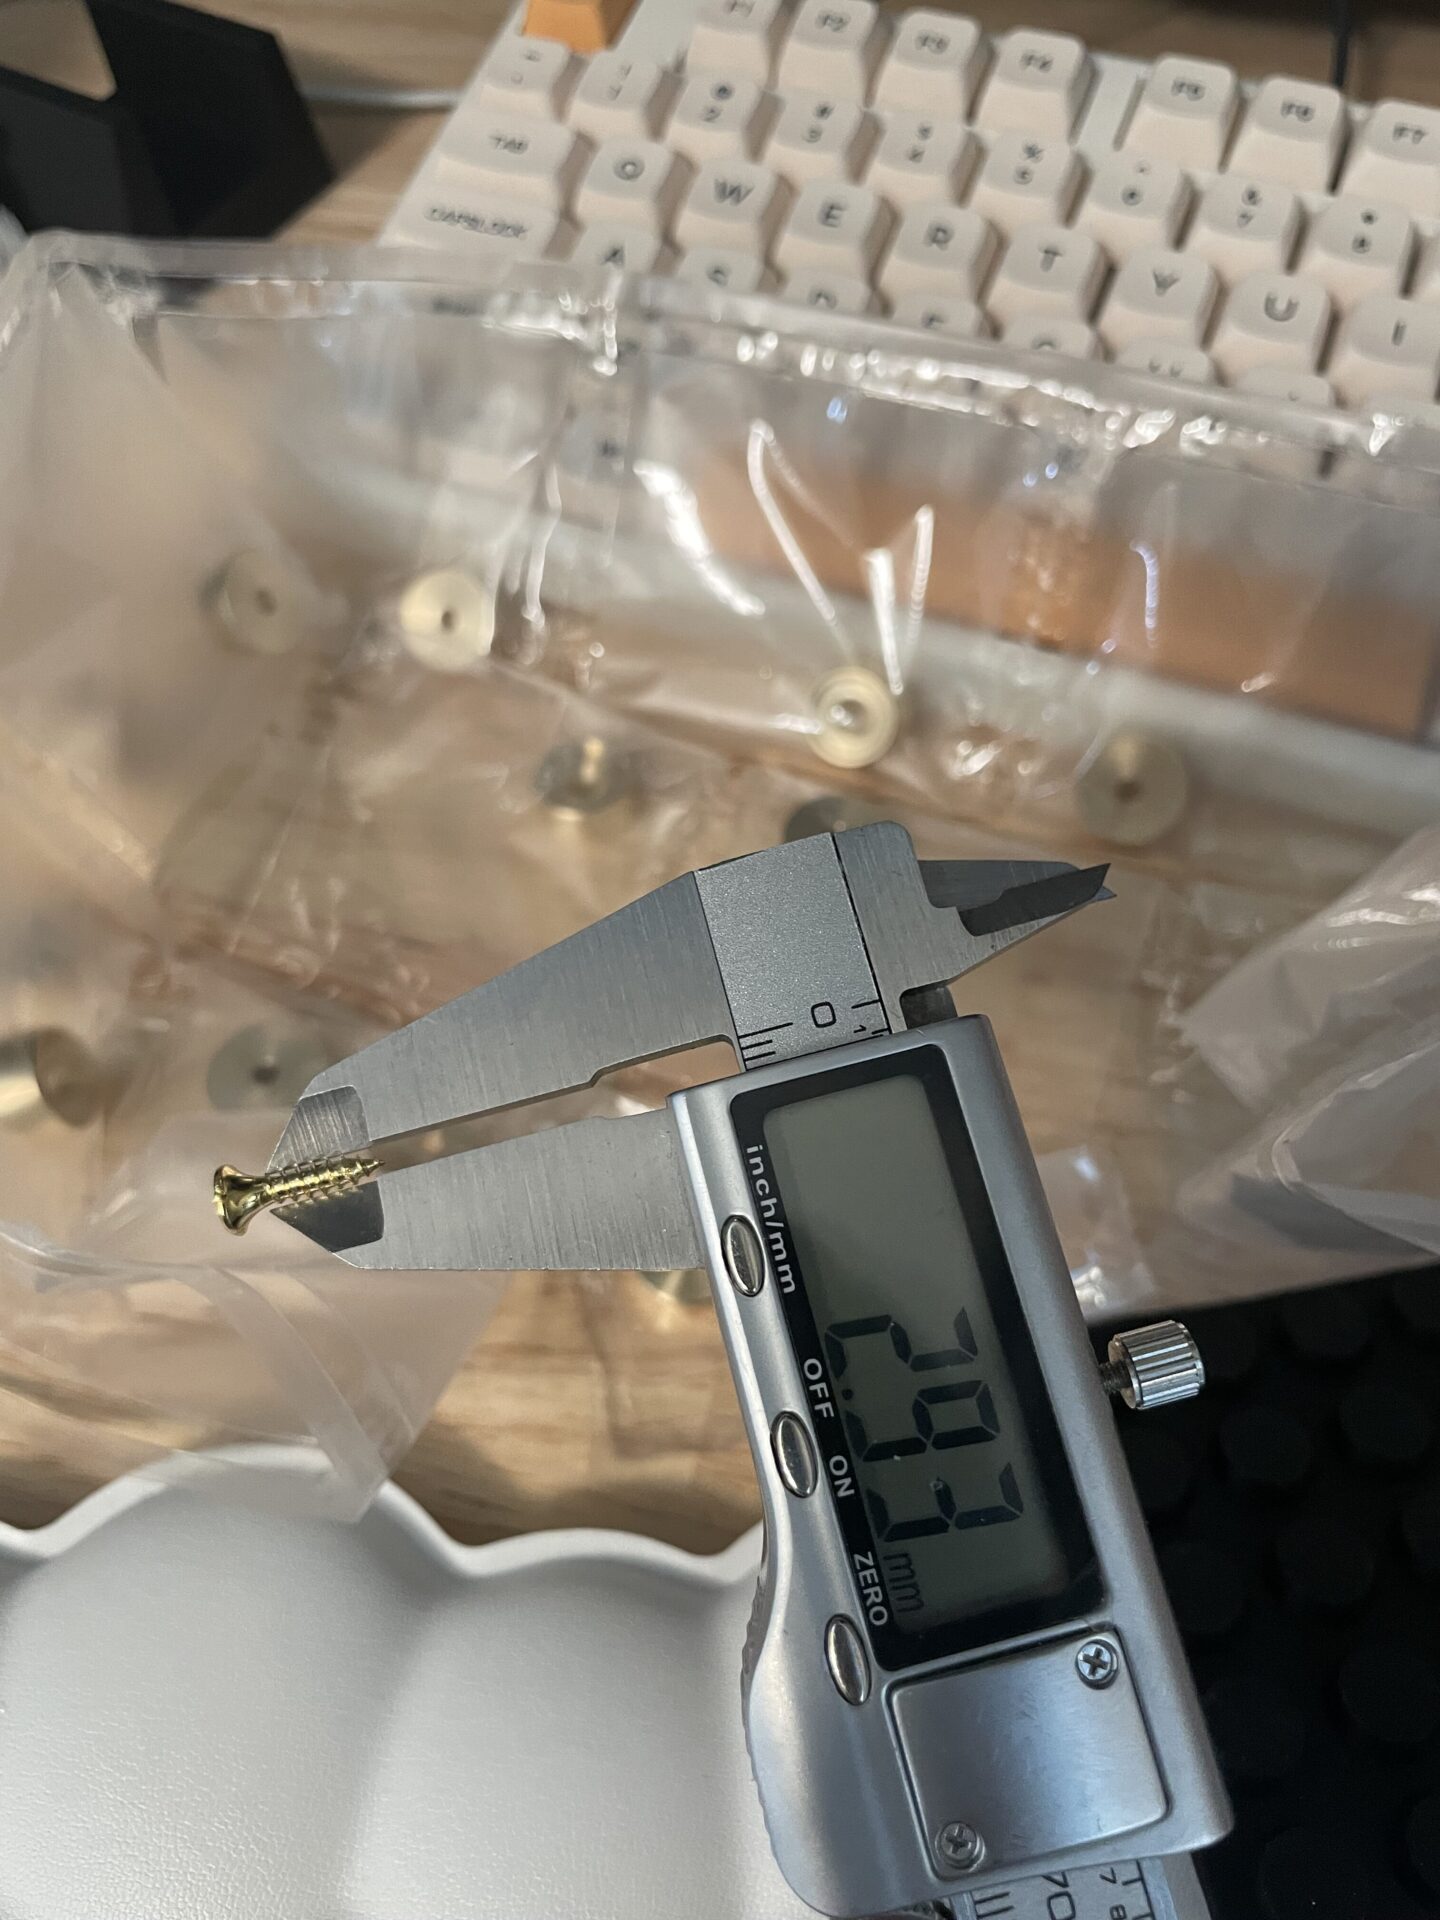
I even modeled the screws and brass legs—might come in handy for future projects.

Made sure the fit was exact so nothing wobbles.
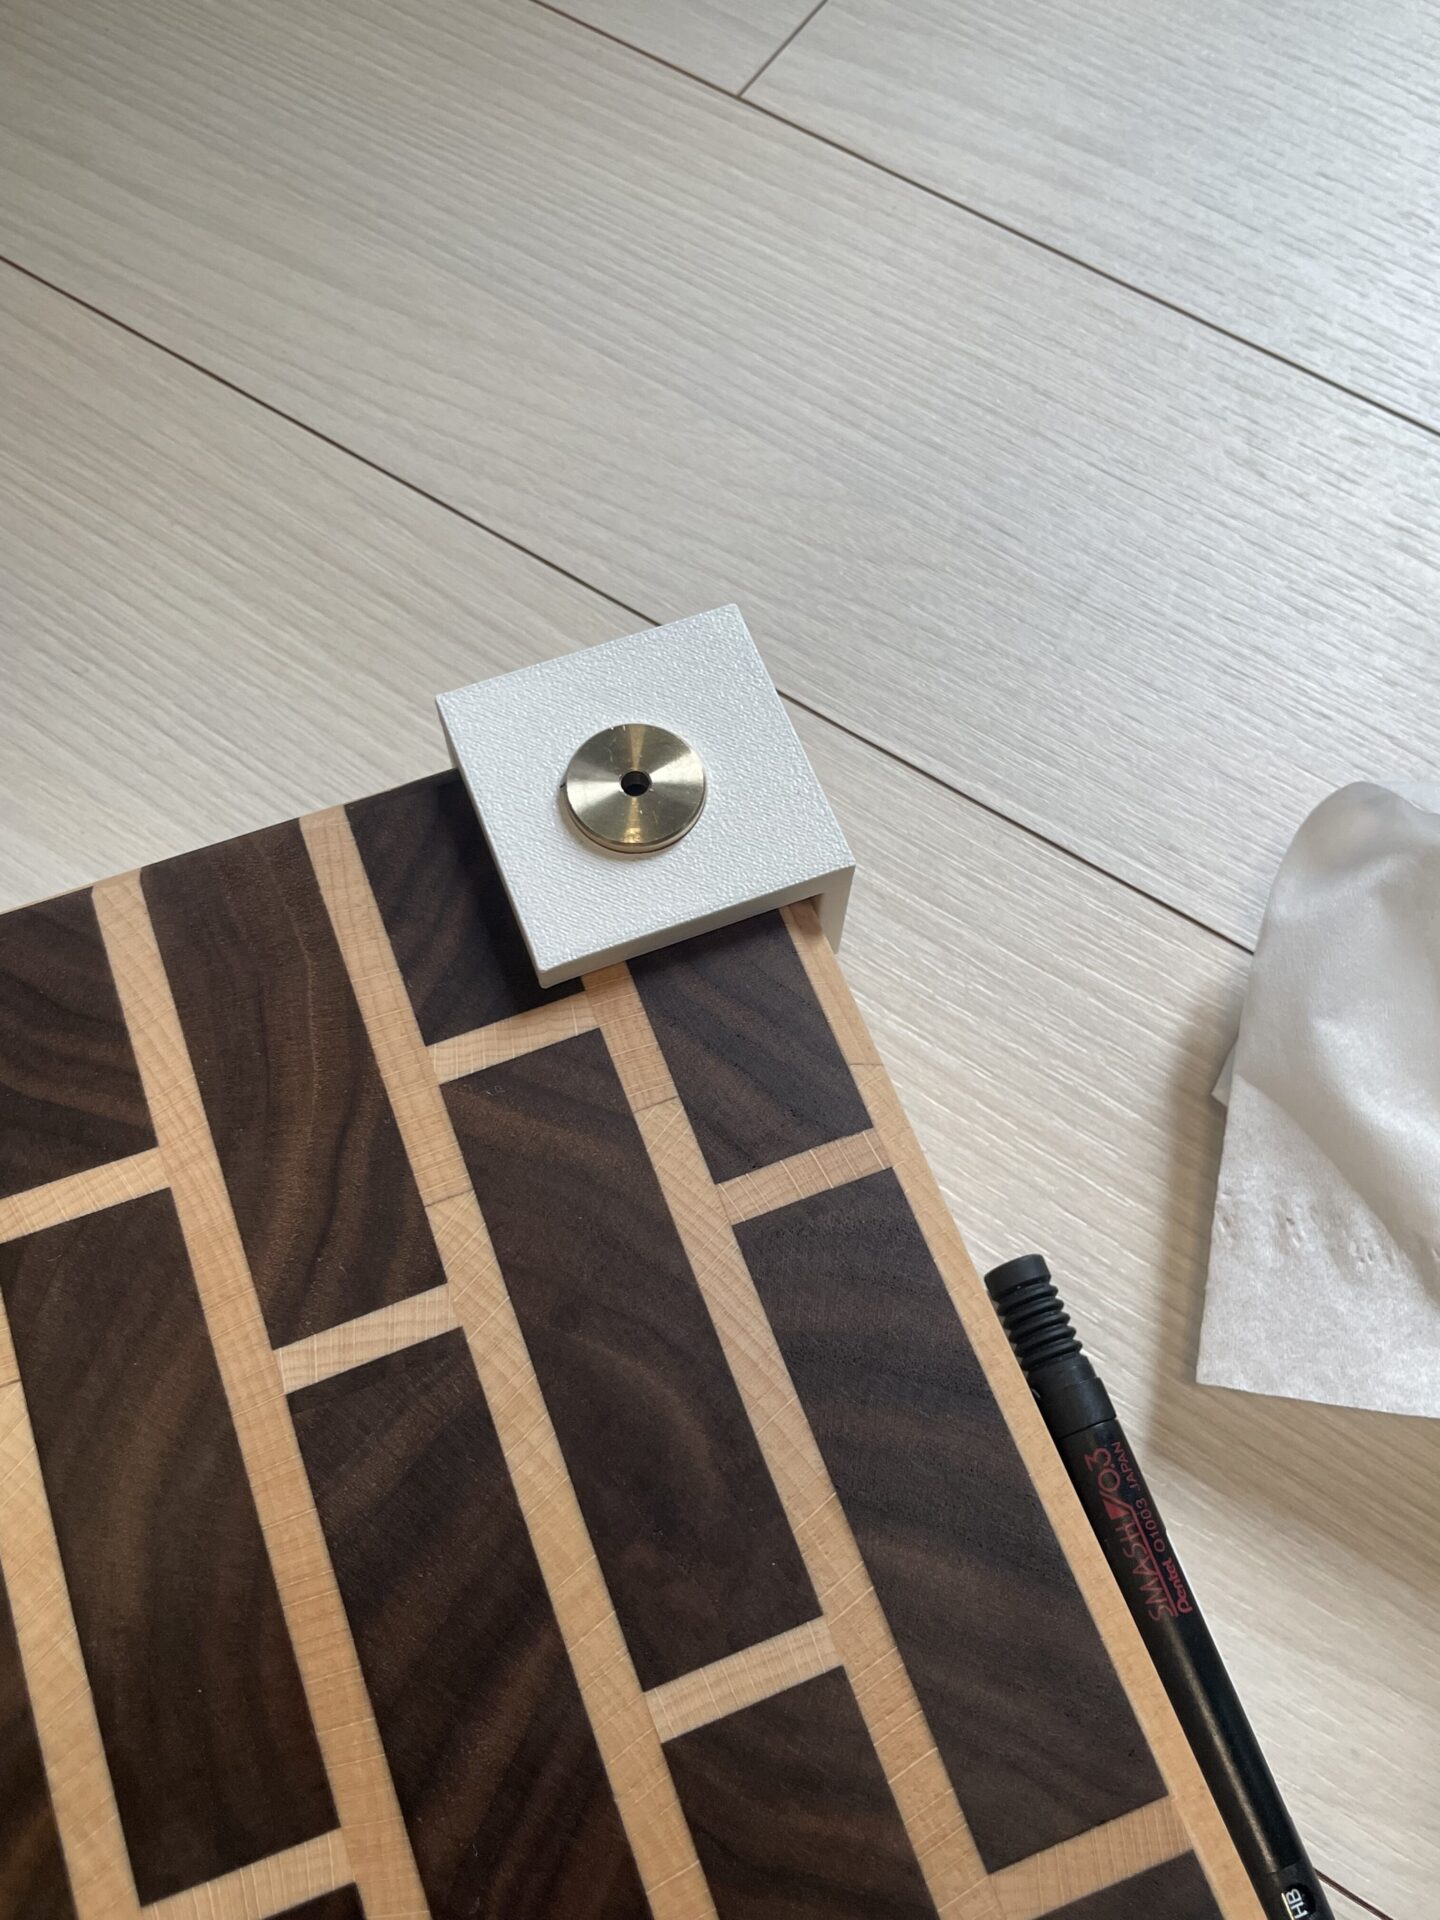
Marked the placement.
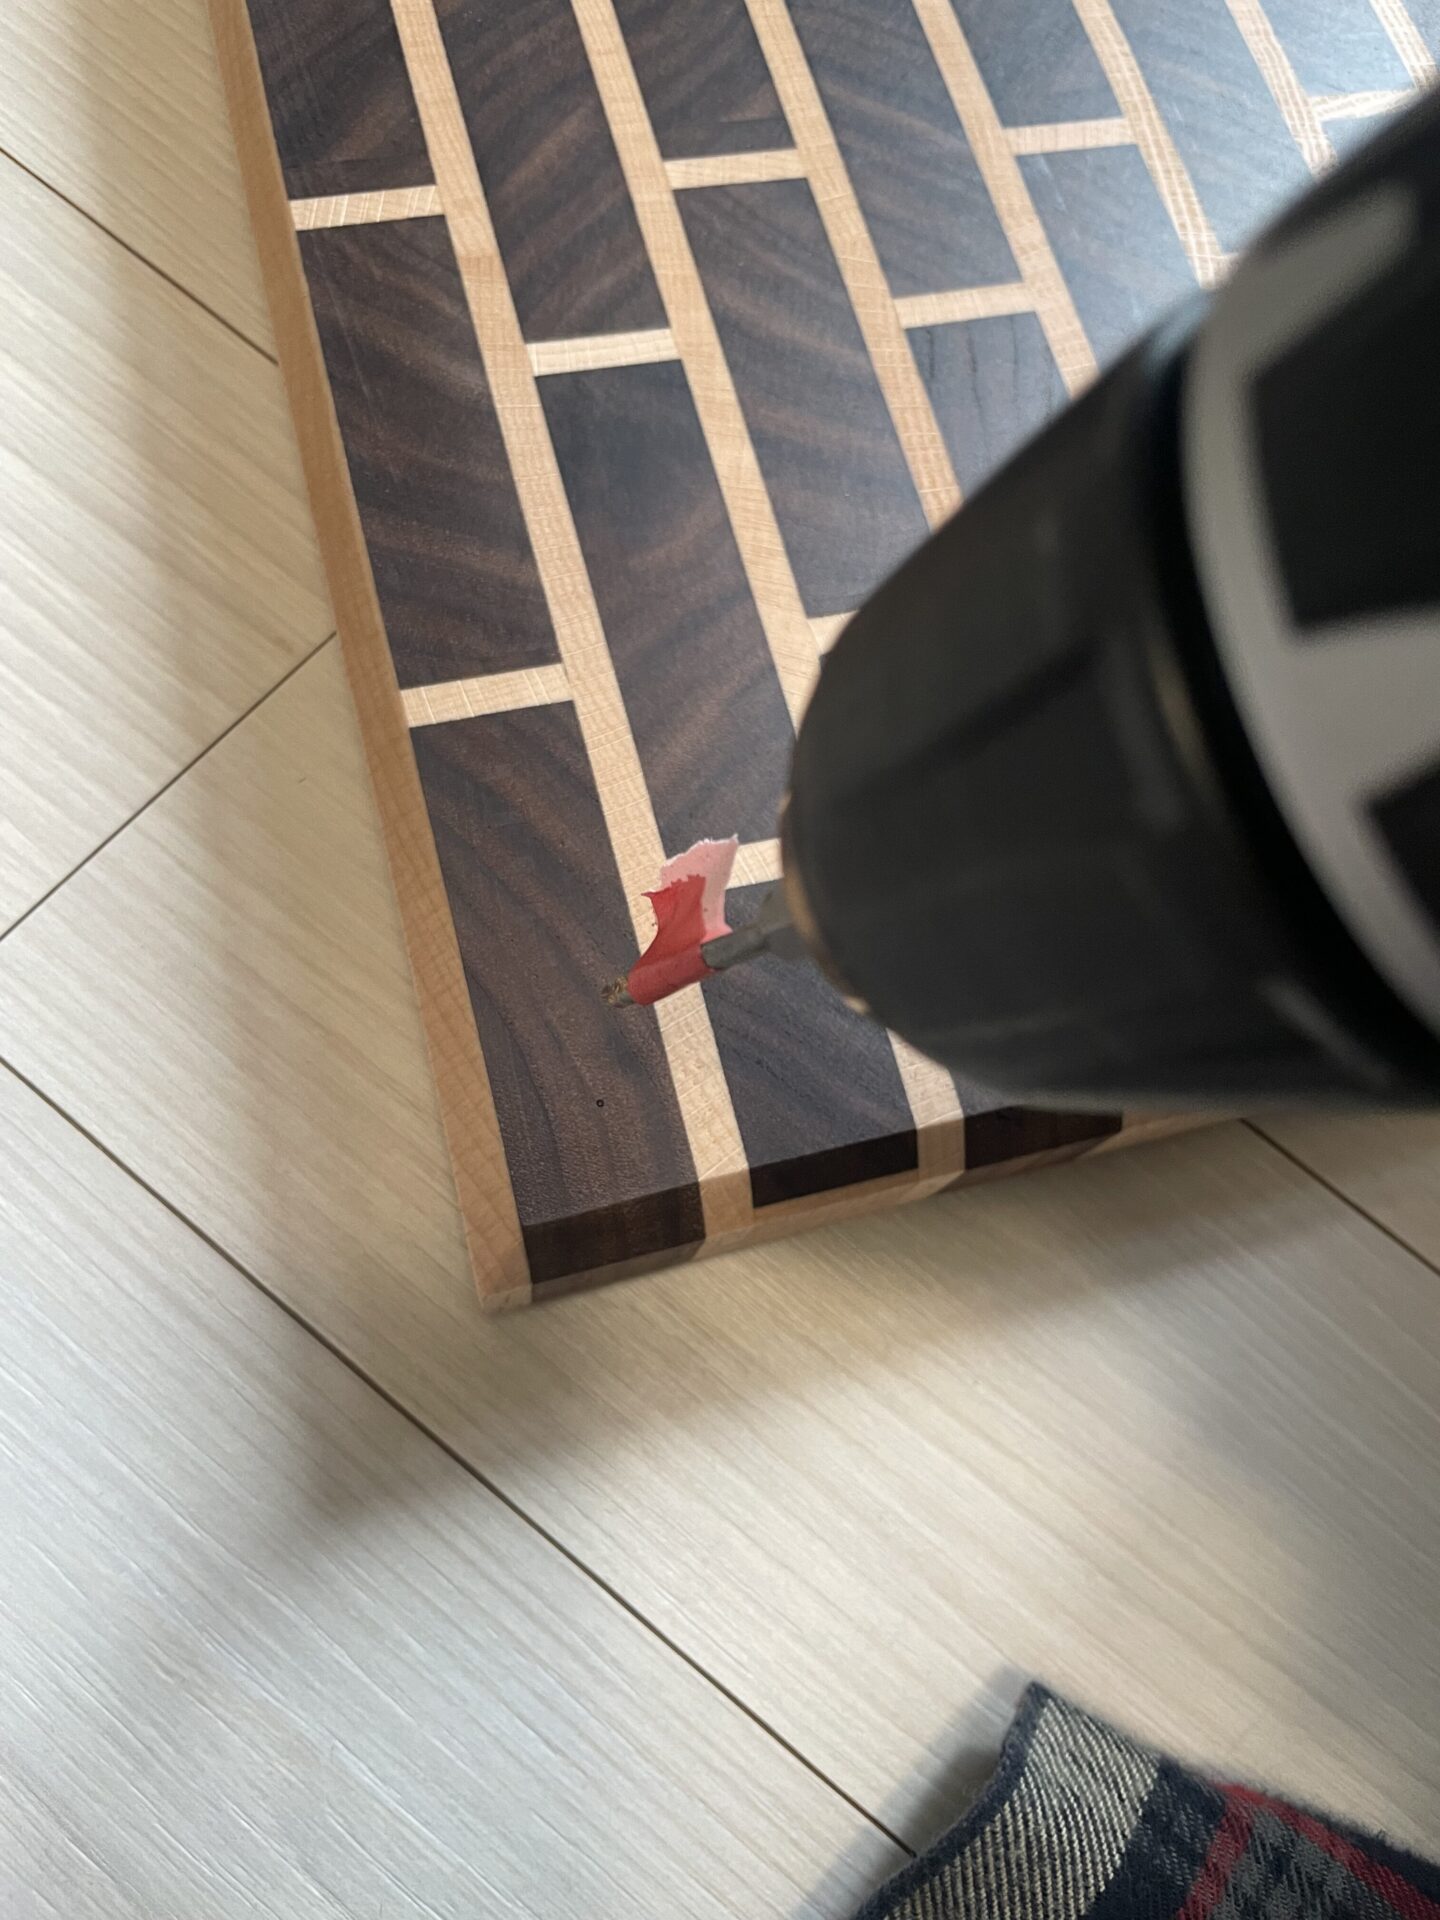
Drilled the holes.
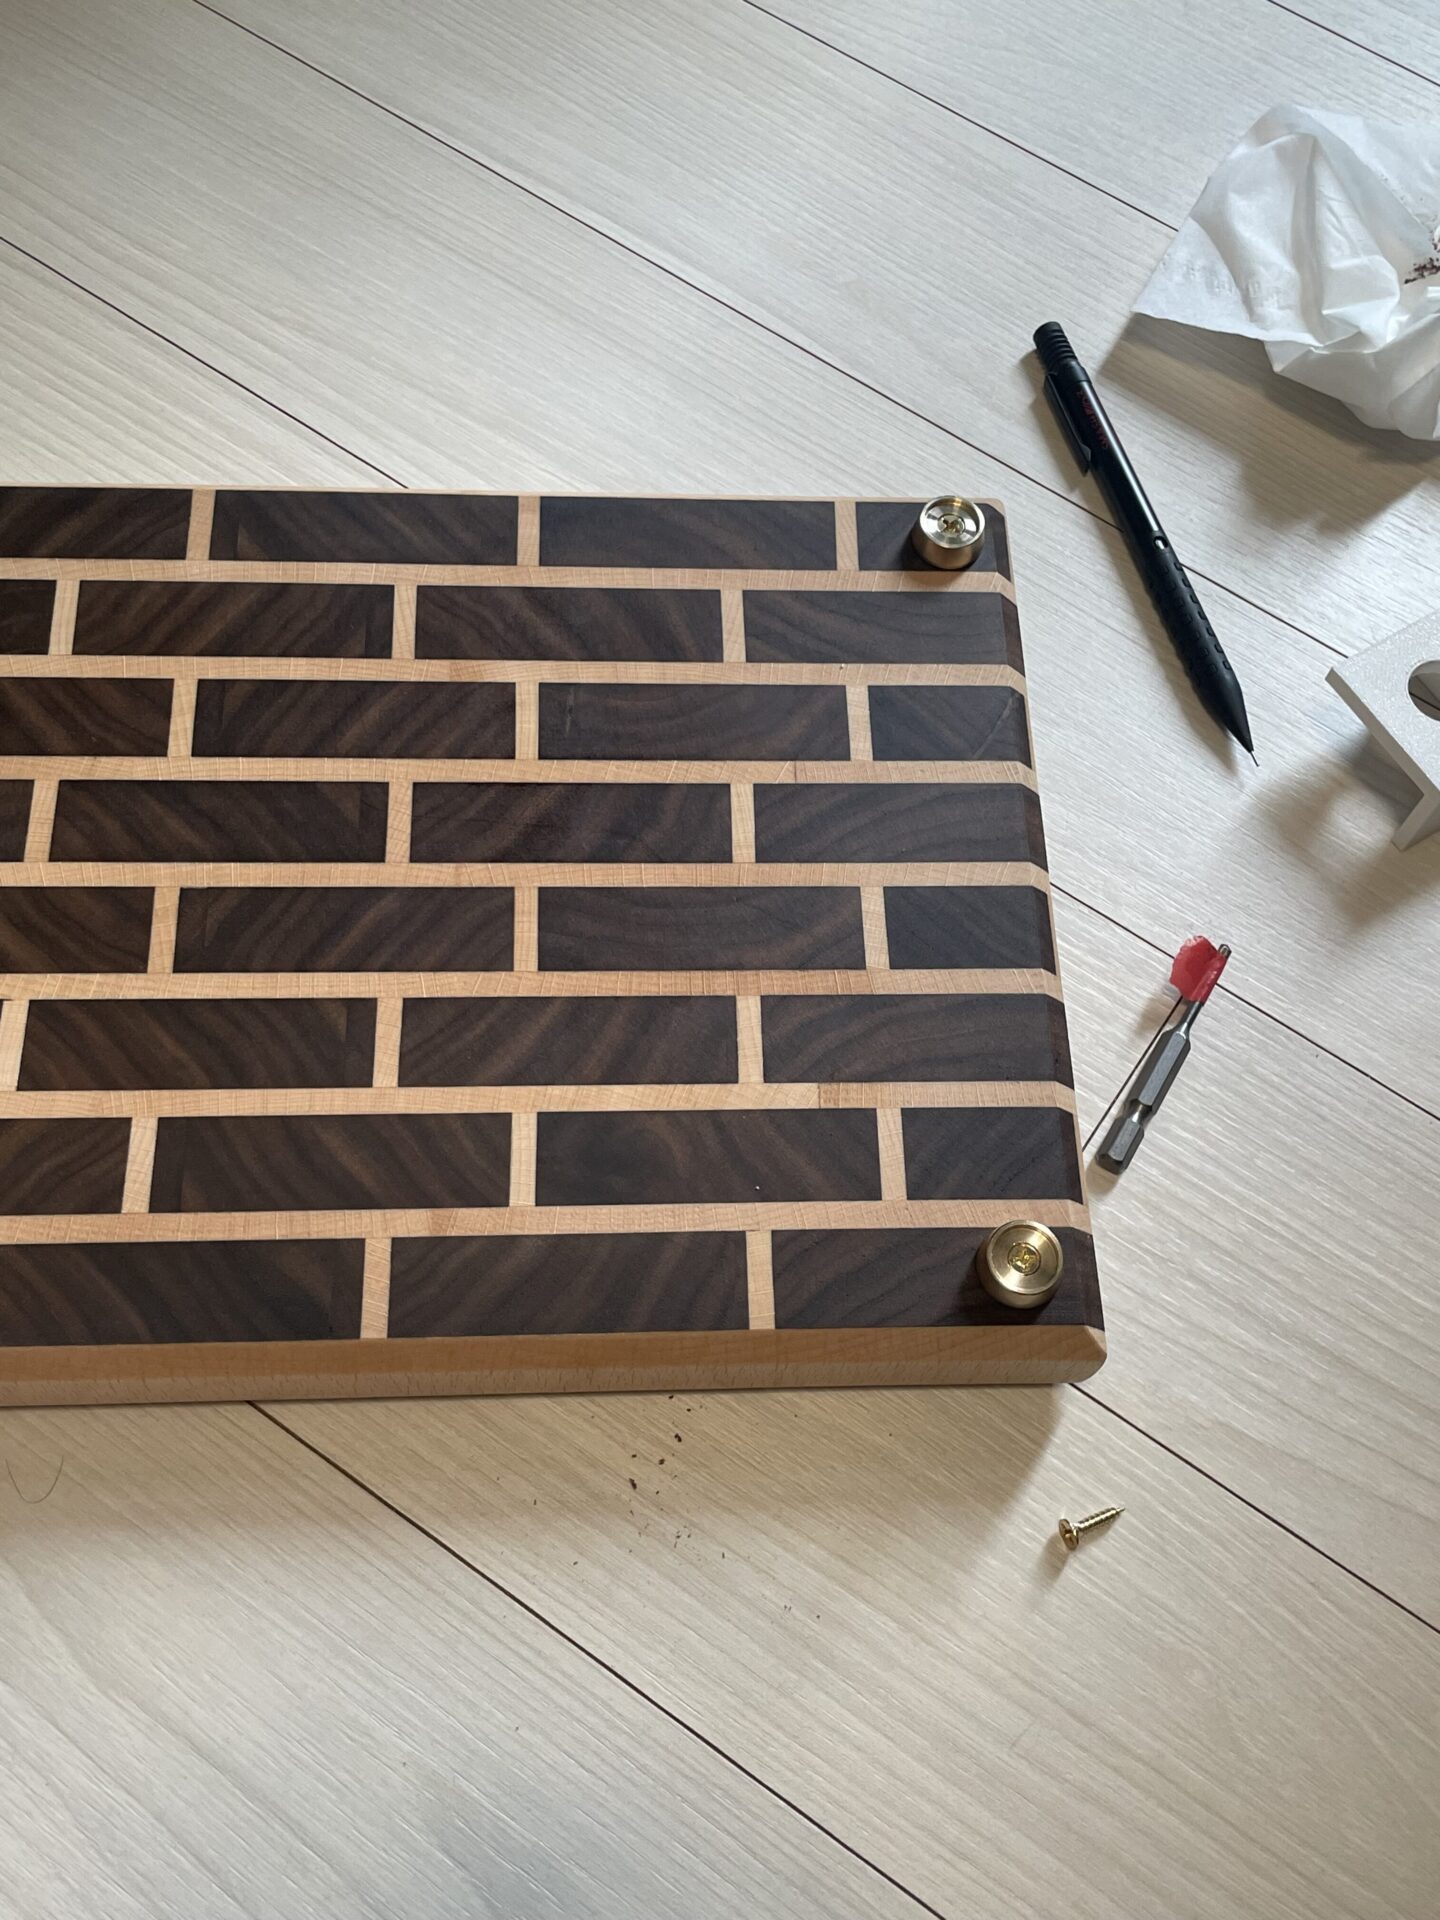
Attached the brass legs.
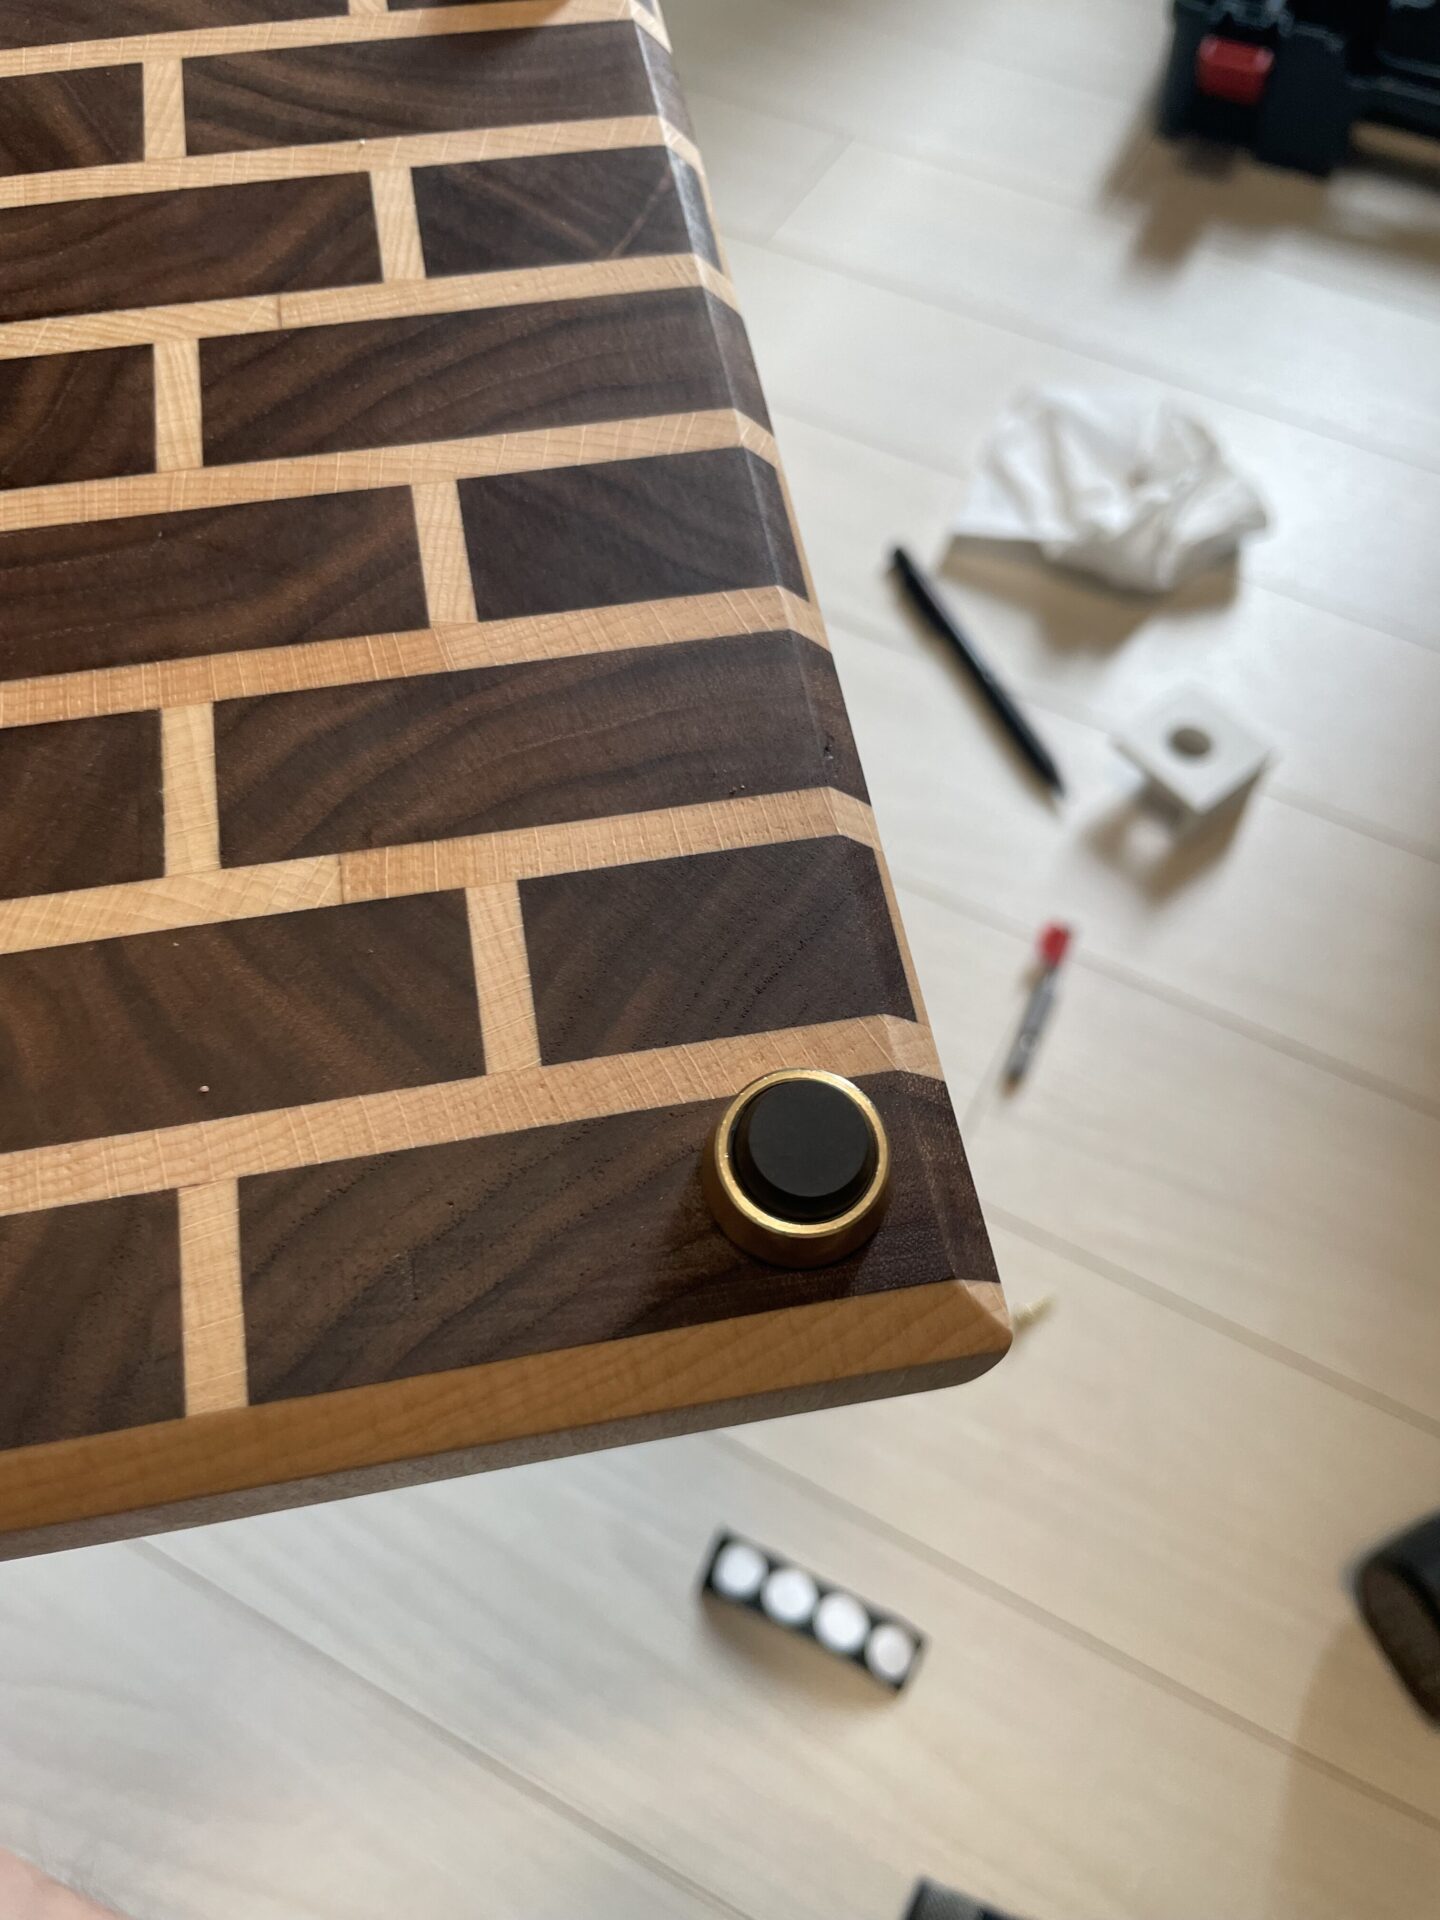
Added 3M rubber pads on top of the legs for grip and easier lifting.
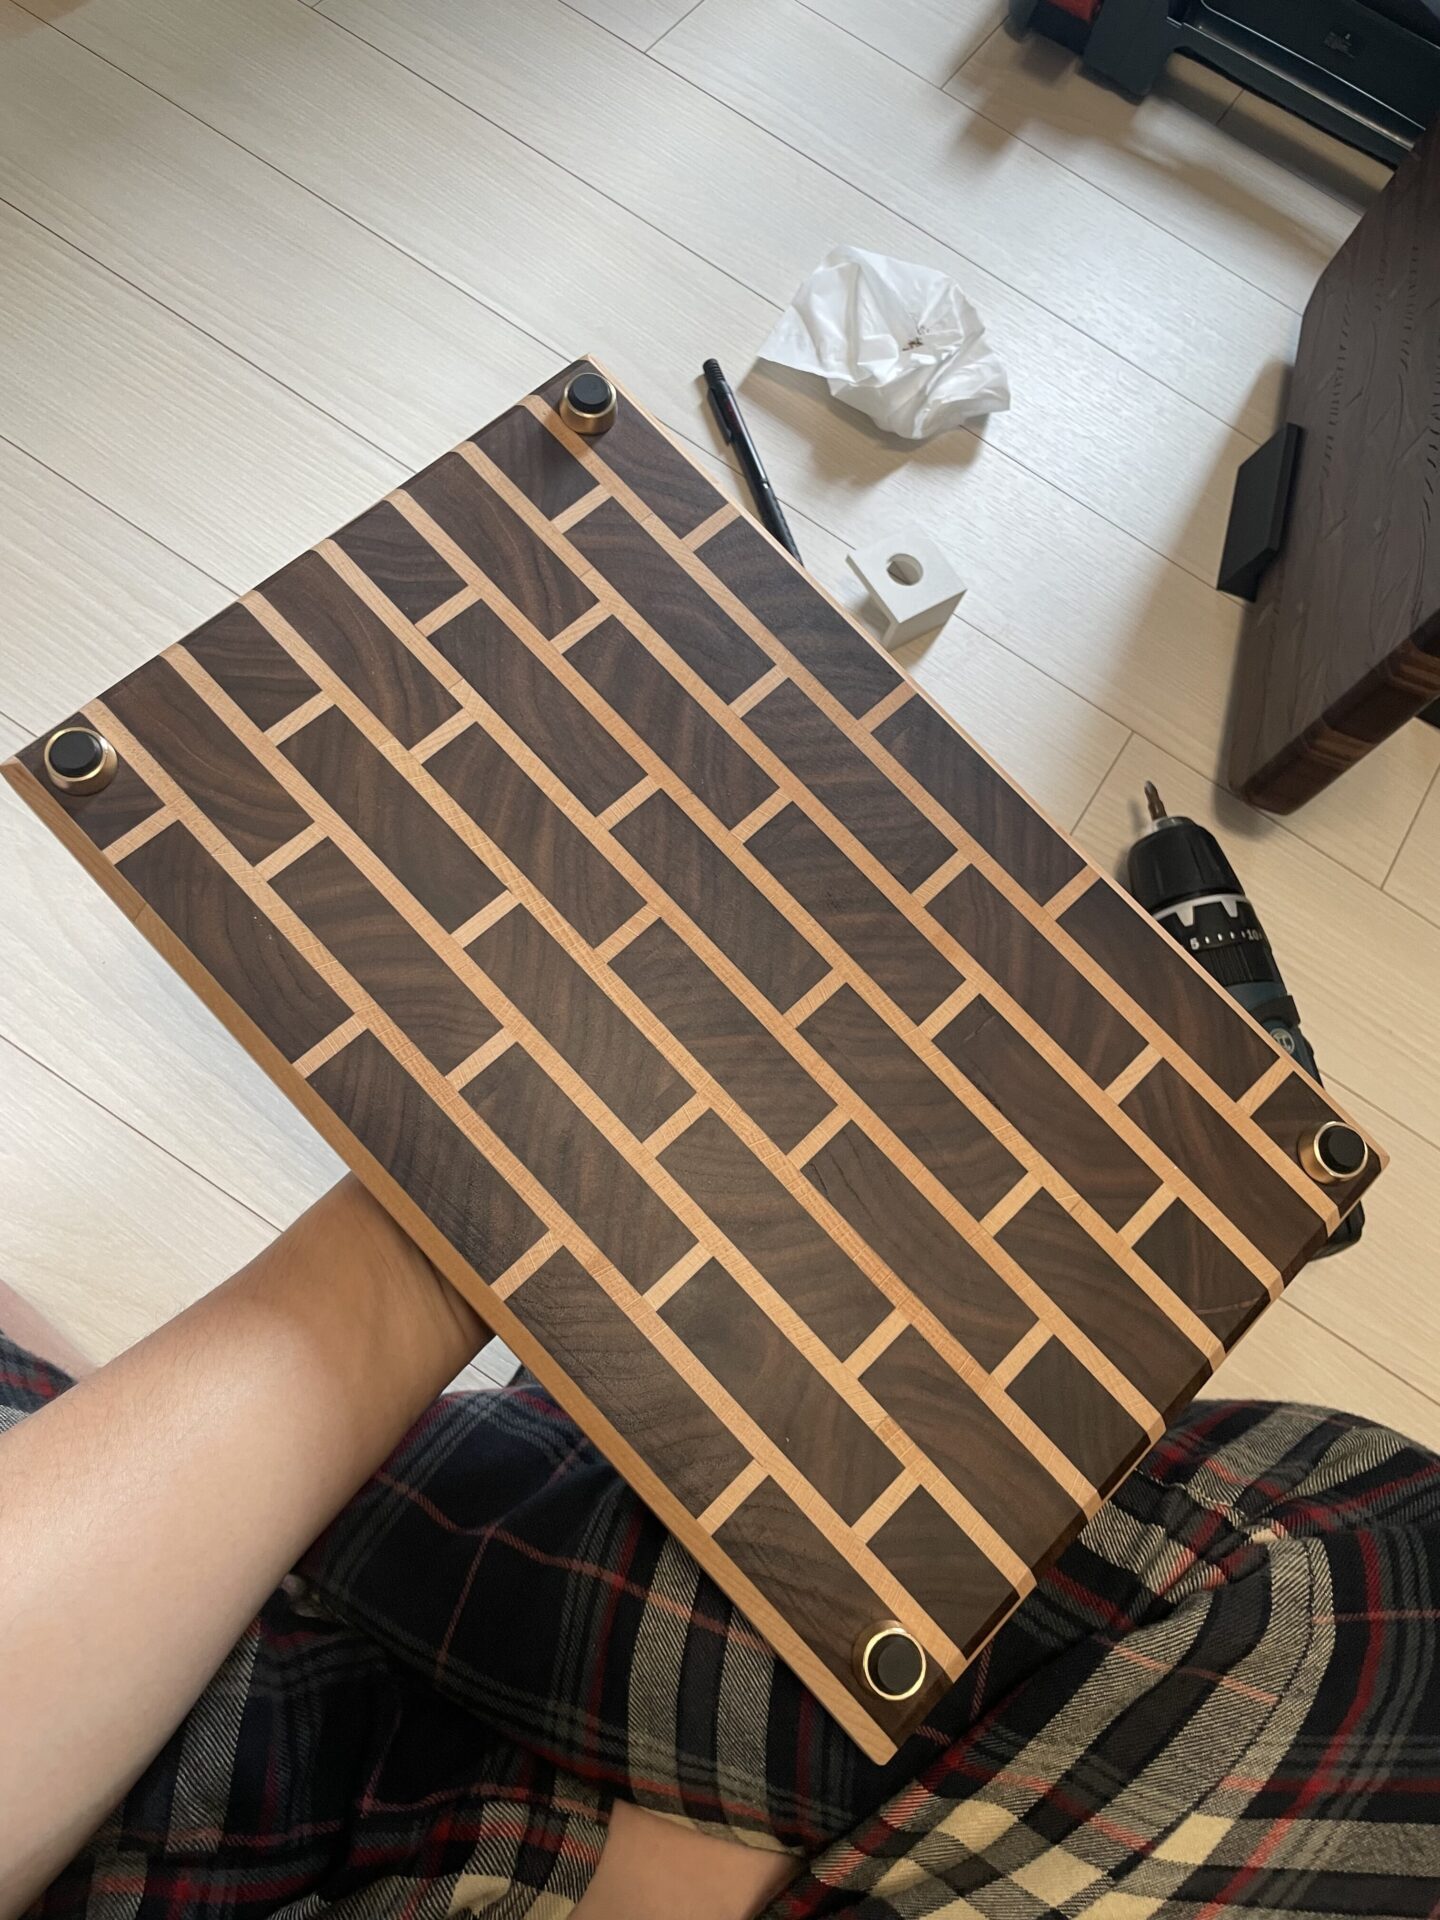
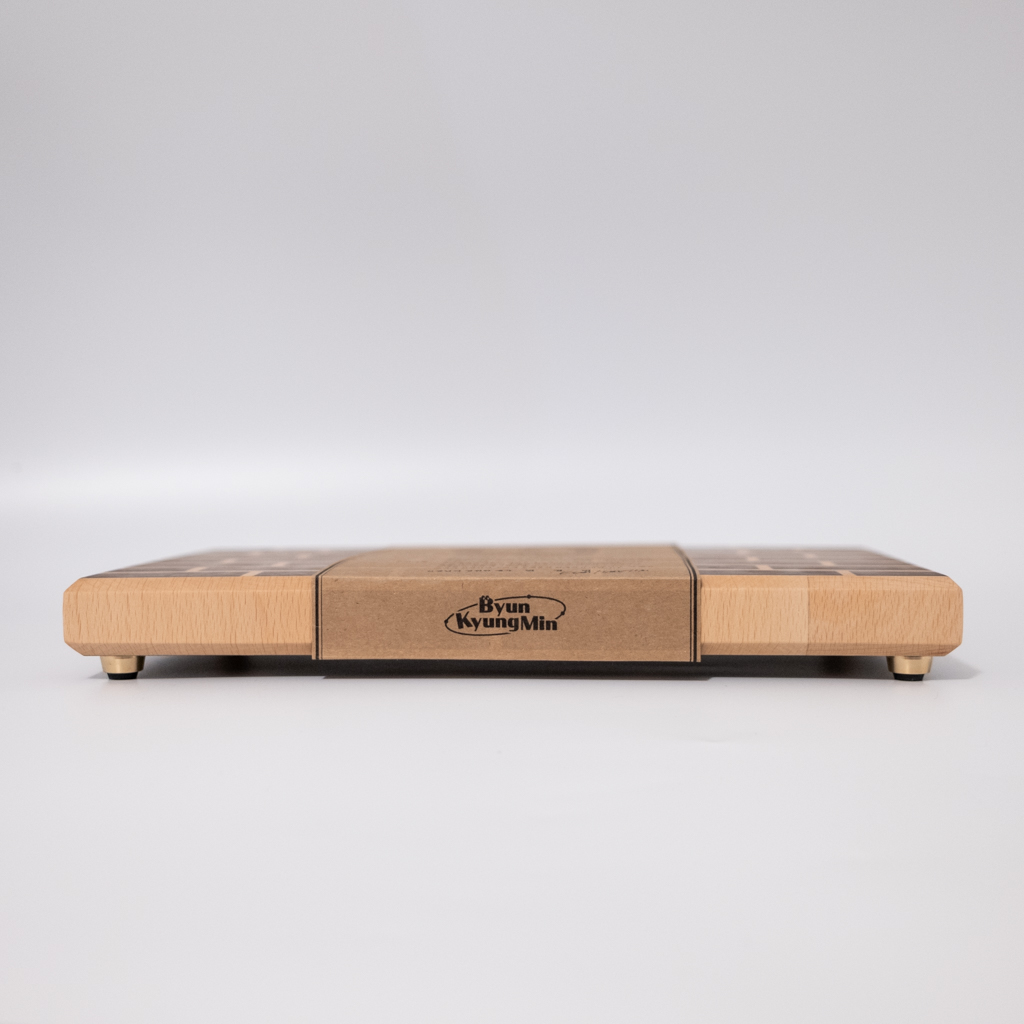
Ta-da—finished!
View Other Works
All
Architecture
etc
Furniture
Objet