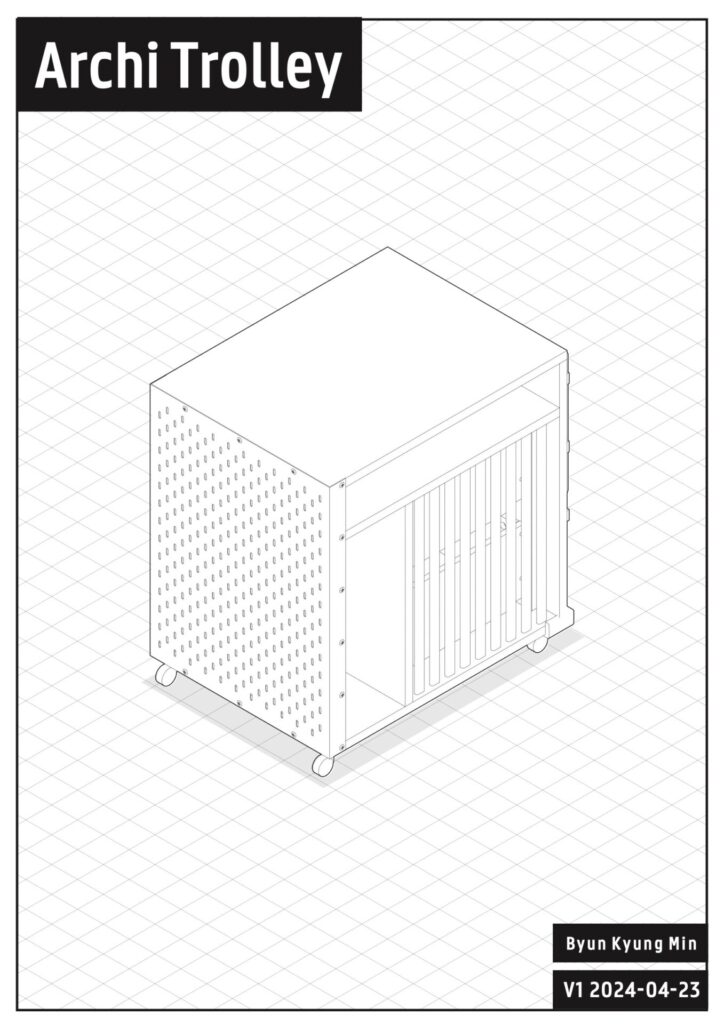
Archi Trolley
2024, Personal Work
Furniture
>Woodwork
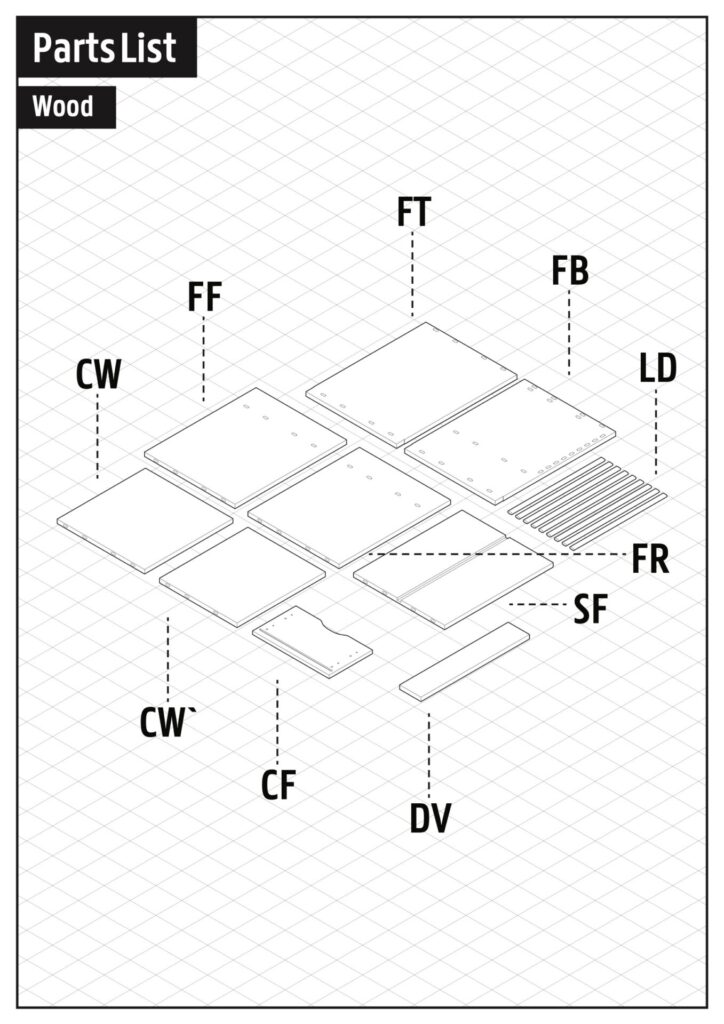
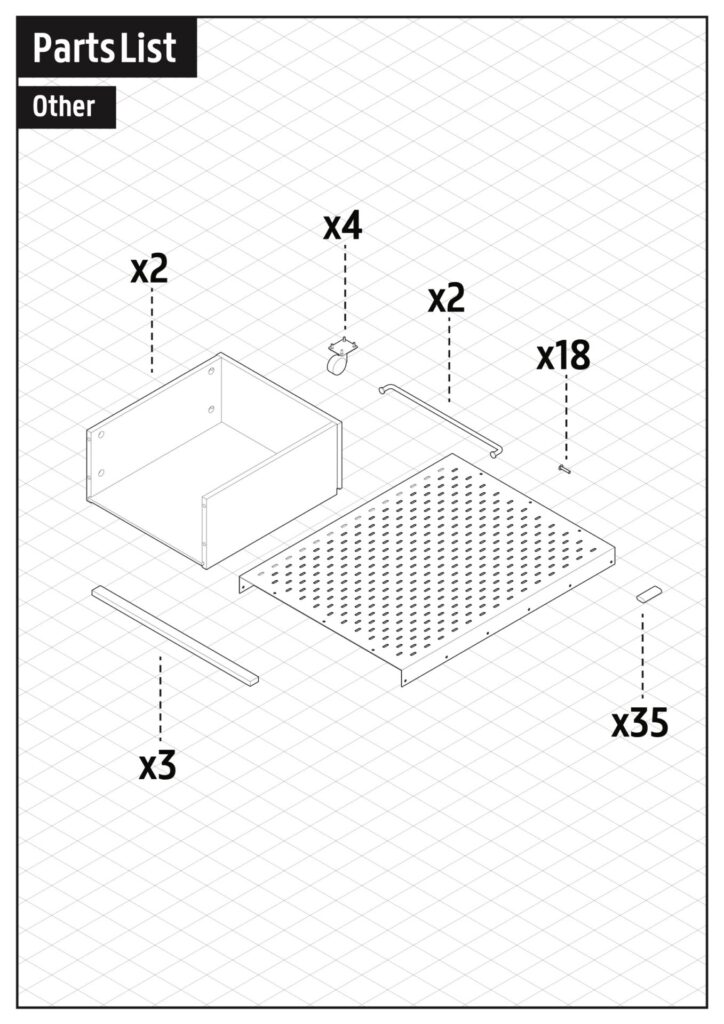
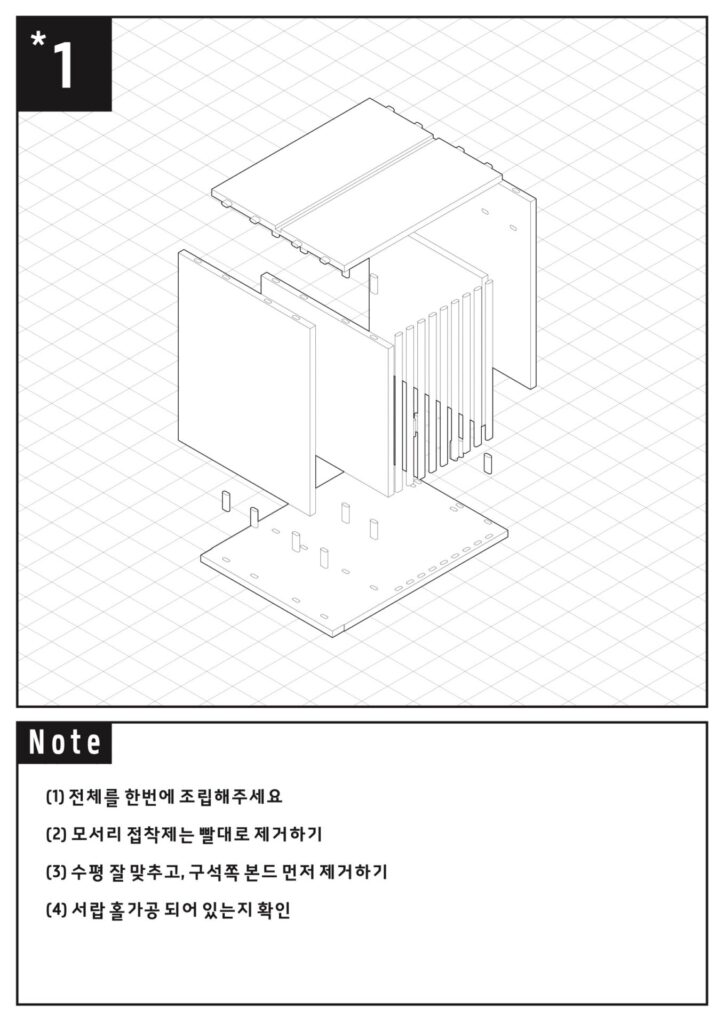
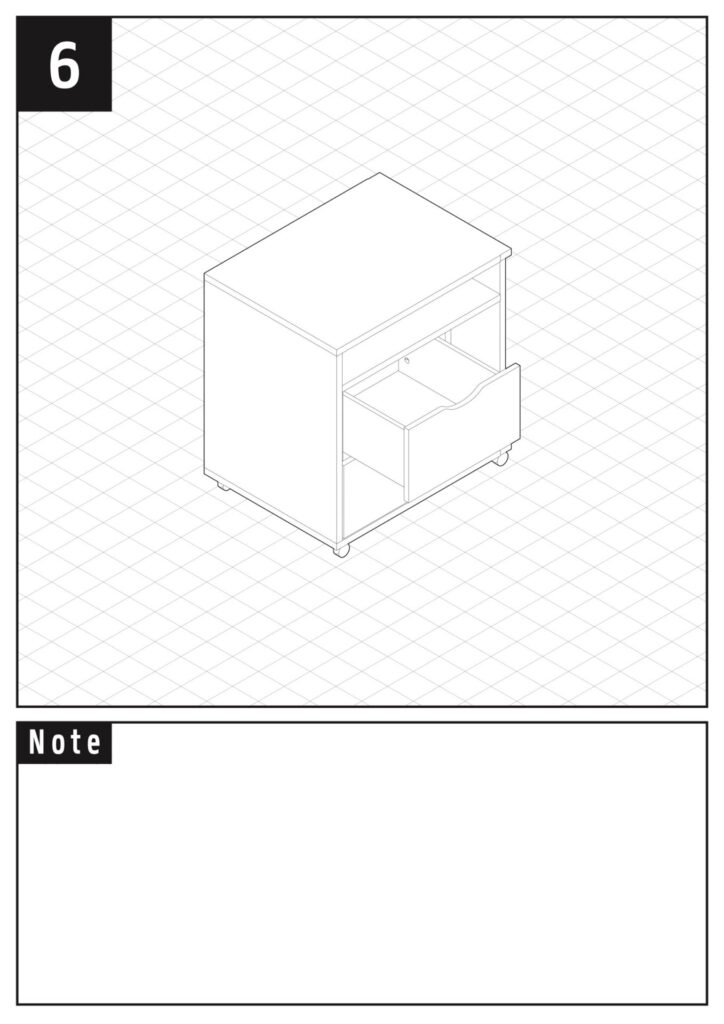
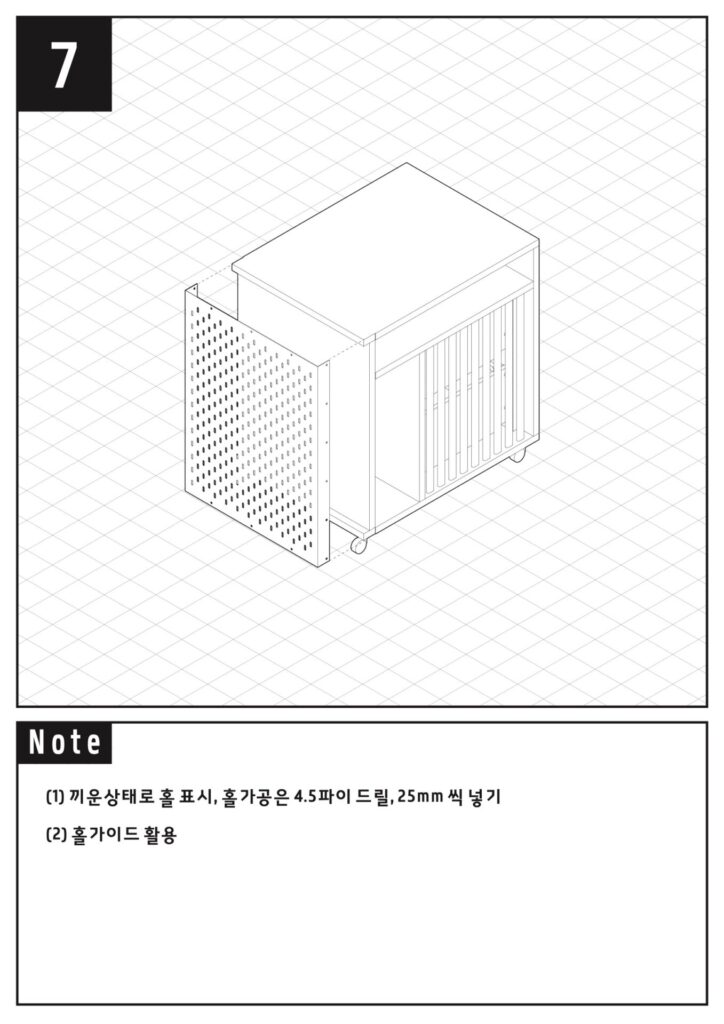
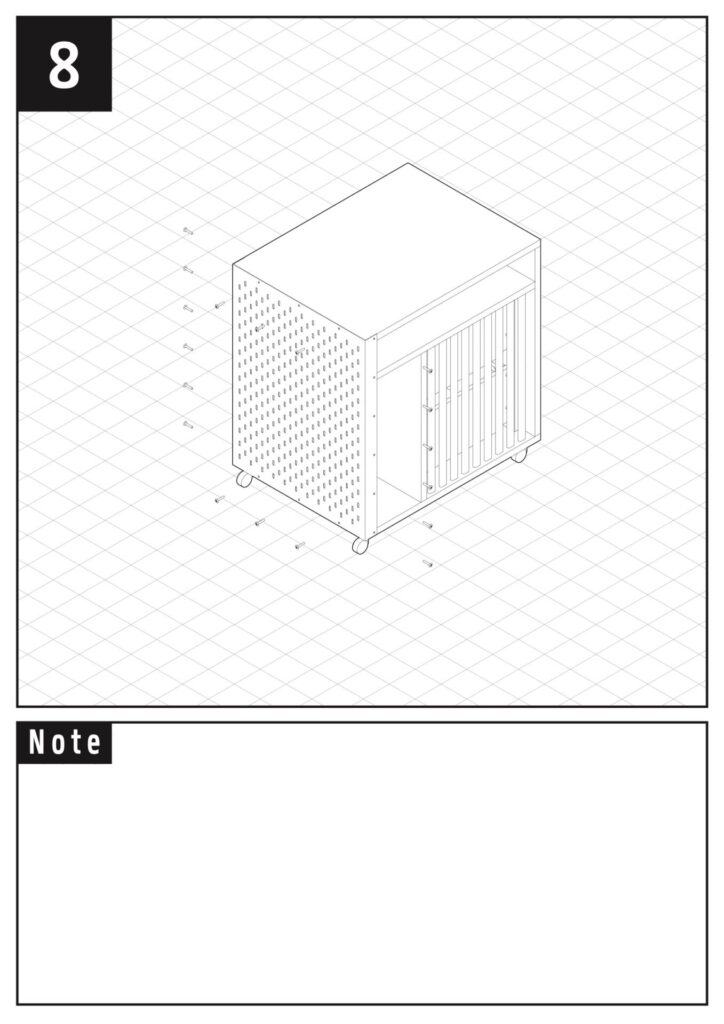
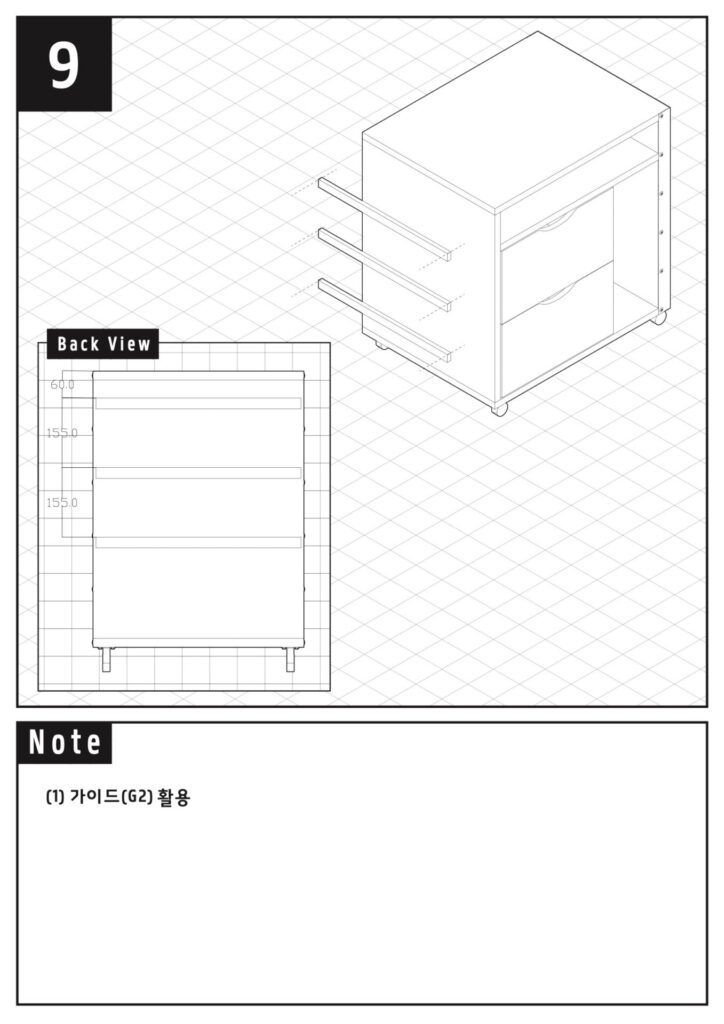
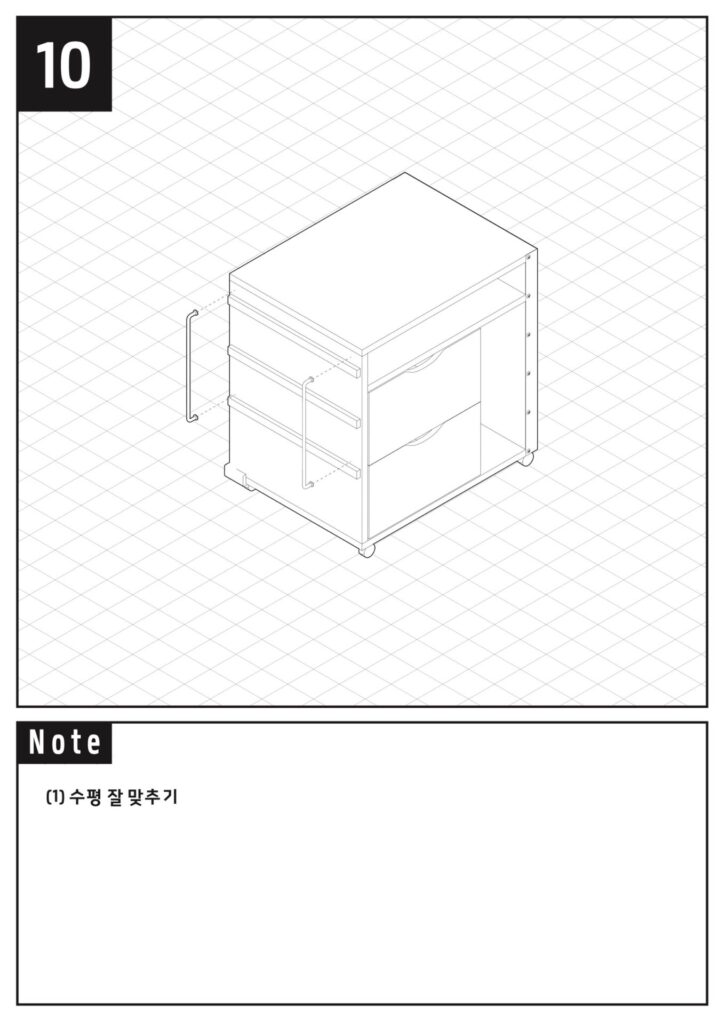
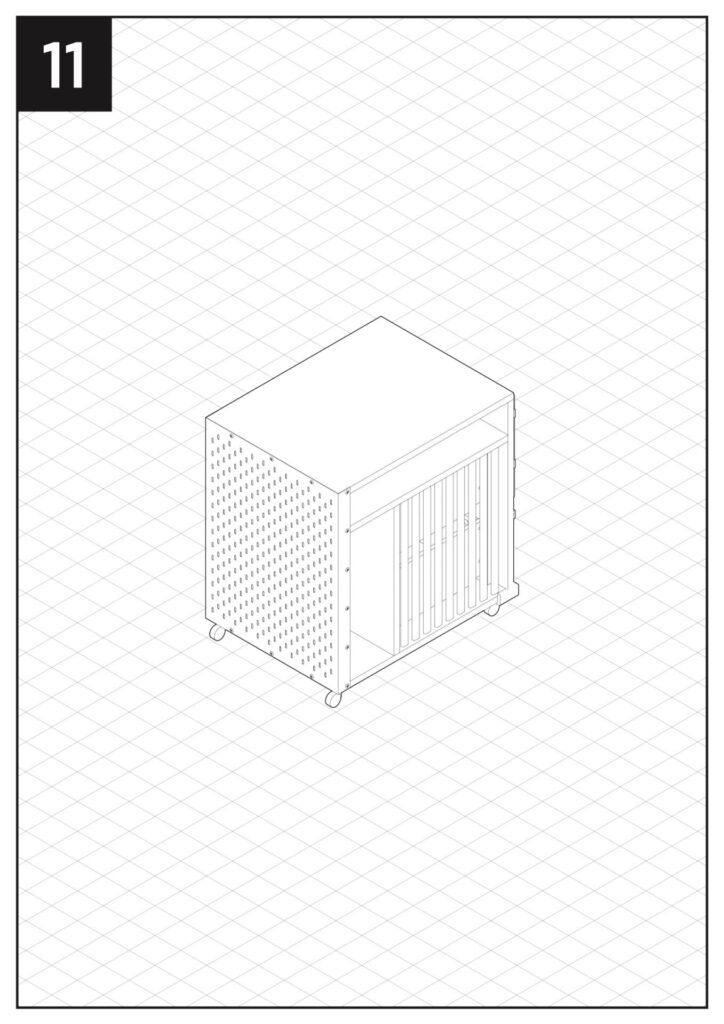
This trolley was designed to efficiently organize the wide range of tools and materials used in the architecture studio. Sized to fit beneath a desk, it makes effective use of limited space, while magnetic bars on the exterior allow tools to be accessed with ease. A stainless-steel perforated panel, compatible with IKEA pegboard standards, provides storage for masking tape, A3 rollers, human figures, and other materials. Inside, 3D-printed organizers divide the drawers into compartments of various sizes and shapes, enabling items to be stored in an orderly and hierarchical manner.
Tap the image to open it in full view.


Behind

I came up with this trolley idea around July last year.
Back then, I guess I wanted to make it out of plywood with all its advantages. The file name is literally “Plywood Trolley.”
Out of the 8 features I initially planned, 5 ended up being realized.

Since architecture involves so many different materials and random bits, I thought expandability was key.
The stainless steel plate size follows the standard of IKEA’s Skådis pegboard.

I modeled the trolley with just the basic box size, then surveyed what I actually used the most at school.

I went through a ton of desk photos.
Just searching “desk” in the Apple Photos app brings them up.
Still amazed at when it manages to index everything… quite the technology.

I borrowed the IKEA pegboard system, but wanted to see what accessories I could really use—so I went to check them out myself.

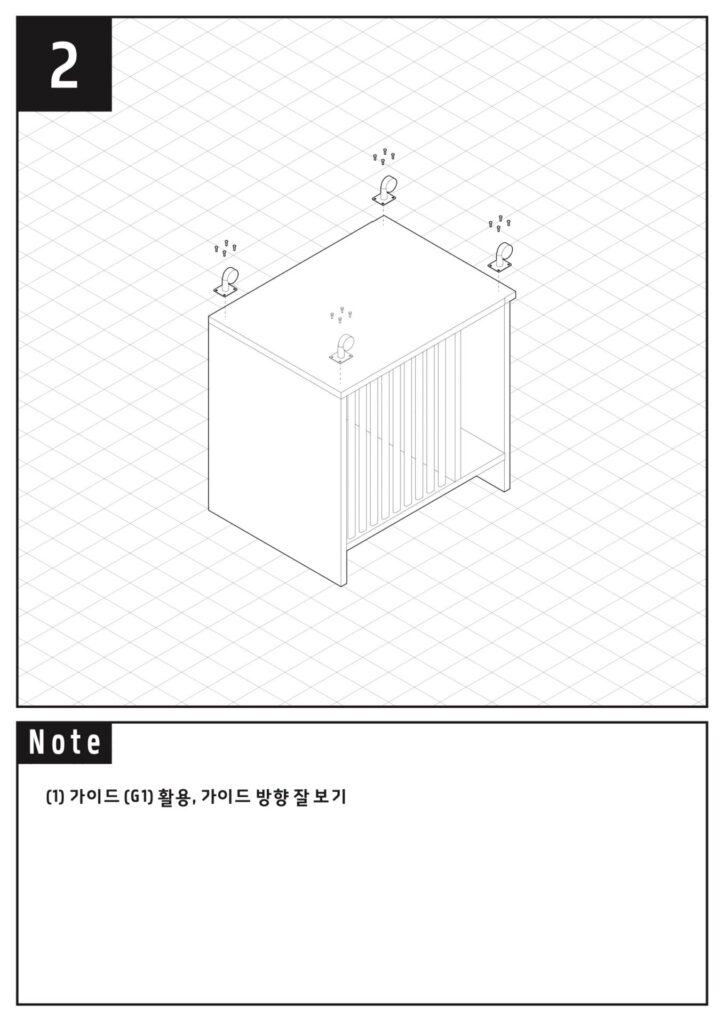
I considered drawer modules like Micke, Alex, etc., but this one called Nordli was just the right size.
Most importantly, I really liked the soft-close dampers.

Over blueberry cake, I double-checked if the sizes worked. I only brought a tape measure, so I sketched quick notes on the back of a receipt with an IKEA pencil.

I picked up a few Skådis modules that seemed practical enough.
This was at Geumgang Laser in Pocheon.
I found them on Naver and asked via Talk if I could stop by since I was curious. They’ve always been super kind and even offer snacks whenever I visit.
I met a foreign worker my age and chatted while looking around.
He said he was from Bangladesh. He even talked about his home in Korea, though honestly I understood only half of it—so I just nodded and went, “Ohhh~.”

Right then, the laser cutting finished. They didn’t have 2T stock, so I went with 1.5T HL (hairline) stainless steel, cut with nitrogen.

This time they even gave me a bending crash course—Geumgang Laser is the best.
Basically, bending stretches the metal, and constants differ depending on thickness and material. The charts near the machine are surprisingly precise.
So when ordering, you don’t have to send flattened drawings—just a finished 3D model or drawing, and they’ll calculate and bend it properly.

Back home, I immediately tested the modules I had bought the day before.
The IKEA pegboard is 5T soft plywood, so not every module fit well.
I’ll just make my own~ even better!

The usual routine.
I tried some big parts first.

Time for real woodworking.
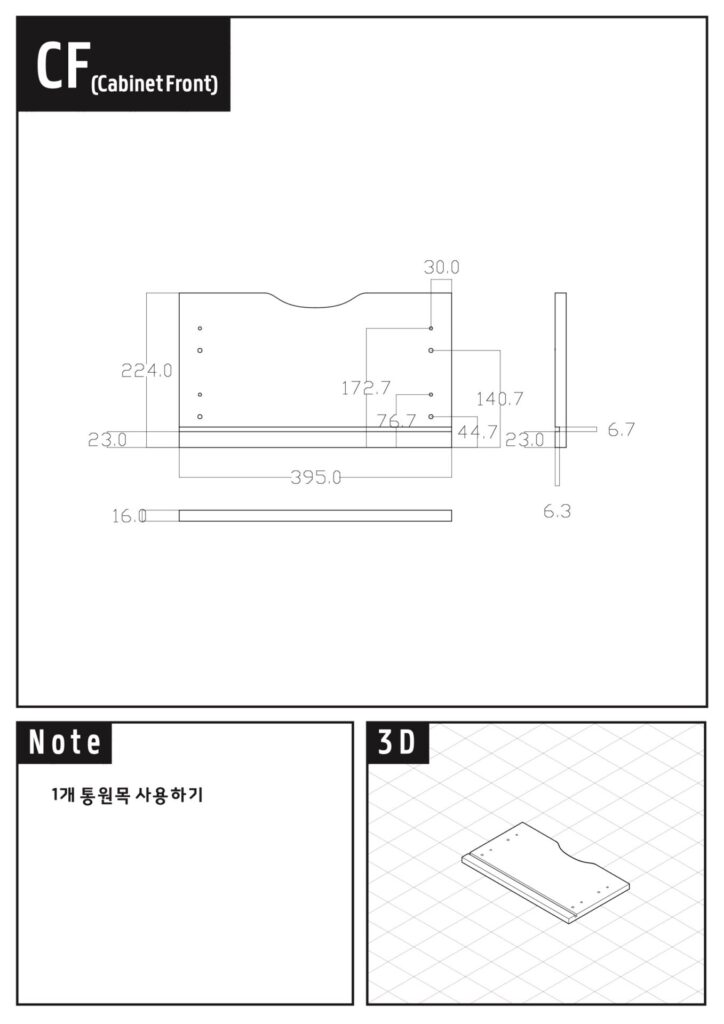
For the cabinet front panel, I wanted a solid wide board without joints—so I picked a pricier but wider lumber.

That hole you see wasn’t in the design. I messed up with the drill and pierced it through.
I thought, “Looks like design, not bad~” and drilled more, but it was a short-sighted idea. I knew I’d regret it for a decade, so I paid extra and remade it.

“Brûlée” in crème brûlée means “to burn.”
My wallet brûlée.

I’ve seen enough dominoes to last a lifetime.

Meanwhile, my IKEA Båganēs handles arrived.
It’s always exciting when something you modeled becomes reality piece by piece.

That’s a magnetic tool bar. I saw it in a woodworking shop and loved how tools stick to it, so I included one in the trolley design.
If only I could hide that blue sticker…

For small parts, I sometimes model and print them separately.

On woodworking days = fully immersed = no shaving.

I saw in foreign woodworking videos that they even use domino joints for panel glue-ups, so I tried it too.
It saves so much hassle. Once glued, just sanding is enough—no need for planing or scraping glue stains.

Funny to be assembling IKEA furniture in the woodshop.

After finishing one drawer, I tested the vibe.
But that mistaken hole kept haunting me at night…

So I remade it. Wide boards are precious, such a shame.

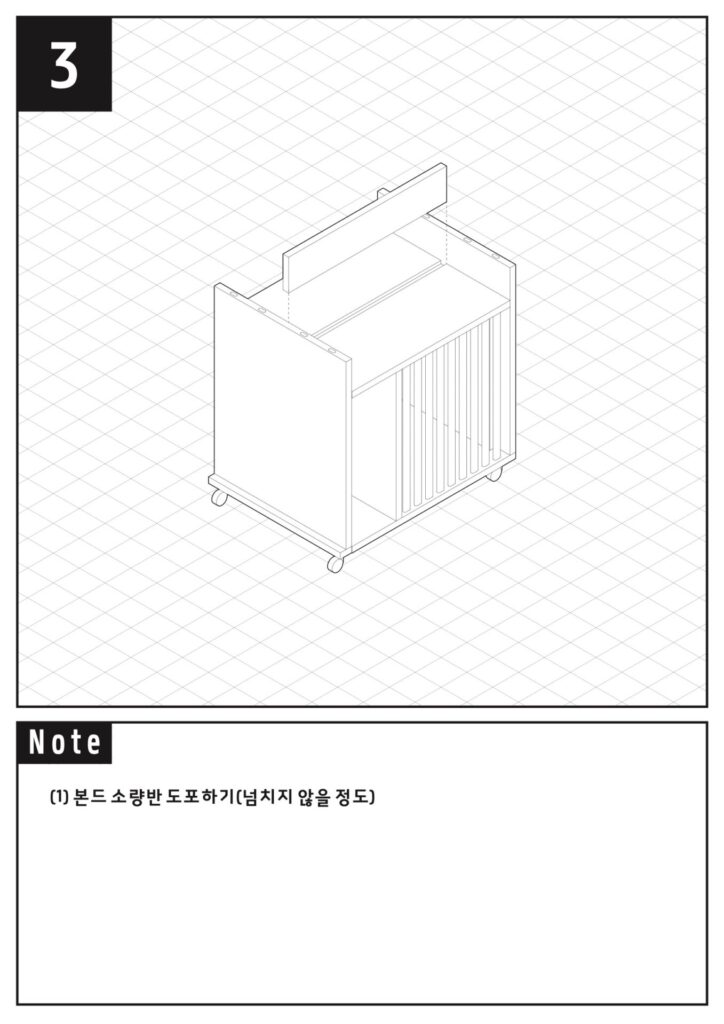
Adding casters to the bottom panel.
These casters finally got to do their job after sitting unused for 4 months.

Replaced the side panels with white oak!
Cutting panels to size is easy—but drilling holes in the exact spots to match IKEA hardware took real care.

Assembling drawers + external frame.

The dust collector tells you exactly how much wood you’ve used.
That day, I emptied two huge collector bags—worked a lot!

Modeled the part to fit 1.5T thickness.
I found an STL online and adjusted it in Rhino to fit my build.

This was the A3 paper roller process.
I repeated print → revise → print → revise about three times.

Attaching a handle to the back panel.
Dust getting sucked up from the table saw.

First assembly—excited squeal!

I didn’t like the wheels, so I bought new ones.
A friend said the desks at the architecture building are super low, so I got both tall and tiny casters. The tiny ones… honestly too small to even use.

Finished the A3 roller. Something like this?

Carving out a slot for a nameplate using chisels and more.

Taped and mounted the magnetic bar neatly.

Second trial assembly.
I kept screwing and unscrewing—afraid the holes will wear out.

Final part: the stainless steel plate, let’s go.

Of course, bent plates are never perfectly vertical. I sanded slightly to match the curve.

Drilling holes.

Finally, glue-up day.
Since wood glue sets fast, aligning verticals and horizontals is pure chaos—you wonder how you even managed it.

A collection of the jigs I used for this project. 3D-printed jigs are super precise and easy to make.

Would anyone even read this far?

Sanding the corners after assembly.

Such a beautiful tolerance…
Blowing out wood dust between pipe gaps before oiling.

This time I wanted to keep the bright tone of white oak, so I used white oil.

I considered other finishes, but the other oils darkened the wood too much. White oil was the choice.
It’s kind of like… Urusa? Some skin-care lotion vibes—like I’m pampering the wood’s skin.

Despite the lotion vibe, it hardened really fast and was tricky since I couldn’t see where I had already applied.

After oiling, I went home for lunch, then came back with props for the photoshoot.

The woodshop teacher suggested I try a background roll next time.
It was a thick matte white paper—no reflections, amazing for photo quality.

I took some shots of myself too 🙂
Felt sentimental, thinking it might be hard to do woodworking again for a while.

Things I’ve made in the woodshop so far.

Scraps left over from various projects.
Ash, walnut, charred ash, beech, and white oak—all neatly sorted.

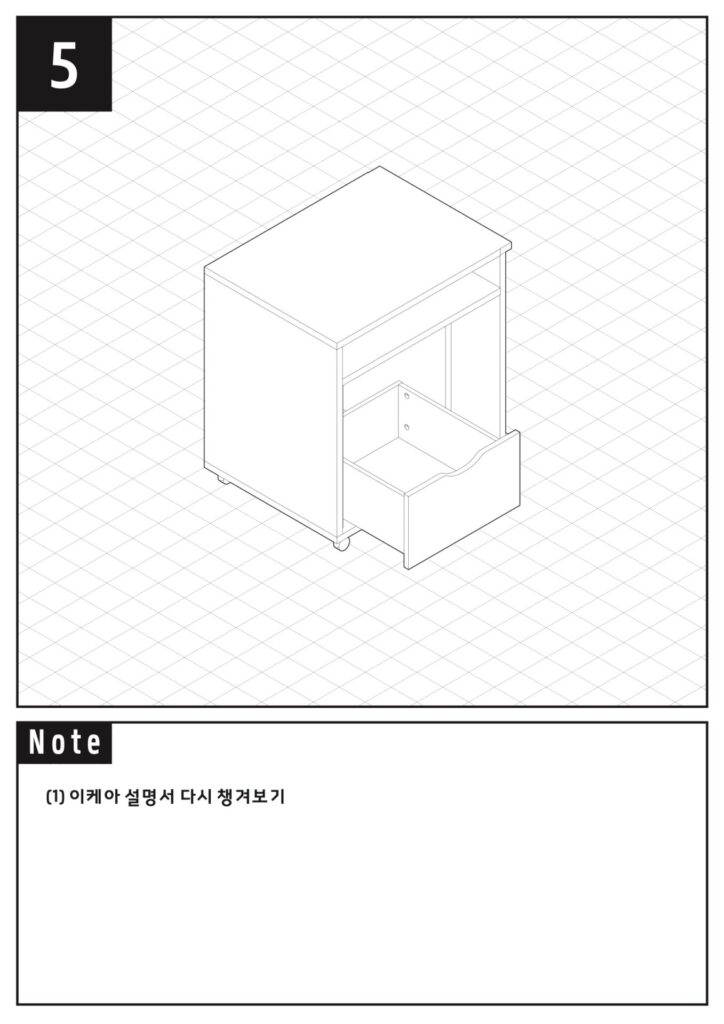
Since there are only two drawers, I lacked hierarchy in organizing things. So I printed some modular dividers to use.

I made a label like a nutrition facts panel for the trolley—time spent, materials, weight, etc. Printed two copies: one underneath, one inside.

It’s been about a year since I started woodworking.
I wanted to go beyond small objects and try making furniture-scale things. I still remember my first class introduction at the woodshop.
I invested most of my extra earnings from part-time jobs into this… ^^ But it gave me a deep understanding of “wood” as a material. And it confirmed my passion for “making.”
Woodshop days were always exciting. Now I get this weird twitch whenever I see wooden furniture. Lucky that wood can’t file complaints.
I’m truly thankful to the shop and the teacher for being there at that time. I hope what I learned here will prove useful somewhere else. And I hope one day I’ll get to do woodworking again!!
View Other Works
All
Architecture
etc
Furniture
Objet