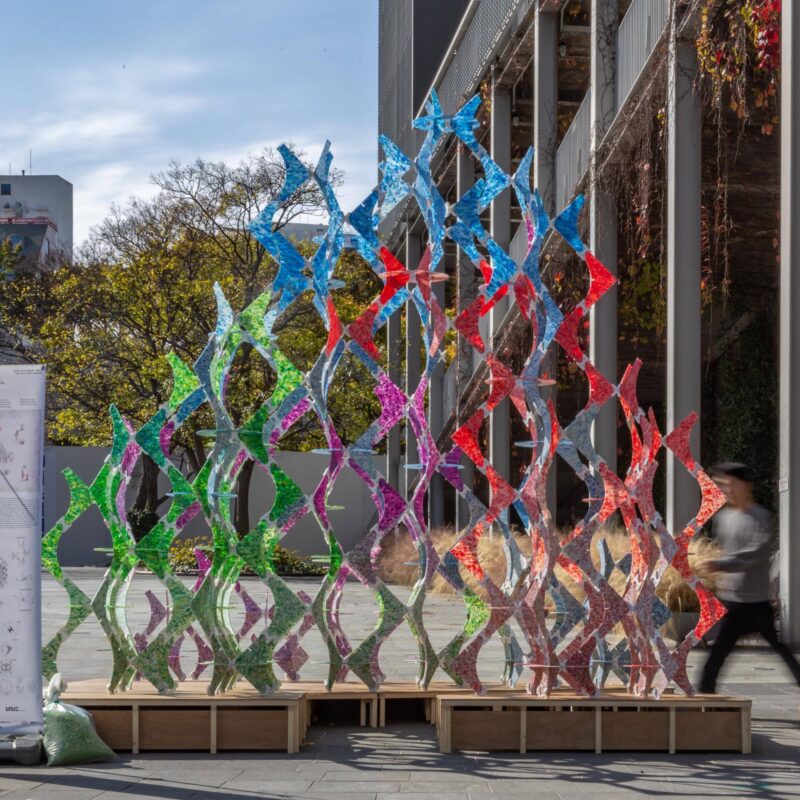
Gen Integrated House
2023, Personal Work
Architecture
>Design Studio
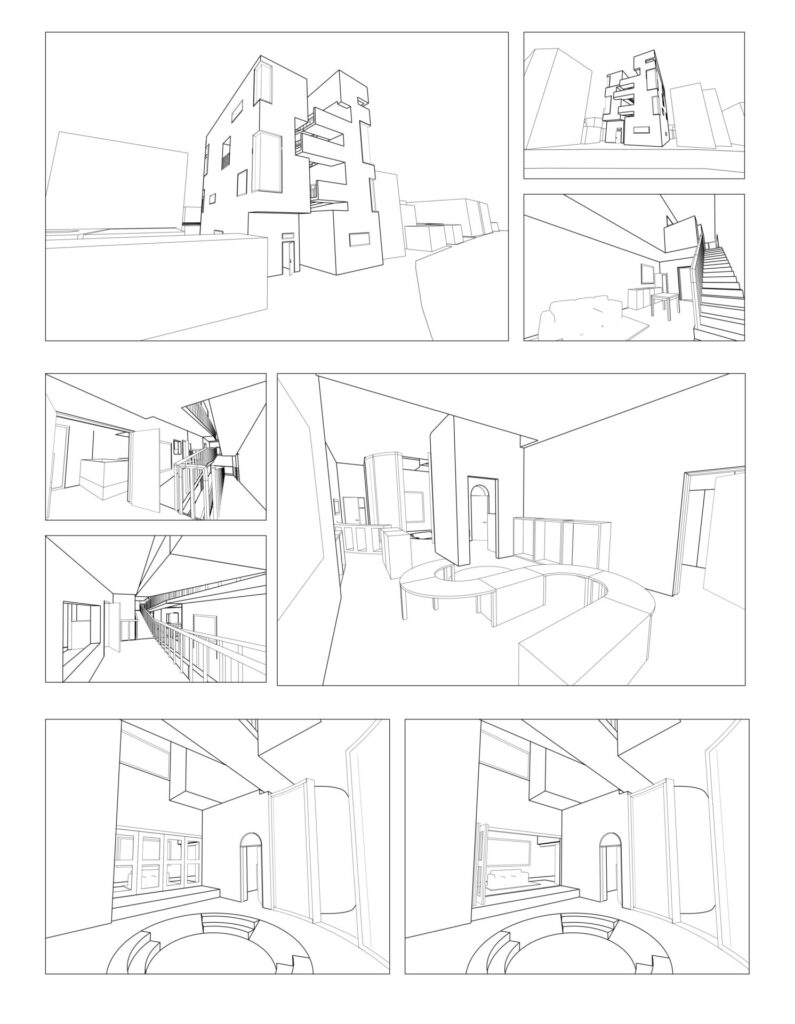
In Seongsu-dong, the degree of aging is deepening: while the overall residential population is decreasing, the number of people over 65 continues to grow. Many of the surrounding buildings, designed for large families in the past, have become outdated, making it clear that new housing models are needed. What does successful aging mean? It can be described as the mind adapting to the changes of the body. Older residents draw energy from children, while children gain wisdom and emotional depth from their elders—this project brings that intergenerational exchange into the realm of housing. Moving beyond the physical limitations of existing daycare–senior center linkages, the design creates spaces that encourage more active interaction. The narrative of the housing unfolds around a central ramp, with dwellings and hobby spaces woven along its path to strengthen relationships among residents. In addition to spatial design, programs were proposed to foster community: a shared kitchen on the first floor requires residents to participate in at least one communal meal per week, and once a month to host a hobby exchange program for the adjoining daycare center.
Tap the image to open it in full view.


Behind

ramp Mass Study. I made about fifteen templates to study massing on the site shape. Later I found out the site wasn’t actually shaped like that…

A model that expressed programs in different colors.
Pro tip: you can print on A4 or A3 tracing paper with an inkjet printer (haven’t tried laser). Great for textures or material representation.
If you attach tracing paper on cellophane, the colors look beautiful.

No elderly figurines, so I sanded the heads of regular figures instead 😂

Midterm critique1:200 model.
That was when I was obsessed with 3D printing—bought a PEI textured bed and got really good at leveling.
But the printer started breaking down all the time.

Photo taken on the way to present the midterm critique
By then, I was relaxed enough to even take pictures on the way to critique.

Another midterm critique. Compared to before, I was much less nervous—getting used to it.

After mid-term critique, I suddenly went on a trip to Jeju with classmates. Even on the plane, I was working on design. That was the first time in a year and a half of architecture school that I actually used CAD.

Drawing critique. I worked toward more rational solutions. Asked my senior Mingi for CAD tips—turns out the tool wasn’t difficult. I just didn’t know how to fit it into my workflow. Once I saw how others used it, I picked it up quickly.

Doing design work at a PC café is actually fun—food is available, and when I hit a wall, I’d go there. But private seats only…

A rough plan using two mesh screens.

Furniture printing. Tried wood-colored filament. Because of the large number of pieces and long toolhead travel, I got stringing issues, even though the filament was new. Bambu Lab isn’t a magic bullet after all.

Tried separate model making with my senior. Needed to plan actual structures to make the model work.
Especially since the model was designed to be exploded, it included elements not in the drawings. I used the elevator core as the model’s structural column.

Inverted-color panel. Looked cool.
If you want this effect, though, it’s better to use Photoshop gradient rearrangement than color inversion—I realized that later.

After an all-nighter, I slept at Rasung Jewelry Sauna Capsule Hotel in Seongsu. Didn’t know I had to pay extra, so I changed clothes and walked back to the counter. Nice and clean place—want to go again sometime.

Never skimp on model materials. I work part-time jobs just to buy them.

First time using vinyl sheet, so I studied how to apply it without bubbles. Best method: attach it first, then cut 5mm slits to make clean right angles.
Sheets are sold by the “ma,” and I didn’t realize how big that was—bought three and became a vinyl sheet millionaire…
1 ma = 1100 x 900 mm.
The seller probably thought I was remodeling something.

Classic end-of-semester habit: drafting plans on scrap paper.
Since I use 3D printing a lot, my schedule revolves around printing time. It’s not like 2D printing—you can’t afford mistakes or missing parts, or you risk missing the deadline. Thankfully, that hasn’t happened yet.

One strength of Bambu Studio: auto-arrange function for models in the slicer.
That’s a very hard algorithm to implement, but it works really well.

My favorite filament: eSUN PLA-matte Milky White. This was my first large-scale print since getting the Bambu Lab, and it turned out strong, with cleanly detachable supports. Very satisfying.

Testing if the window frames I designed fit. Couldn’t resist.
Made a Grasshopper script that automatically converts window curves into frame models. Helped me model all the unique windows quickly.

Finished window frames with acrylic sheets attached. My first time making window frames, and they looked way better than just gluing acrylic.

Pro tip: certain eSUN filament spools have a known empty weight. Very handy for calculating leftover filament.

Printing schedule was so tight that I sometimes slept next to the running printer. Normally, it’s better to leave it at school, but I didn’t have that luxury then.

If I’d had more time, I’d have made every part with a 3D printer.

Explode!!
Couldn’t 3D print everything, so I printed just the exploded structural parts, and used foam board for the rest.

The night before submission… I wanted this to be my final, best project for a while since I wouldn’t do design again for the next two years. But I got too caught up in details like window frames and furniture, so I started the model too late. Usually, I finish the model first and compromise on images—but this time, I did images first and lost time.
Had to swap my critique slot with a classmate despite being scheduled first.

Called for help from seniors late at night.
Getting two seniors’ help during deadline season—it made me feel lucky.
I helped them with their work for the next three nights and they treated me to big meals.

Printed window frames + acrylic windows. The fitting margin was, of course, 0.2 mm.

Seniors helped me attach panels—legends.
Getting help made me realize that being considerate with others’ time and breaking tasks into smaller requests is also a skill.

My panel + model set.
The final critique isn’t just about presenting my work—it’s also about learning from classmates’ work and feedback. I really wished I had more time to observe others. Still not enough, me…

Looking cool while presenting..~

That moment I realized again how much I love making things.
Maybe architecture is simply the biggest and most lasting form of making I can pursue.

Always struggled with mesh screens—masking tape was messy and unreliable. Modeled a custom mesh clip instead.
A little gift for those who read this far:

Important note: print the clip lying flat like the left picture. Otherwise, it breaks under stress instead of working as a clip.

Friends joked it looked like foreclosure stickers.
Or like gangsters trashed the place.
Actually, I just had too many models.
Architecture lasts—but architectural models don’t.
Breaking Clean

Packing my stuff after finishing studio.
See you in two years, Architecture Studio.
View Other Works
All
Architecture
etc
Furniture
Objet